Canon PowerShot SX160 IS User Guide - Page 163
Display images., Correct display is not possible unless the camera video output
 |
View all Canon PowerShot SX160 IS manuals
Add to My Manuals
Save this manual to your list of manuals |
Page 163 highlights
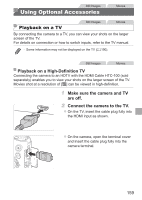
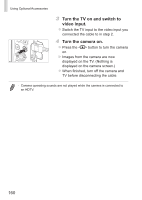
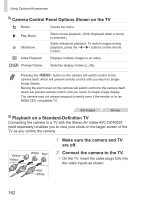
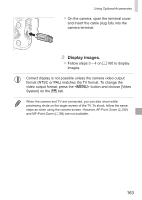
Using Optional Accessories zzOn the camera, open the terminal cover and insert the cable plug fully into the camera terminal. 3 Display images. zzFollow steps 3 - 4 on =160 to display images. • Correct display is not possible unless the camera video output format (NTSC or PAL) matches the TV format. To change the video output format, press the button and choose [Video System] on the [3] tab. • When the camera and TV are connected, you can also shoot while previewing shots on the larger screen of the TV. To shoot, follow the same steps as when using the camera screen. However, AF-Point Zoom (=60) and MF-Point Zoom (=90) are not available. 163
-
 1
1 -
2
-
3
-
4
-
5
-
6
-
7
-
8
-
9
-
10
-
11
-
12
-
13
-
14
-
15
-
16
-
17
-
18
-
19
-
20
-
21
-
22
-
23
-
24
-
25
-
26
-
27
-
28
-
29
-
30
-
31
-
32
-
33
-
34
-
35
-
36
-
37
-
38
-
39
-
40
-
41
-
42
-
43
-
44
-
45
-
46
-
47
-
48
-
49
-
50
-
51
-
52
-
53
-
54
-
55
-
56
-
57
-
58
-
59
-
60
-
61
-
62
-
63
-
64
-
65
-
66
-
67
-
68
-
69
-
70
-
71
-
72
-
73
-
74
-
75
-
76
-
77
-
78
-
79
-
80
-
81
-
82
-
83
-
84
-
85
-
86
-
87
-
88
-
89
-
90
-
91
-
92
-
93
-
94
-
95
-
96
-
97
-
98
-
99
-
100
-
101
-
102
-
103
-
104
-
105
-
106
-
107
-
108
-
109
-
110
-
111
-
112
-
113
-
114
-
115
-
116
-
117
-
118
-
119
-
120
-
121
-
122
-
123
-
124
-
125
-
126
-
127
-
128
-
129
-
130
-
131
-
132
-
133
-
134
-
135
-
136
-
137
-
138
-
139
-
140
-
141
-
142
-
143
-
144
-
145
-
146
-
147
-
148
-
149
-
150
-
151
-
152
-
153
-
154
-
155
-
156
-
157
-
 158
158 -
 159
159 -
 160
160 -
 161
161 -
 162
162 -
 163
163 -
 164
164 -
 165
165 -
 166
166 -
 167
167 -
 168
168 -
169
-
170
-
171
-
172
-
173
-
174
-
175
-
176
-
177
-
178
-
179
-
180
-
181
-
182
-
183
-
184
-
185
-
186
-
187
-
188
-
189
-
190
-
191
-
192
-
193
-
194
-
195
-
196
-
197
-
198
-
199
-
200
-
201
-
202
-
203
-
204
-
205
-
206
-
207
-
208
-
209
-
210
-
211
-
212
-
213
-
214
 |
 |
163
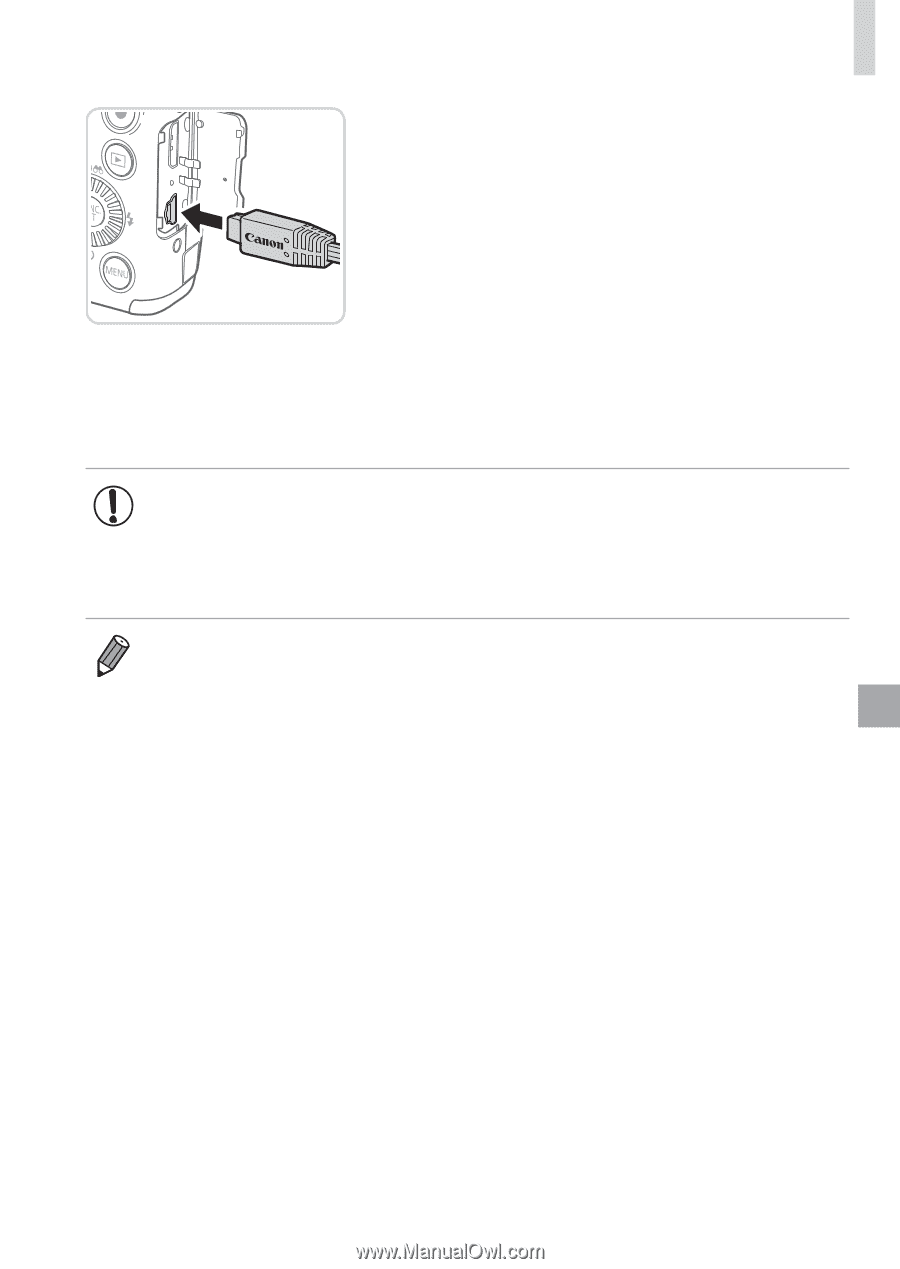
Using Optional Accessories
z
On the camera, open the terminal cover
and insert the cable plug fully into the
camera terminal.
3
Display images.
z
Follow steps 3 – 4 on
=
160 to display
images.
•
Correct display is not possible unless the camera video output
format (NTSC or PAL) matches the TV format. To change the
video output format, press the <
n
> button and choose [Video
System] on the [
3
] tab.
•
When the camera and TV are connected, you can also shoot while
previewing shots on the larger screen of the TV. To shoot, follow the same
steps as when using the camera screen. However, AF-Point Zoom (
=
60)
and MF-Point Zoom (
=
90) are not available.