Cisco SPA525G2 User Manual - Page 57
Using the Call History Lists
 |
View all Cisco SPA525G2 manuals
Add to My Manuals
Save this manual to your list of manuals |
Page 57 highlights
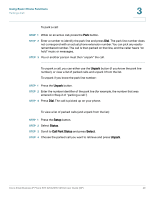
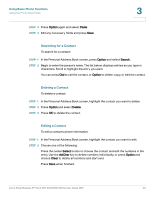
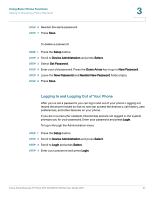
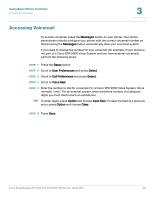
Using Basic Phone Functions Using the Call History Lists 3 Using the Corporate Directory NOTE Depending on your Internet Telephony Service Provider or corporate network setup, you may not have a corporate directory available to you. To use the corporate directory: STEP 1 Press the Setup button and select Directories. STEP 2 Scroll to the Corporate Directory you want to view and press Select. To use the Lightweight Directory Access Protocol (LDAP) directory: STEP 1 Press the Setup button and select Directories. STEP 2 Scroll to the LDAP Directory and press Select. STEP 3 Choose the type of search to perform and press Select: • Simple Search: Enter a last name and press Search. A first name may be required if too many results are found for the last name. • Advanced Search: The fields available in advanced search depend on your system configuration. Enter information into the fields and press Search. STEP 4 In the results, press Dial to dial the contact, or choose one of the other options. Using the Call History Lists You can also view the Call History Lists from your PC using the IP Phone Web Interface. See the "Viewing Call History Lists" section on page 99. Viewing the Call History Lists To view the Call History lists: STEP 1 Press the Setup button. STEP 2 Scroll to Call History and press Select. Cisco Small Business IP Phone SPA 525G/SPA 525G2 User Guide (SIP) 54
-
 1
1 -
2
-
3
-
4
-
5
-
6
-
7
-
8
-
9
-
10
-
11
-
12
-
13
-
14
-
15
-
16
-
17
-
18
-
19
-
20
-
21
-
22
-
23
-
24
-
25
-
26
-
27
-
28
-
29
-
30
-
31
-
32
-
33
-
34
-
35
-
36
-
37
-
38
-
39
-
40
-
41
-
42
-
43
-
44
-
45
-
46
-
47
-
48
-
49
-
50
-
51
-
 52
52 -
 53
53 -
 54
54 -
 55
55 -
 56
56 -
 57
57 -
 58
58 -
 59
59 -
 60
60 -
 61
61 -
 62
62 -
63
-
64
-
65
-
66
-
67
-
68
-
69
-
70
-
71
-
72
-
73
-
74
-
75
-
76
-
77
-
78
-
79
-
80
-
81
-
82
-
83
-
84
-
85
-
86
-
87
-
88
-
89
-
90
-
91
-
92
-
93
-
94
-
95
-
96
-
97
-
98
-
99
-
100
-
101
-
102
-
103
-
104
-
105
-
106
-
107
-
108
-
109
-
110
-
111
-
112
-
113
-
114
-
115
-
116
-
117
 |
 |
