Craftsman 21829 Operation Manual - Page 22
Toins'i'allbladeguardassembly - dado plate
 |
View all Craftsman 21829 manuals
Add to My Manuals
Save this manual to your list of manuals |
Page 22 highlights
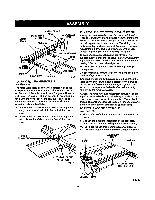
TO INS'i'ALLBLADEGUARDASSEMBLY See Figure 23. Proper installationof the blade guard assembly means that the saw blade and rivingknifeare in alignment. ALWAYS align the rivingknife to the saw b/ade priorto turning on the table saw. • Lower the blade and remove the throat plate. • Make sure the bevel looldng leveris securelypushed to the (eft. Raise the saw blade to its full height by turning the height/bevel adjusting handwheelclockwise. • Loosen the two hex nuts enoughto slide the riving knife down between the shims. Do not remove the he]
-
 1
1 -
2
-
3
-
4
-
5
-
6
-
7
-
8
-
9
-
10
-
11
-
12
-
13
-
14
-
15
-
16
-
 17
17 -
 18
18 -
 19
19 -
 20
20 -
 21
21 -
 22
22 -
 23
23 -
 24
24 -
 25
25 -
 26
26 -
 27
27 -
28
-
29
-
30
-
31
-
32
-
33
-
34
-
35
-
36
-
37
-
38
-
39
-
40
-
41
-
42
-
43
-
44
-
45
-
46
-
47
-
48
-
49
-
50
-
51
-
52
-
53
-
54
-
55
-
56
-
57
-
58
 |
 |
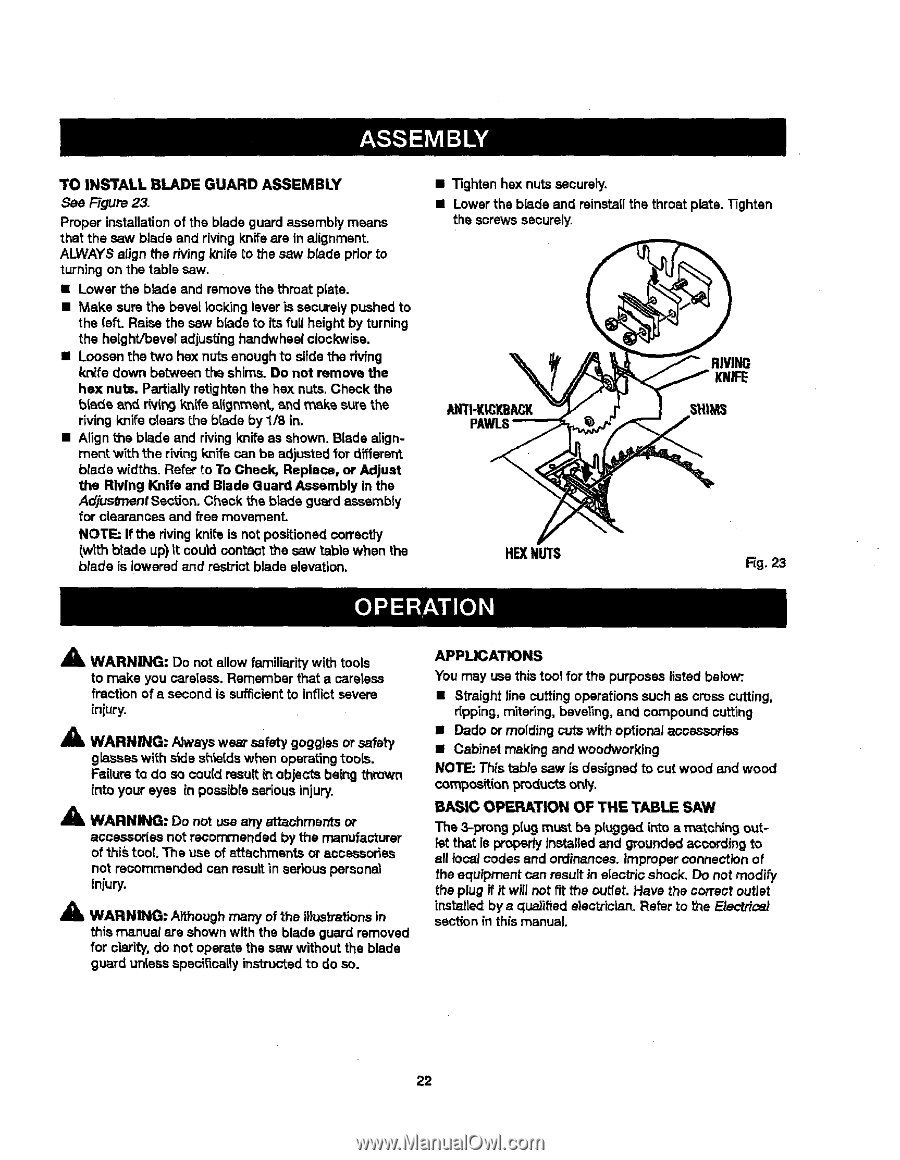
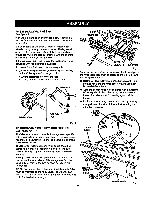
TOINS'i'ALLBLADEGUARDASSEMBLY
See Figure 23.
Proper installationof
the blade
guardassemblymeans
that the saw blade and rivingknifeare in alignment.
ALWAYS
align
the
riving
knife to the
saw b/ade priorto
turning on
the
table saw.
•
Lower
the
blade
and
remove
the
throat plate.
•
Make
sure the bevel
looldng
leveris securelypushed to
the (eft. Raise the saw blade
to its full
height by turning
the height/bevel adjusting handwheelclockwise.
•
Loosen
the two
hex nuts
enough
to
slide the riving
knife
down
between the
shims. Do not remove the
he]<nuts.
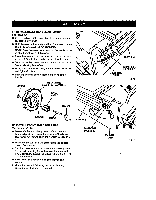
Partially
retightenthe hex nuts,Check the
blade
and
r(vin9
knife alignment, _nd mska
sure
the
rlving knife
clears the blade by 1/8
in.
•
Align
the
blade and riving
knife
as shown. Blade
align-
merit with the
rivingknife can be adjusted
for
diffarard
blade widths. Refer
1o
To
Cheek,
Replace, or Adjust
the Riving Knife and Blade Guard Assembly in the
AdjusO'nent
Section, Check the blade guard eseambiy
for
clearances and free movemanL
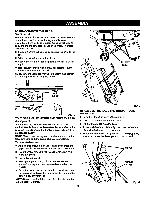
NOTE: If
the
riving
knife
is not positionedcorrectly
lwtth
blade
up)
it could contact
the
saw
table
when the
blade is lowered znd rastJ'ict
blade
elevation.
•
Tighten hex nuts securely.
•
Lowerthe blade and reinstafl
the
throat plate. Tighten
the screws securely.
RIW_
ANTI-KICKBACK
SHIMS
H_N_S
Fig. 23
A
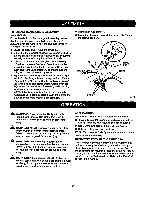
41L WARNING:
Do not allow familiaritywith tools
to
make
you
careless. Remember
that a
sarelese
fraction
of a second is suf_cfentto inflict
severe
injury.
A
i
WARNING;
Ah_,ayswest
safety
goggles
or safer7
gbsses with side shieldswhen operating
tools.
Failure
to do
so could result
in
objects
being thrown
into
your eyes
in
posaibieserious injury.
_lk
WARNING:
Do
not
usa any
attachments or
accessories
not
recommended
by
the
manufacturer
of'ibis
tool.
The
use
of
attachments
or
accessories
not recommended
can
result
in serious
personal
injury.
A
WARNING:
Aifhough
many
of
the illustrat;ons
in
this
manual
are
shown with
the
blade guard removed
for clarity, do
not
operate the saw without the blade
guard unless specifically
instxucted
to do
so.
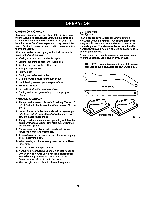
APPLICATIONS
You may usethis tool for the purposes
listed below:.
•
Straight
linecuttingoperationssuchas
cross cutting,
r_pping,mitering,beveling,and
compound
cutting
•
Dado or
molding outs
with optional accessories
•
Cabinet making and woodworking
NOl'F.: This
table saw Jsdesigned to cut wood
and
wood
compoe_i_nl:_mdu_s
only,
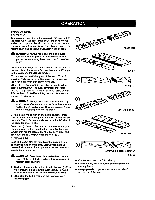
BASIC OPERATION
OF THE TABLE SAW
The 3-prong p[ug
must be plugged into a
matchingout-
let
that is
property
lnst_fled
and grounded
according
to
all
focal
codes
and
ordinances.
Improper
connection
of
the equipment
can
result
in elec_c
shock.
Do
not modify
the
plugif
it
will not.
fit the
cuber.Have
the
correct
outlet
inst_led
bye
qus)ified
electrician.
Refer
to
the
E}ectric_
section
in
this manual.
22