Craftsman 21829 Operation Manual - Page 33
A Bevel Rip Cut
 |
View all Craftsman 21829 manuals
Add to My Manuals
Save this manual to your list of manuals |
Page 33 highlights
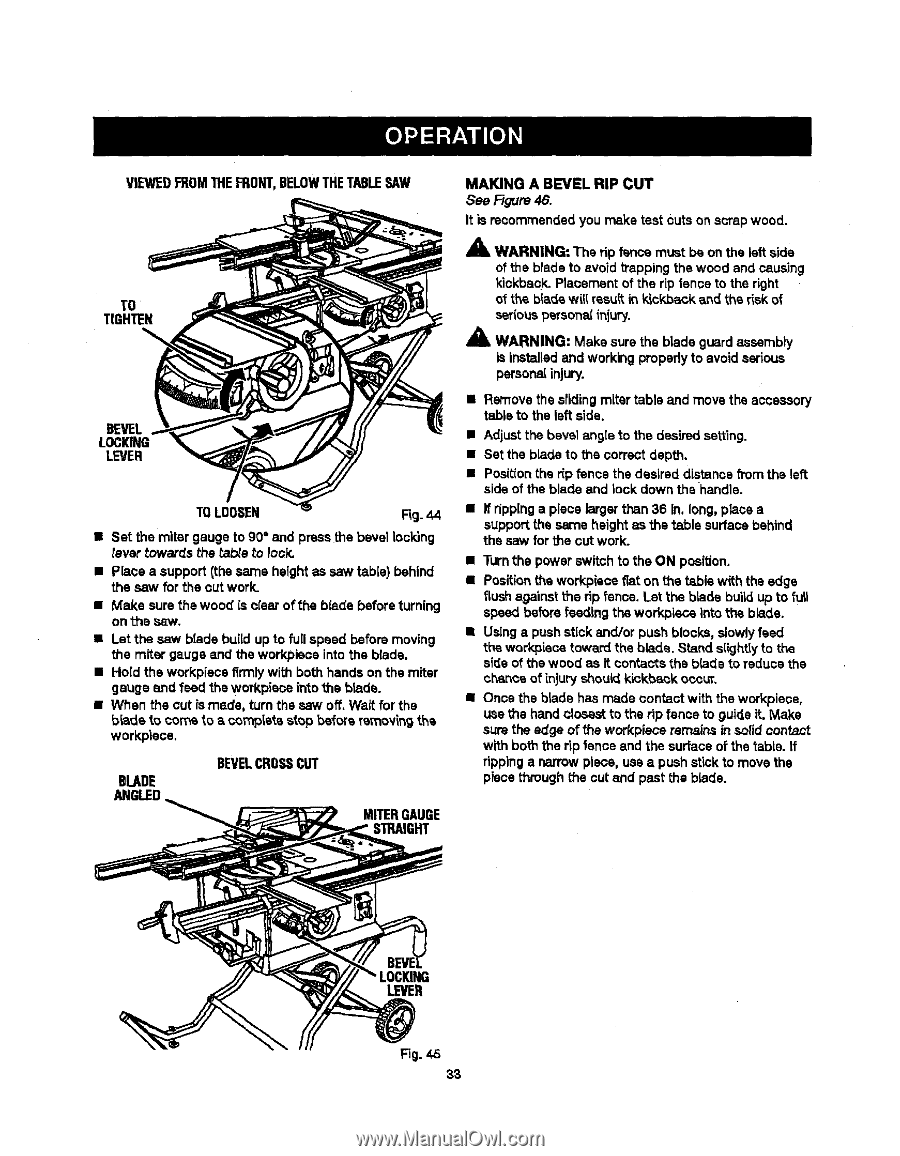
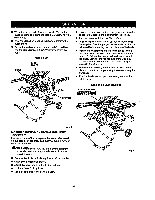
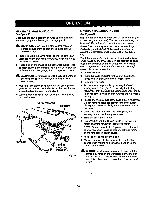
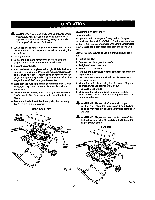
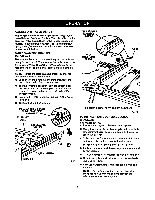
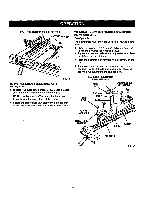
VIEWEDFROMTHEFRONT,BELOWTHETABLESAW TO TIGHTEN MAKING A BEVEL RIP CUT See Rgure 48. It is recommended you make test cuts on scrap wood. A A WARNING: The rip f_ce must be on the left side of the blade to avoid _apping the wood and causing kiokback. Plaoementof the tip fence to the right of the blade will resultin k_ckbackarid the risk of _fiouspersonalinjury. _1_ WARNING: Make sure the blade guard assembly is installedand workingproperly to avoidserious persona{injury. BEVEL , LOCKING LEVER TOLOOSEN Rg. 44 • Set the miter gauge to g0° and press the bevel Iocldng tevar towards the tabte to Iosk. • Place a support (the same height as saw table) behind the saw for the cut work. • Make sure the wood is olaar of the blade beforeturning on the sew. • Let the saw blade build up to fullspeed before moving the miter gauge and the workplace into the blade. • Hold the workplace firmlywith both hands on the miter gauge and feed the workpieoe intothe blade. • When the cut _smade, turn the saw off. Wait for the blade to corns to a complata stop before rsmov_ngAs workpisce. BLADE ANGLED BEVELCROSSCUT MITERGAUGE STRAIGHT • Remove the sliding miter table and move the accessory table to the left side. • Adjust the bevel angte to the desired setting. • Set the blade to the correct depth. • Positionthe r_pfence the desired distance from the left side of the blade and lock down the handle. • If rippinga piece larger than 36 in. long, place a supportthe same height as the _.ble surfacebehind the saw for the cut work. • Turnthe power switch to the ON position. • Positionthe workpisce fiat on the tabis with the edge flush against therip fence. Let the bisde buii_ up to full speed before feeding the workplace into the blade. • Using a push stick and/or push blocks, slowlyfeed the workplace toward the bb.de. Stand slightlyto the sl_e of the wood as it contacts the blade to reduce the chance of injury shouldkickt_k occur. • Once the blade has made contact with the workplace, use the hand closest to the rip fence to guide it. Make sure the edge of the workplace remains in solid contact with both the rip fence and the surface of the table. If rippinga narrow piece, use a push stickto movethe piece through the cut and past the blade. LEVER
-
 1
1 -
2
-
3
-
4
-
5
-
6
-
7
-
8
-
9
-
10
-
11
-
12
-
13
-
14
-
15
-
16
-
17
-
18
-
19
-
20
-
21
-
22
-
23
-
24
-
25
-
26
-
27
-
 28
28 -
 29
29 -
 30
30 -
 31
31 -
 32
32 -
 33
33 -
 34
34 -
 35
35 -
 36
36 -
 37
37 -
 38
38 -
39
-
40
-
41
-
42
-
43
-
44
-
45
-
46
-
47
-
48
-
49
-
50
-
51
-
52
-
53
-
54
-
55
-
56
-
57
-
58
 |
 |