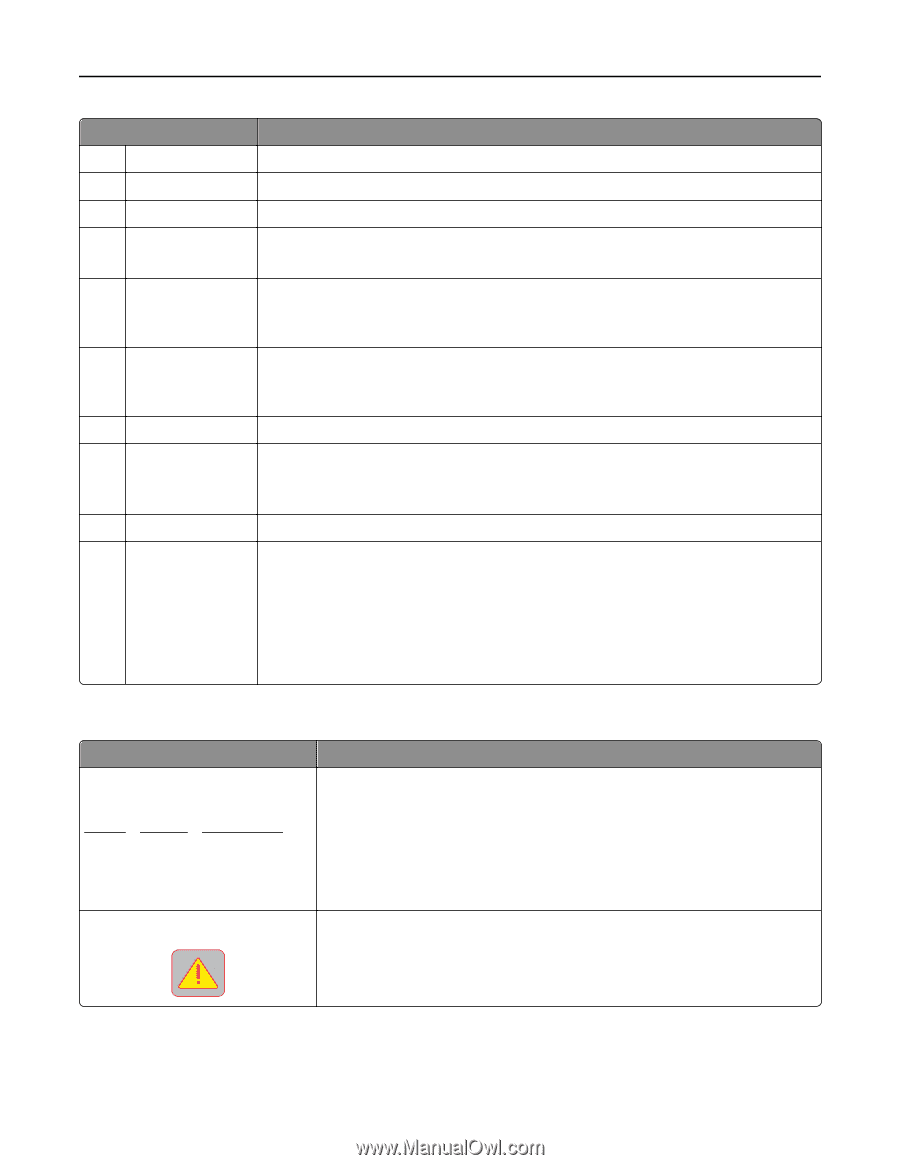
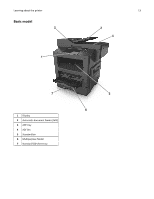
Dell B3465dn Mono Laser Multifunction Printer User Guide - Page 18
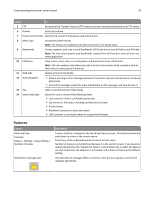
Features, Touch, Description
 |
View all Dell B3465dn Mono Laser Multifunction Printer manuals
Add to My Manuals
Save this manual to your list of manuals |
Page 18 highlights
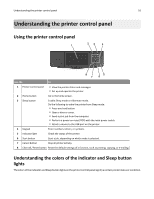
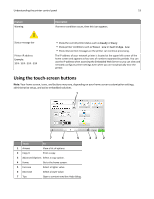
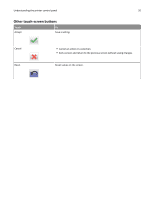
Understanding the printer control panel 18 Touch To 5 FTP Access the File Transfer Protocol (FTP) menus and scan documents directly to an FTP server. 6 Arrows Scroll up or down. 7 Forms and Favorites Quickly find and print frequently used online forms. 8 Menu icon Access the printer menus. Note: The menus are available only when the printer is in Ready state. 9 Bookmarks Create, organize, and save a set of bookmarks (URL) into a tree view of folders and file links. Note: The tree view supports only bookmarks created from this function, and not from any other application. 10 USB Drive View, select, print, scan, or e‑mail photos and documents from a flash drive. Note: This icon appears only when you return to the home screen while a memory card or flash drive is connected to the printer. 11 Held Jobs Display all current held jobs. 12 Status/Supplies • Show a warning or error message whenever the printer requires intervention to continue processing. • Access the messages screen for more information on the message, and how to clear it. 13 Tips Open a context-sensitive Help dialog. 14 Search held jobs Search for one or more of the following items: • User name for held or confidential print jobs • Job names for held jobs, excluding confidential print jobs • Profile names • Bookmark container or print job names • USB container or print job names for supported file types Features Feature Menu trail line Example: Menus > Settings > Copy Settings > Number of Copies Attendance message alert Description A menu trail line is located at the top of each menu screen. This feature shows the path taken to arrive at the current menu. Touch any of the underlined words to return to that menu. Number of Copies is not underlined because it is the current screen. If you touch an underlined word on the "Number of Copies" screen before the number of copies is set and saved, then the selection is not saved, and it does not become the default setting. If an attendance message affects a function, then this icon appears and the red indicator light blinks.
-
 1
1 -
2
-
3
-
4
-
5
-
6
-
7
-
8
-
9
-
10
-
11
-
12
-
 13
13 -
 14
14 -
 15
15 -
 16
16 -
 17
17 -
 18
18 -
 19
19 -
 20
20 -
 21
21 -
 22
22 -
 23
23 -
24
-
25
-
26
-
27
-
28
-
29
-
30
-
31
-
32
-
33
-
34
-
35
-
36
-
37
-
38
-
39
-
40
-
41
-
42
-
43
-
44
-
45
-
46
-
47
-
48
-
49
-
50
-
51
-
52
-
53
-
54
-
55
-
56
-
57
-
58
-
59
-
60
-
61
-
62
-
63
-
64
-
65
-
66
-
67
-
68
-
69
-
70
-
71
-
72
-
73
-
74
-
75
-
76
-
77
-
78
-
79
-
80
-
81
-
82
-
83
-
84
-
85
-
86
-
87
-
88
-
89
-
90
-
91
-
92
-
93
-
94
-
95
-
96
-
97
-
98
-
99
-
100
-
101
-
102
-
103
-
104
-
105
-
106
-
107
-
108
-
109
-
110
-
111
-
112
-
113
-
114
-
115
-
116
-
117
-
118
-
119
-
120
-
121
-
122
-
123
-
124
-
125
-
126
-
127
-
128
-
129
-
130
-
131
-
132
-
133
-
134
-
135
-
136
-
137
-
138
-
139
-
140
-
141
-
142
-
143
-
144
-
145
-
146
-
147
-
148
-
149
-
150
-
151
-
152
-
153
-
154
-
155
-
156
-
157
-
158
-
159
-
160
-
161
-
162
-
163
-
164
-
165
-
166
-
167
-
168
-
169
-
170
-
171
-
172
-
173
-
174
-
175
-
176
-
177
-
178
-
179
-
180
-
181
-
182
-
183
-
184
-
185
-
186
-
187
-
188
-
189
-
190
-
191
-
192
-
193
-
194
-
195
-
196
-
197
-
198
-
199
-
200
-
201
-
202
-
203
-
204
-
205
-
206
-
207
-
208
-
209
-
210
-
211
-
212
-
213
-
214
-
215
-
216
-
217
-
218
-
219
-
220
-
221
-
222
-
223
-
224
-
225
-
226
-
227
-
228
-
229
-
230
-
231
-
232
-
233
-
234
-
235
-
236
-
237
-
238
-
239
-
240
-
241
-
242
-
243
-
244
-
245
-
246
-
247
-
248
-
249
-
250
-
251
-
252
-
253
-
254
-
255
-
256
-
257
-
258
-
259
-
260
-
261
-
262
-
263
-
264
-
265
-
266
-
267
-
268
-
269
-
270
-
271
-
272
-
273
-
274
-
275
-
276
-
277
-
278
-
279
-
280
-
281
-
282
-
283
-
284
-
285
-
286
-
287
-
288
-
289
-
290
-
291
-
292
-
293
-
294
-
295
-
296
-
297
-
298
-
299
-
300
-
301
-
302
-
303
-
304
-
305
-
306
-
307
-
308
-
309
-
310
-
311
-
312
-
313
-
314
-
315
-
316
-
317
-
318
-
319
-
320
-
321
-
322
-
323
-
324
 |
 |