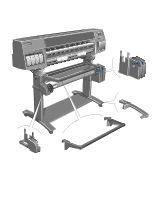
HP 1050c HP DesignJet 1000 Series Take-Up Reel UserÂ’s Guide - C60 - Page 13
Installing the Take-Up Reel - designjet user guide
 |
View all HP 1050c manuals
Add to My Manuals
Save this manual to your list of manuals |
Page 13 highlights
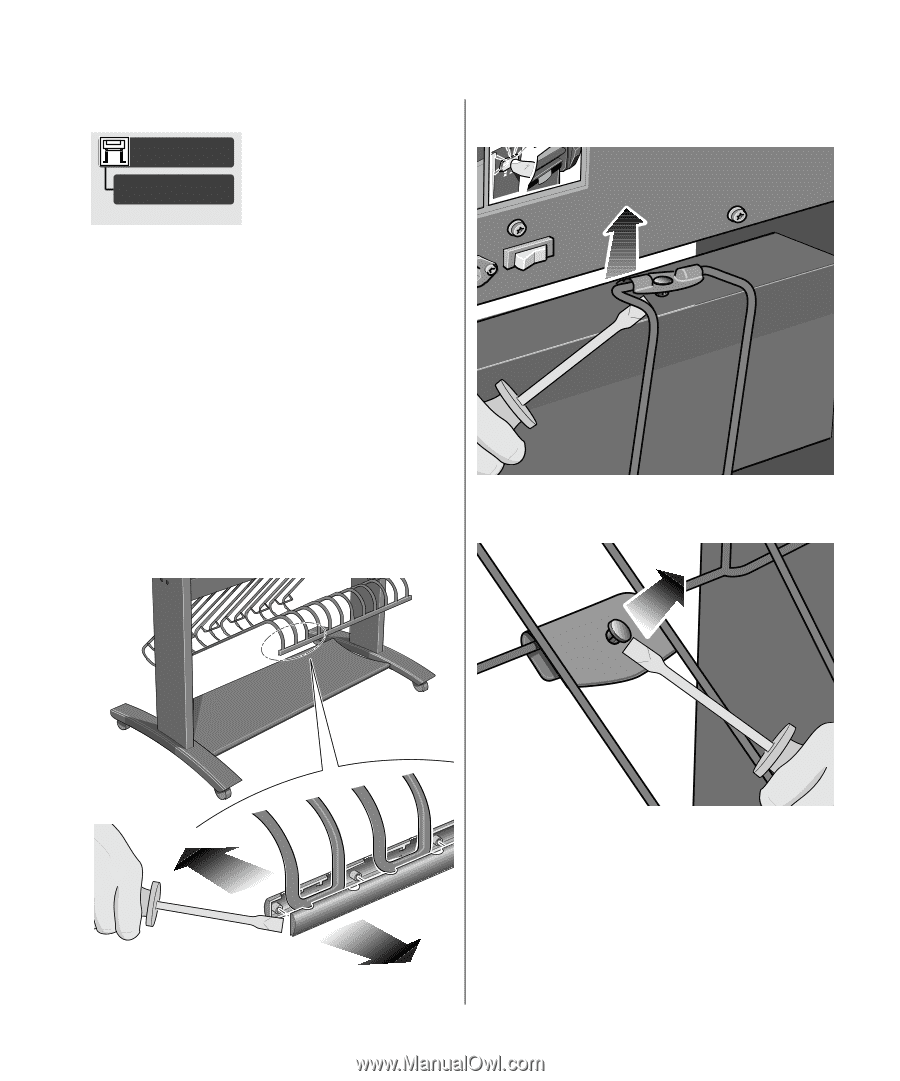
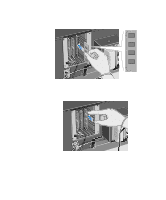
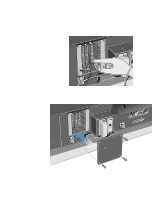
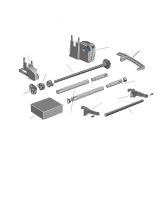
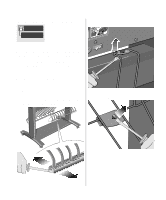
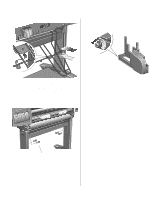
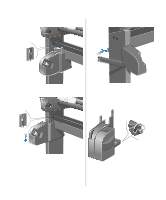
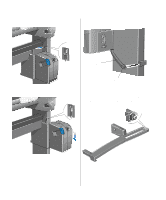
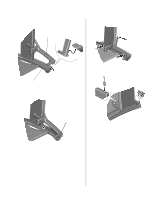
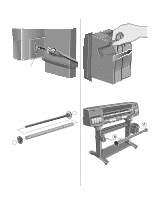
Installing the Take-Up Reel 6. Carefully lever the six retaining clips from the paper-bin support. Device Setup TUR installed 1. Using the front panel, select the Printer Setup menu, then "Device Setup", then "TUR installed", and change the value of this option from No to Yes. If you do not find any "TUR installed" option, you may need to upgrade your printer's firmware (see Upgrading your Printer, on page 4). 2. If a roll of paper is loaded, remove it (see Chapter 3 of the User's Guide). 3. If the bin cover is in use, remove it. 4. Remove the bin assembly with a flat-blade screwdriver. 7. Carefully lever the six retaining clips from the 5. Carefully lever apart the capping strip assembly cross-brace assembly. through the holes at the bottom. 13 HP DesignJet 1000 Series Take-Up Reel
-
 1
1 -
2
-
3
-
4
-
5
-
6
-
7
-
 8
8 -
 9
9 -
 10
10 -
 11
11 -
 12
12 -
 13
13 -
 14
14 -
 15
15 -
 16
16 -
 17
17 -
 18
18 -
19
-
20
-
21
-
22
-
23
-
24
-
25
-
26
-
27
-
28
-
29
-
30
-
31
-
32
-
33
-
34
-
35
-
36
-
37
-
38
-
39
-
40
-
41
-
42
-
43
-
44
 |
 |