HP Designjet 4500 HP Designjet 4500 Printer Series - Setup Poster - Page 13
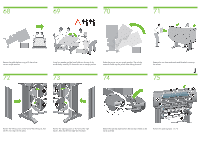
Wait until you see this message ~10 minutes. Highlight - ink cartridges
 |
View all HP Designjet 4500 manuals
Add to My Manuals
Save this manual to your list of manuals |
Page 13 highlights
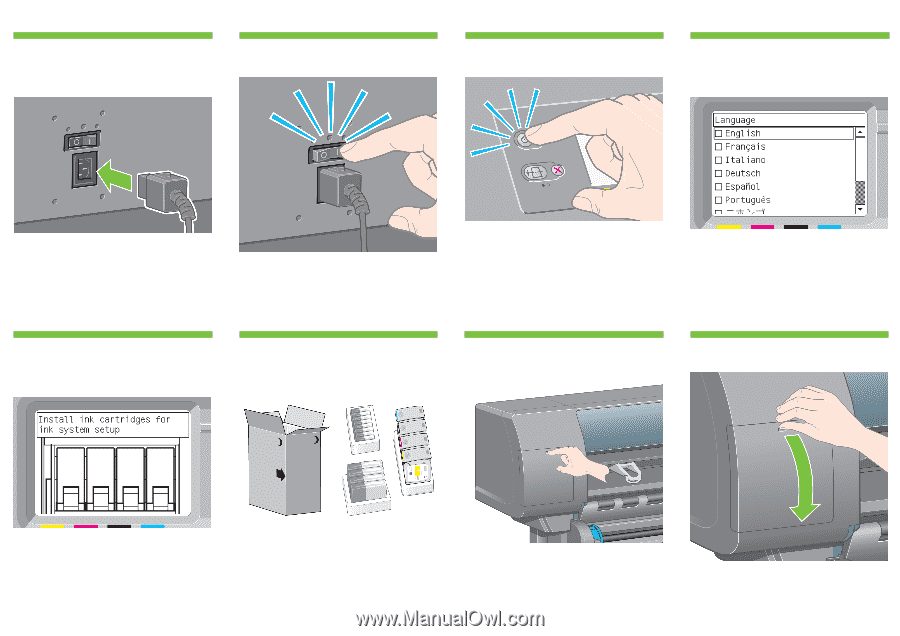
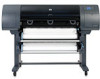
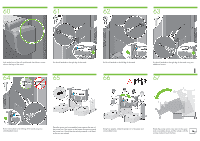
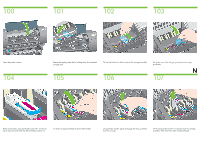
84 85 86 87 Plug the power cable into the rear of the printer, then plug the other end into the AC power outlet. 88 Turn the power switch at the rear of the printer to the on position. 89 If the power light on the front panel remains off, press the Power key to switch on the printer. Note: This printer is Energy Star compliant and can be left switched on without wasting energy. Leaving it on improves response time and overall system reliability. 90 Wait until you see this message (~10 minutes). Highlight your language using the Up and Down keys. Press the Select (¸) key. L 91 The front panel will now display how to install the ink supplies. Remove the printheads, printhead cleaners, and ink cartridges from the consumables box. Find the ink cartridge door, which is on the left side of the printer. Open the ink cartridge door.
-
 1
1 -
2
-
3
-
4
-
5
-
6
-
7
-
 8
8 -
 9
9 -
 10
10 -
 11
11 -
 12
12 -
 13
13 -
 14
14 -
 15
15 -
 16
16 -
 17
17 -
 18
18 -
19
-
20
-
21
-
22
-
23
-
24
-
25
-
26
-
27
 |
 |