HP p650 HP p650 Digital Camera - User Manual - Page 47
Using Scene Information Screen, Scene Mode Precautions
 |
View all HP p650 manuals
Add to My Manuals
Save this manual to your list of manuals |
Page 47 highlights
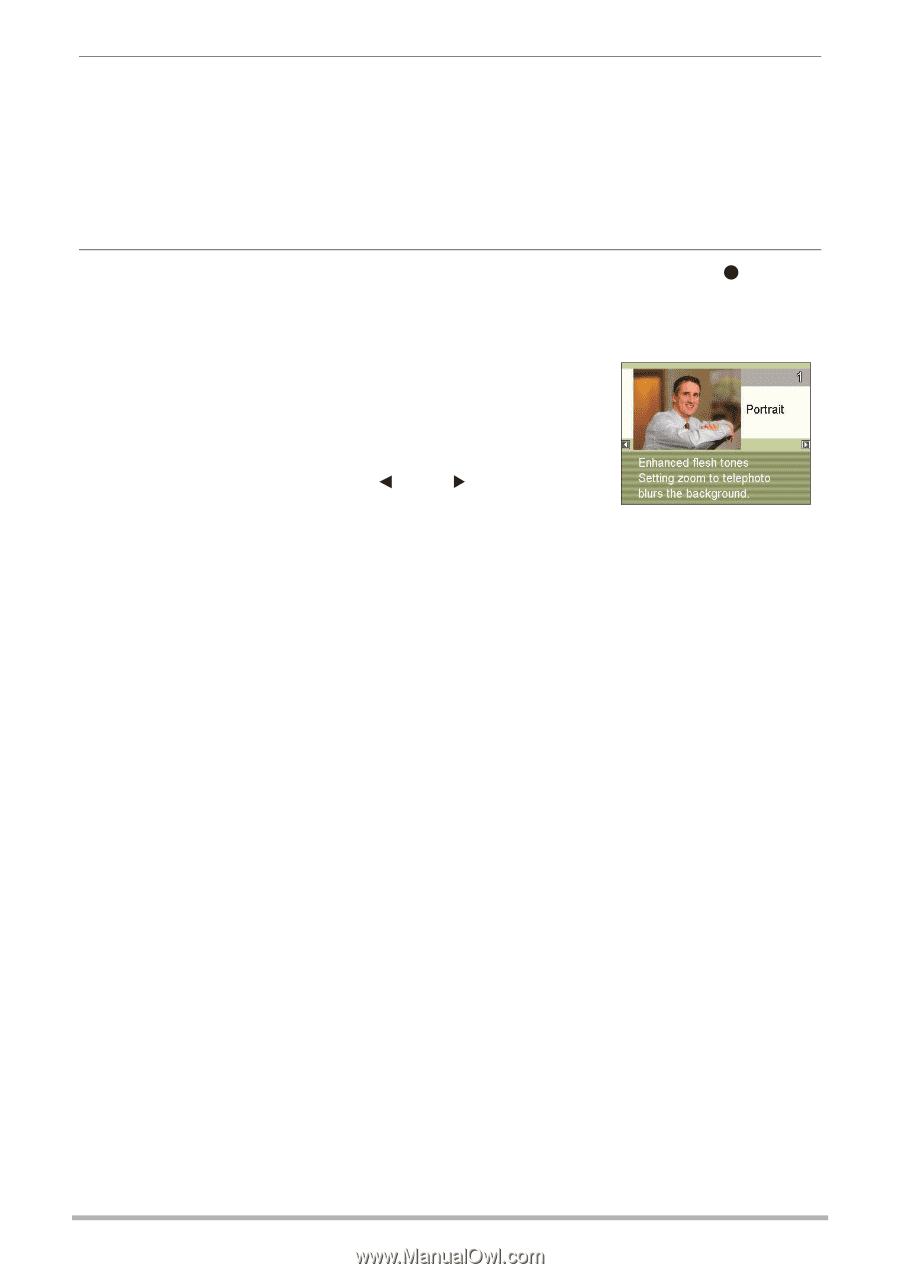
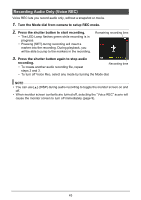
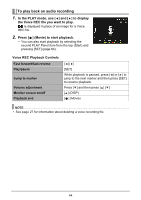
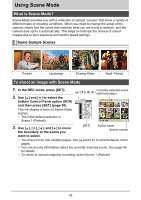
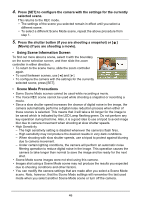
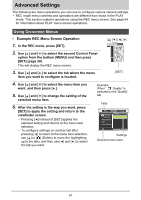
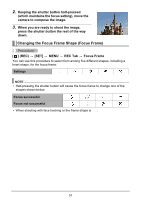
4. Press [SET] to configure the camera with the settings for the currently selected scene. This returns to the REC mode. • The settings of the scene you selected remain in effect until you select a different scene. • To select a different Scene Mode scene, repeat the above procedure from step 1. 5. Press the shutter button (if you are shooting a snapshot) or [ ] (Movie) (if you are shooting a movie). • Using Scene Information Screen To find out more about a scene, select it with the boundary on the scene selection screen, and then slide the zoom controller in either direction. • To return to the scene menu, slide the zoom controller again. • To scroll between scenes, use [ ] and [ ]. • To configure the camera with the settings for the currently selected scene, press [SET]. • Scene Mode Precautions • Some Scene Mode scenes cannot be used while recording a movie. • The Voice REC scene cannot be used while shooting a snapshot or recording a movie. • Since a slow shutter speed increases the chance of digital noise in the image, the camera automatically performs a digital noise reduction process when either of these scenes is selected. This means that it will take a bit longer for the image to be saved which is indicated by the LED Lamp flashing green. Do not perform any key operation during that time. Also, it is a good idea to use a tripod to avoid image blur due to camera movement when shooting at slow shutter speeds. • High Sensitivity - The high sensitivity setting is disabled whenever the camera's flash fires. - High sensitivity may not produce the desired results in very dark conditions. - When shooting with slow shutter speeds, use a tripod to protect against blurring due to camera movement. - Under certain lighting conditions, the camera will perform an automatic noise filtering operation to reduce digital noise in the image. This operation causes the camera to take longer than normal to save the image and be ready for the next shot. • Scene Mode scene images were not shot using this camera. • Images shot using a Scene Mode scene may not produce the results you expected due to shooting conditions and other factors. • You can modify the camera settings that are made after you select a Scene Mode scene. Note, however, that the Scene Mode settings will remember the last used mode when you select another Scene Mode scene or turn off the camera. 46
-
 1
1 -
2
-
3
-
4
-
5
-
6
-
7
-
8
-
9
-
10
-
11
-
12
-
13
-
14
-
15
-
16
-
17
-
18
-
19
-
20
-
21
-
22
-
23
-
24
-
25
-
26
-
27
-
28
-
29
-
30
-
31
-
32
-
33
-
34
-
35
-
36
-
37
-
38
-
39
-
40
-
41
-
 42
42 -
 43
43 -
 44
44 -
 45
45 -
 46
46 -
 47
47 -
 48
48 -
 49
49 -
 50
50 -
 51
51 -
 52
52 -
53
-
54
-
55
-
56
-
57
-
58
-
59
-
60
-
61
-
62
-
63
-
64
-
65
-
66
-
67
-
68
-
69
-
70
-
71
-
72
-
73
-
74
-
75
-
76
-
77
-
78
-
79
-
80
-
81
-
82
-
83
-
84
-
85
-
86
-
87
-
88
-
89
-
90
-
91
-
92
-
93
-
94
-
95
-
96
-
97
-
98
-
99
-
100
-
101
-
102
-
103
-
104
-
105
-
106
-
107
-
108
-
109
-
110
-
111
-
112
-
113
 |
 |