HP p650 HP p650 Digital Camera - User Manual - Page 80
Movie Playback Precautions, To connect the camera to your computer and save files
 |
View all HP p650 manuals
Add to My Manuals
Save this manual to your list of manuals |
Page 80 highlights
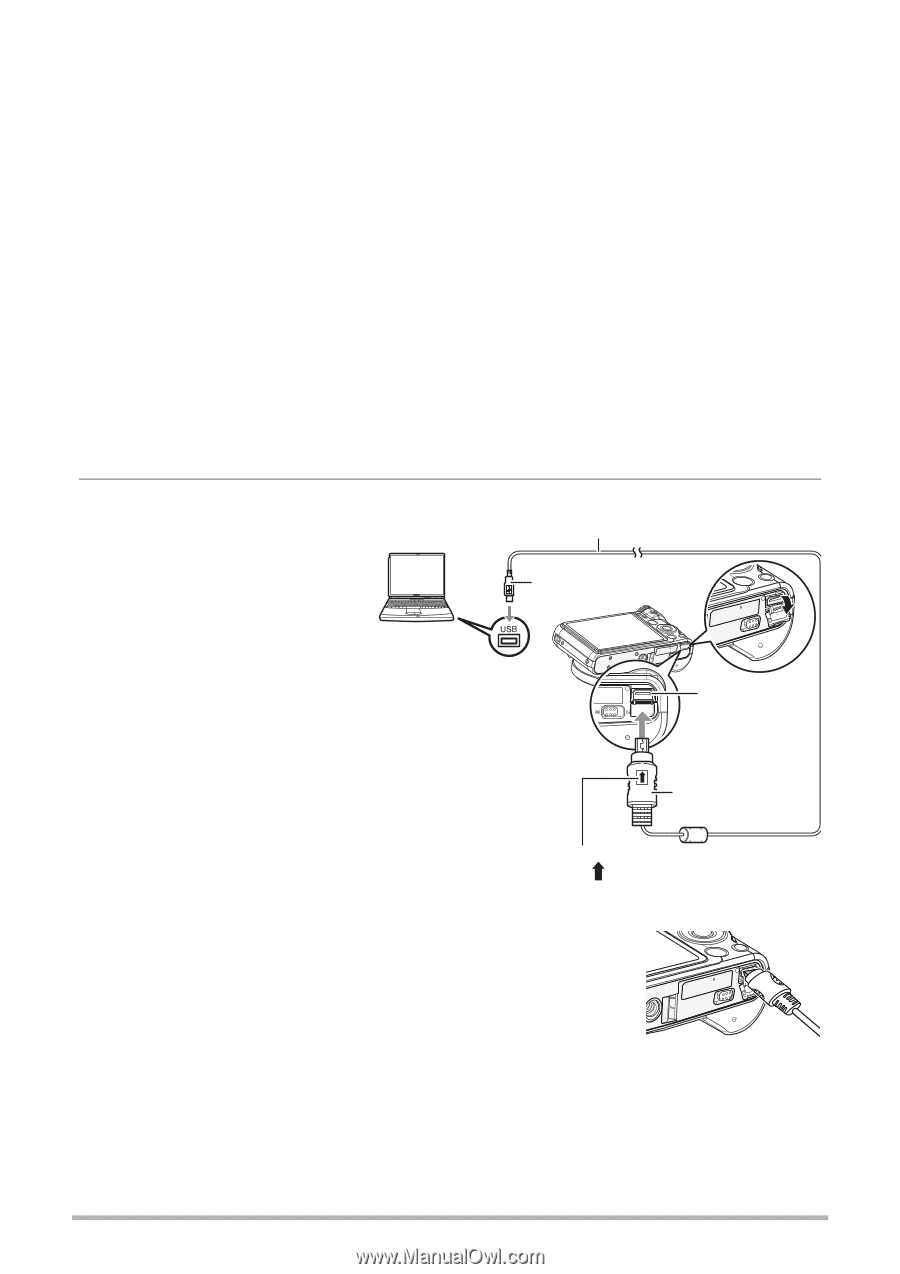
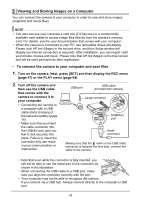
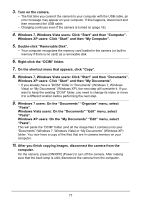
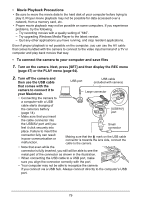
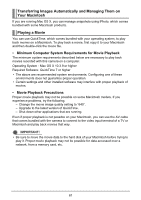
• Movie Playback Precautions • Be sure to move the movie data to the hard disk of your computer before trying to play it. Proper movie playback may not be possible for data accessed over a network, from a memory card, etc. • Proper movie playback may not be possible on some computers. If you experience problems, try the following. - Try recording movies with a quality setting of "640". - Try upgrading Windows Media Player to the latest version. - Quit any other applications you have running, and stop resident applications. Even if proper playback is not possible on the computer, you can use the AV cable that comes bundled with the camera to connect to the video input terminal of a TV or computer and play back movies that way. • To connect the camera to your computer and save files 1. Turn on the camera. Next, press [SET] and then display the REC menu (page 47) or the PLAY menu (page 64). 2. Turn off the camera and then use the USB cable USB port USB cable (included with camera) that comes with the camera to connect it to your Macintosh. Large connector • Connecting the camera to a computer with a USB cable starts charging of the camera's battery (page 14). [USB/AV] port • Make sure that you insert the cable connector into the USB/AV port until you feel it click securely into Small connector place. Failure to insert the connector fully can result in poor communication or malfunction. Making sure that the mark on the USB cable connector is towards the lens side, connect the cable to the camera. • Note that even while the connector is fully inserted, you still will be able to see the metal part of the connector as shown in the illustration. • When connecting the USB cable to a USB port, make sure you align the connector correctly with the port. • Your computer may not be able to recognize the camera if you connect via a USB hub. Always connect directly to the computer's USB port. 79
-
 1
1 -
2
-
3
-
4
-
5
-
6
-
7
-
8
-
9
-
10
-
11
-
12
-
13
-
14
-
15
-
16
-
17
-
18
-
19
-
20
-
21
-
22
-
23
-
24
-
25
-
26
-
27
-
28
-
29
-
30
-
31
-
32
-
33
-
34
-
35
-
36
-
37
-
38
-
39
-
40
-
41
-
42
-
43
-
44
-
45
-
46
-
47
-
48
-
49
-
50
-
51
-
52
-
53
-
54
-
55
-
56
-
57
-
58
-
59
-
60
-
61
-
62
-
63
-
64
-
65
-
66
-
67
-
68
-
69
-
70
-
71
-
72
-
73
-
74
-
 75
75 -
 76
76 -
 77
77 -
 78
78 -
 79
79 -
 80
80 -
 81
81 -
 82
82 -
 83
83 -
 84
84 -
 85
85 -
86
-
87
-
88
-
89
-
90
-
91
-
92
-
93
-
94
-
95
-
96
-
97
-
98
-
99
-
100
-
101
-
102
-
103
-
104
-
105
-
106
-
107
-
108
-
109
-
110
-
111
-
112
-
113
 |
 |