Konica Minolta bizhub 181 bizhub 181 GDI Print Controler User Manual - Page 30
Installing using the Add Printer wizard on Windows Vista, off this machine - network settings
 |
View all Konica Minolta bizhub 181 manuals
Add to My Manuals
Save this manual to your list of manuals |
Page 30 highlights
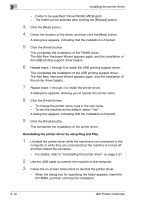
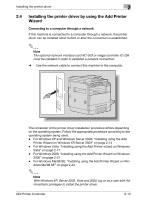
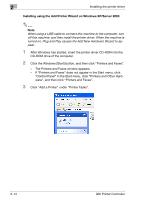
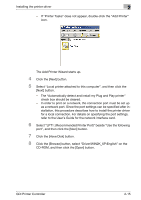
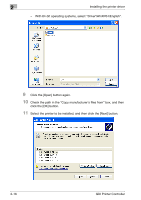
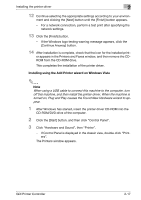
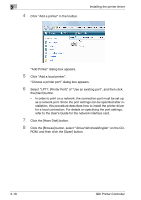
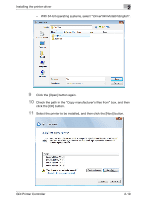
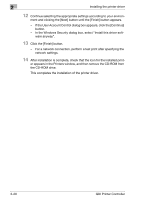
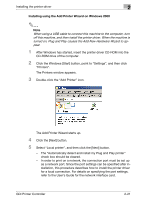
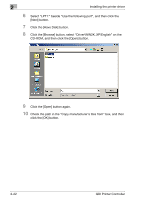
Installing the printer driver 2 12 Continue selecting the appropriate settings according to your environ- ment and clicking the [Next] button until the [Finish] button appears. - For a network connection, perform a test print after specifying the network settings. 13 Click the [Finish] button. - If the Windows logo testing warning message appears, click the [Continue Anyway] button. 14 After installation is complete, check that the icon for the installed print- er appears in the Printers and Faxes window, and then remove the CDROM from the CD-ROM drive. This completes the installation of the printer driver. Installing using the Add Printer wizard on Windows Vista 2 Note When using a USB cable to connect this machine to the computer, turn off this machine, and then install the printer driver. When the machine is turned on, Plug and Play causes the Found New Hardware wizard to appear. 1 After Windows has started, insert the printer driver CD-ROM into the CD-ROM/DVD drive of the computer. 2 Click the [Start] button, and then click "Control Panel". 3 Click "Hardware and Sound", then "Printer". - If Control Panel is displayed in the classic view, double-click "Printers". The Printers window appears. GDI Printer Controller 2-17
-
 1
1 -
2
-
3
-
4
-
5
-
6
-
7
-
8
-
9
-
10
-
11
-
12
-
13
-
14
-
15
-
16
-
17
-
18
-
19
-
20
-
21
-
22
-
23
-
24
-
 25
25 -
 26
26 -
 27
27 -
 28
28 -
 29
29 -
 30
30 -
 31
31 -
 32
32 -
 33
33 -
 34
34 -
 35
35 -
36
-
37
-
38
-
39
-
40
-
41
-
42
-
43
-
44
-
45
-
46
-
47
-
48
-
49
-
50
-
51
-
52
-
53
-
54
-
55
-
56
-
57
-
58
-
59
-
60
-
61
-
62
-
63
-
64
-
65
-
66
-
67
-
68
-
69
-
70
-
71
-
72
-
73
-
74
-
75
-
76
-
77
-
78
-
79
-
80
-
81
-
82
-
83
-
84
-
85
-
86
-
87
-
88
-
89
-
90
-
91
-
92
 |
 |
