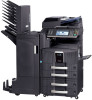
Kyocera TASKalfa 520i 420i/520i Printer Driver User Guide Rev-10.5 - Page 73
Editing a Prologue/Epilogue File, Specifying the Insertion Point
 |
View all Kyocera TASKalfa 520i manuals
Add to My Manuals
Save this manual to your list of manuals |
Page 73 highlights
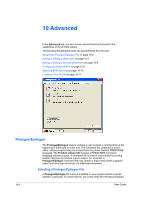
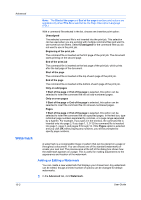
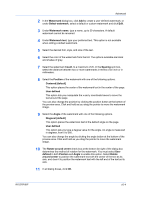
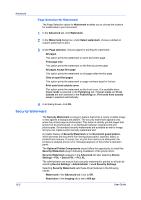
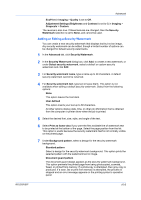
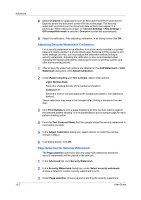
Advanced In the Prologue/Epilogue dialog box, select a Prologue/Epilogue file to insert into the print job. (If no file names are visible in the list, you must click Add to browse for files on your computer or network to add to the list.) After the file is selected, insertion point options will become available. Editing a Prologue/Epilogue File 1 In the Prologue/Epilogue dialog box, select a command file name from the list, and then click Edit. Microsoft Notepad opens for editing the text file. 2 Make your changes to the file. 3 Save the file, and exit Microsoft Notepad. Note: Editing and saving a command file overwrites the contents of the existing local or network file. Deleting a Prologue/Epilogue File 1 In the Prologue/Epilogue dialog box, select a Prologue/Epilogue file name from the list, and then click Delete. 2 In the delete confirmation box, click Yes to accept. Note: Only the file name is removed from the command file list. The file itself is not deleted, but remains on the network or local computer. Assigning a Prologue/Epilogue File 1 In the Prologue/Epilogue dialog box, select a Prologue/Epilogue file name from the list. 2 Under Insertion Point, select a place to insert the Prologue/Epilogue file. Unassigning a Prologue/Epilogue File When you designate a Prologue/Epilogue file as unassigned, you are removing it from the print job. It remains in the list. Unassigned selections are useful when the list contains several Prologue/Epilogue files, and you want to use some but not others. 1 In the Prologue/Epilogue dialog box, select a Prologue/Epilogue file name from the list. 2 Under Insertion Point, select Unassigned. Specifying the Insertion Point The insertion point is the location in the print job where the selected Prologue/Epilogue command file is processed by the printing system. Each file in the list can be assigned only one insertion point. KX DRIVER 10-2
-
 1
1 -
2
-
3
-
4
-
5
-
6
-
7
-
8
-
9
-
10
-
11
-
12
-
13
-
14
-
15
-
16
-
17
-
18
-
19
-
20
-
21
-
22
-
23
-
24
-
25
-
26
-
27
-
28
-
29
-
30
-
31
-
32
-
33
-
34
-
35
-
36
-
37
-
38
-
39
-
40
-
41
-
42
-
43
-
44
-
45
-
46
-
47
-
48
-
49
-
50
-
51
-
52
-
53
-
54
-
55
-
56
-
57
-
58
-
59
-
60
-
61
-
62
-
63
-
64
-
65
-
66
-
67
-
 68
68 -
 69
69 -
 70
70 -
 71
71 -
 72
72 -
 73
73 -
 74
74 -
 75
75 -
 76
76 -
 77
77 -
 78
78 -
79
-
80
-
81
-
82
-
83
-
84
-
85
-
86
-
87
-
88
-
89
-
90
-
91
-
92
-
93
 |
 |