Onkyo HT-S6300 Owner Manual - Page 64
Others, Troubleshooting - 7 1 home theater
 |
View all Onkyo HT-S6300 manuals
Add to My Manuals
Save this manual to your list of manuals |
Page 64 highlights
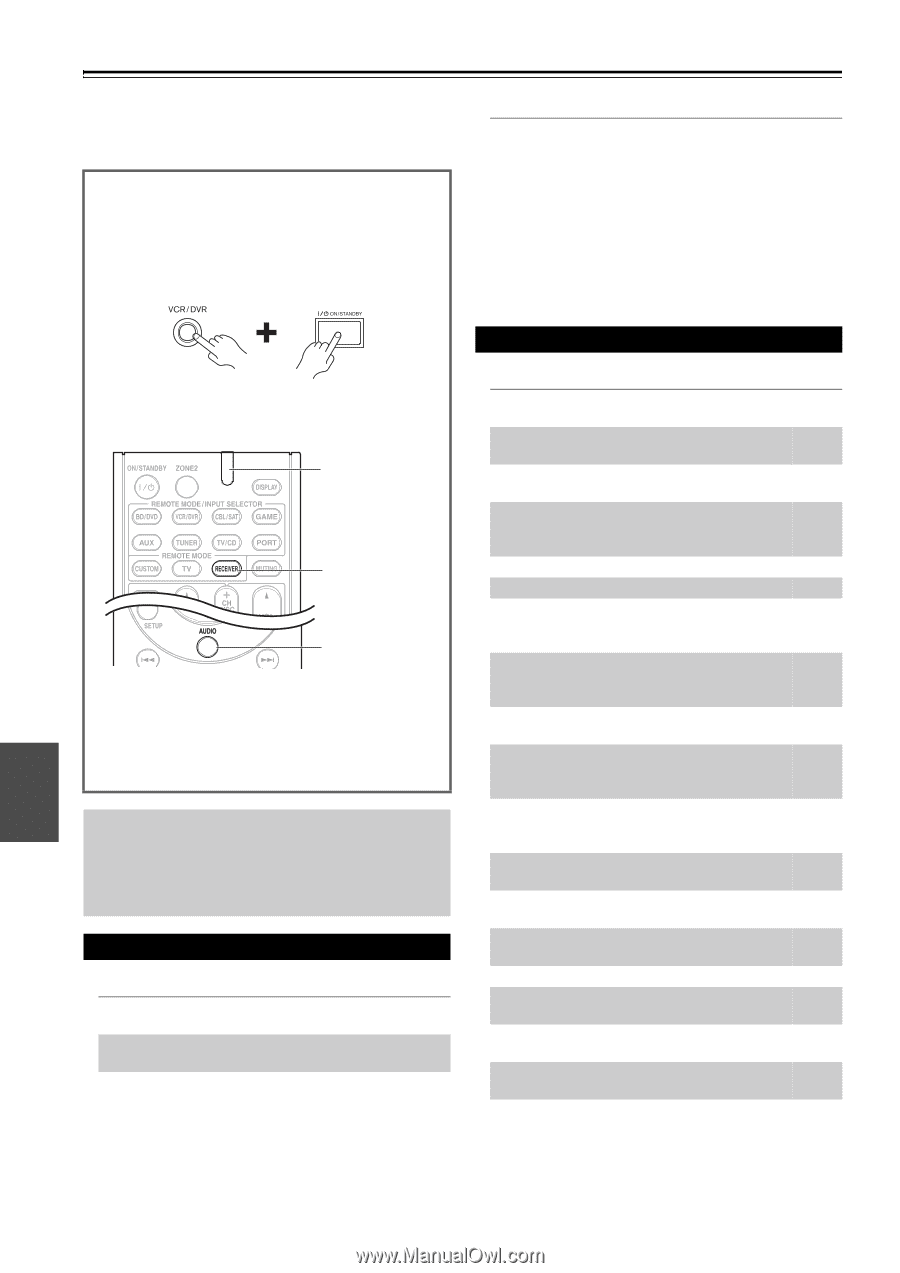
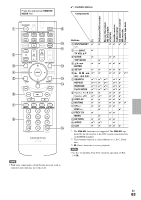
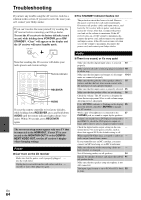
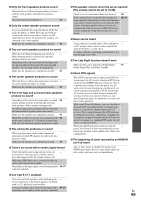
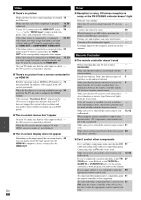
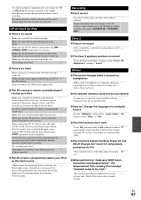
Others Troubleshooting If you have any trouble using the AV receiver, look for a solution in this section. If you can't resolve the issue yourself, contact your Onkyo dealer. If you can't resolve the issue yourself, try resetting the AV receiver before contacting your Onkyo dealer. To reset the AV receiver to its factory defaults, turn it on and, while holding down VCR/DVR, press ON/ STANDBY. "Clear" will appear on the display and the AV receiver will enter Standby mode. ■ The STANDBY indicator flashes red The protection circuit has been activated. Remove - the power cord from the wall outlet immediately. Disconnect all speaker cables and input sources, and leave the AV receiver with its power cord disconnected for 1 hour. After that, reconnect the power cord and set the volume to maximum. If the AV receiver stays on, set the volume to minimum, disconnect the power cord, and reconnect your speakers and input sources. If the AV receiver turns off when you set the volume to maximum, disconnect the power cord, and contact your Onkyo dealer. Note that resetting the AV receiver will delete your radio presets and custom settings. Remote indicator RECEIVER AUDIO To reset the remote controller to its factory defaults, while holding down RECEIVER, press and hold down AUDIO until the remote indicator lights (about 3 seconds). Within 30 seconds, press RECEIVER again. The on-screen setup menus appear only on a TV that is connected to the HDMI OUT. If your TV is connected to the MONITOR OUT V or the COMPONENT VIDEO OUT, use the AV receiver's display when changing settings. Power ■ Can't turn on the AV receiver Make sure that the power cord is properly plugged - into the wall outlet. Unplug the power cord from the wall outlet, wait five - seconds or more, then plug it in again. Audio ■ There's no sound, or it's very quiet Make sure that the digital input source is selected 40 properly. Make sure that all audio connecting plugs are pushed 18 in all the way. Make sure that the inputs and outputs of all compo- 19-21 nents are connected properly. Make sure that the polarity of the speaker cables is 16 correct, and that the bare wires are in contact with the metal part of each speaker terminal. Make sure that the input source is properly selected. 25 Make sure that the speaker cables are not shorting. 16 Check the volume. The AV receiver is designed for - home theater enjoyment. It has a wide volume range, allowing precise adjustment. If the MUTING indicator is flashing on the display, 26 press the remote controller's MUTING to unmute the AV receiver. While a pair of headphones is connected to the 27 PHONES jack, no sound is output by the speakers. If there's no sound from a DVD player connected to - an HDMI IN, check the DVD player's output settings, and be sure to select a supported audio format. Check the digital audio output setting on the con- - nected device. On some game consoles, such as those that support DVD, the default setting is off. With some DVD-Video discs, you need to select an - audio output format from a menu. If your turntable uses an MC cartridge, you must - connect an MC head amp, or an MC transformer. Make sure that none of the connecting cables are - bent, twisted, or damaged. Not all listening modes use all speakers. 34 Specify the speaker distances and adjust the individ- 41 ual speaker levels. Make sure that the speaker setup microphone is not - still connected. The input signal format is set to PCM or DTS. Set it 52 to Auto. En 64
-
 1
1 -
2
-
3
-
4
-
5
-
6
-
7
-
8
-
9
-
10
-
11
-
12
-
13
-
14
-
15
-
16
-
17
-
18
-
19
-
20
-
21
-
22
-
23
-
24
-
25
-
26
-
27
-
28
-
29
-
30
-
31
-
32
-
33
-
34
-
35
-
36
-
37
-
38
-
39
-
40
-
41
-
42
-
43
-
44
-
45
-
46
-
47
-
48
-
49
-
50
-
51
-
52
-
53
-
54
-
55
-
56
-
57
-
58
-
 59
59 -
 60
60 -
 61
61 -
 62
62 -
 63
63 -
 64
64 -
 65
65 -
 66
66 -
 67
67 -
 68
68 -
 69
69 -
70
-
71
-
72
-
73
-
74
-
75
-
76
 |
 |