Ricoh Epson Stylus Pro 7700 User Guide - Page 136
Controlling Borderless Image Expansion, Creating a Custom Preset and Printing
 |
View all Ricoh Epson Stylus Pro 7700 manuals
Add to My Manuals
Save this manual to your list of manuals |
Page 136 highlights
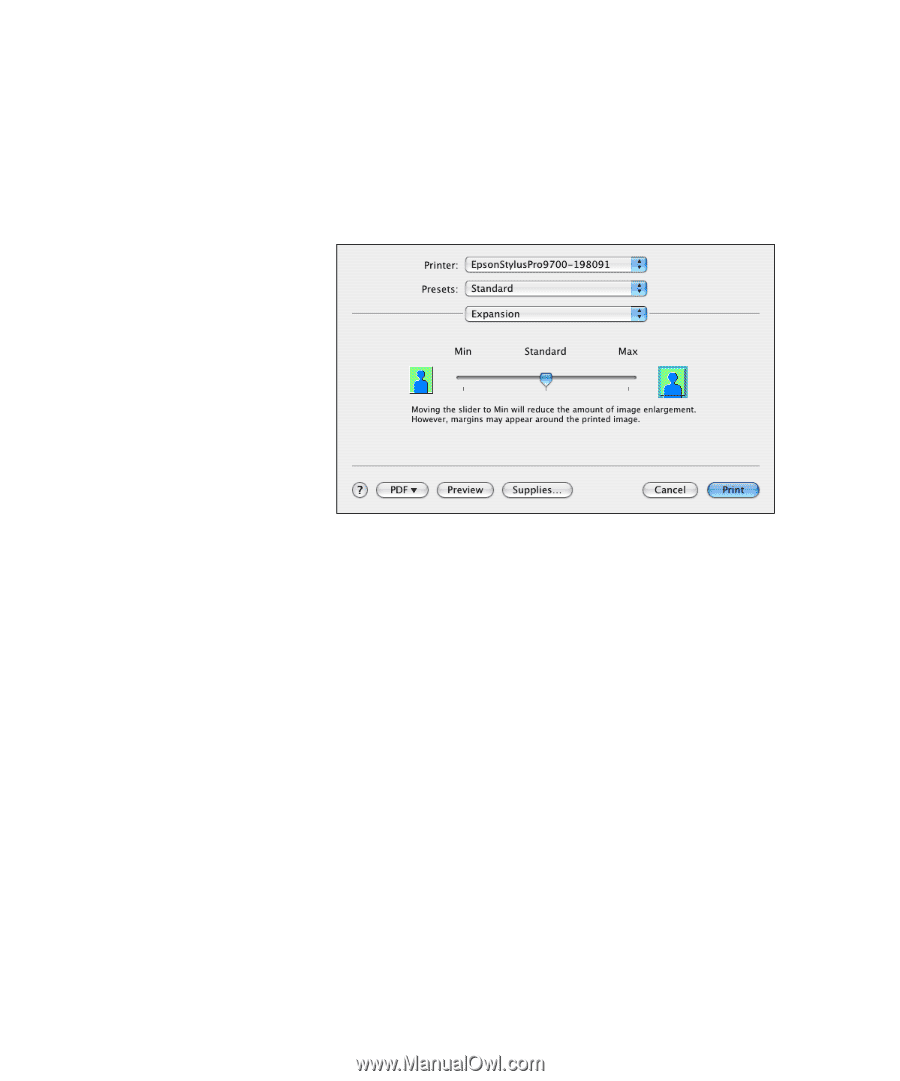
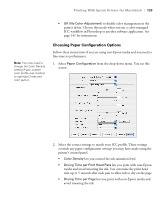
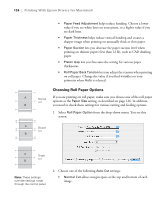
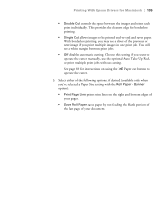
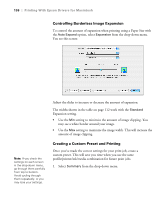
136 | Printing With Epson Drivers for Macintosh Controlling Borderless Image Expansion To control the amount of expansion when printing using a Paper Size with the Auto Expand option, select Expansion from the drop-down menu. You see this screen: Note: If you check the settings on each screen in the drop-down menu, go through them carefully from top to bottom. Avoid cycling through them repeatedly, or you may lose your settings. Adjust the slider to increase or decrease the amount of expansion. The widths shown in the table on page 112 work with the Standard Expansion setting. • Use the Min setting to minimize the amount of image clipping. You may see a white border around your image. • Use the Max setting to maximize the image width. This will increase the amount of image clipping. Creating a Custom Preset and Printing Once you've made the correct settings for your print job, create a custom preset. This will save you time when you use the same profile/printer/ink/media combination for future print jobs. 1. Select Summary from the drop-down menu. 136
-
 1
1 -
2
-
3
-
4
-
5
-
6
-
7
-
8
-
9
-
10
-
11
-
12
-
13
-
14
-
15
-
16
-
17
-
18
-
19
-
20
-
21
-
22
-
23
-
24
-
25
-
26
-
27
-
28
-
29
-
30
-
31
-
32
-
33
-
34
-
35
-
36
-
37
-
38
-
39
-
40
-
41
-
42
-
43
-
44
-
45
-
46
-
47
-
48
-
49
-
50
-
51
-
52
-
53
-
54
-
55
-
56
-
57
-
58
-
59
-
60
-
61
-
62
-
63
-
64
-
65
-
66
-
67
-
68
-
69
-
70
-
71
-
72
-
73
-
74
-
75
-
76
-
77
-
78
-
79
-
80
-
81
-
82
-
83
-
84
-
85
-
86
-
87
-
88
-
89
-
90
-
91
-
92
-
93
-
94
-
95
-
96
-
97
-
98
-
99
-
100
-
101
-
102
-
103
-
104
-
105
-
106
-
107
-
108
-
109
-
110
-
111
-
112
-
113
-
114
-
115
-
116
-
117
-
118
-
119
-
120
-
121
-
122
-
123
-
124
-
125
-
126
-
127
-
128
-
129
-
130
-
 131
131 -
 132
132 -
 133
133 -
 134
134 -
 135
135 -
 136
136 -
 137
137 -
 138
138 -
 139
139 -
 140
140 -
 141
141 -
142
-
143
-
144
-
145
-
146
-
147
-
148
-
149
-
150
-
151
-
152
-
153
-
154
-
155
-
156
-
157
-
158
-
159
-
160
-
161
-
162
-
163
-
164
-
165
-
166
-
167
-
168
-
169
-
170
-
171
-
172
-
173
-
174
-
175
-
176
-
177
-
178
-
179
-
180
-
181
-
182
-
183
-
184
-
185
-
186
-
187
-
188
-
189
-
190
-
191
-
192
-
193
-
194
-
195
-
196
-
197
-
198
-
199
-
200
-
201
-
202
-
203
-
204
-
205
-
206
-
207
-
208
-
209
-
210
-
211
-
212
-
213
-
214
-
215
-
216
-
217
-
218
-
219
-
220
-
221
-
222
-
223
-
224
-
225
-
226
-
227
-
228
 |
 |