Sony DAV-HDX285 Operating Instructions - Page 81
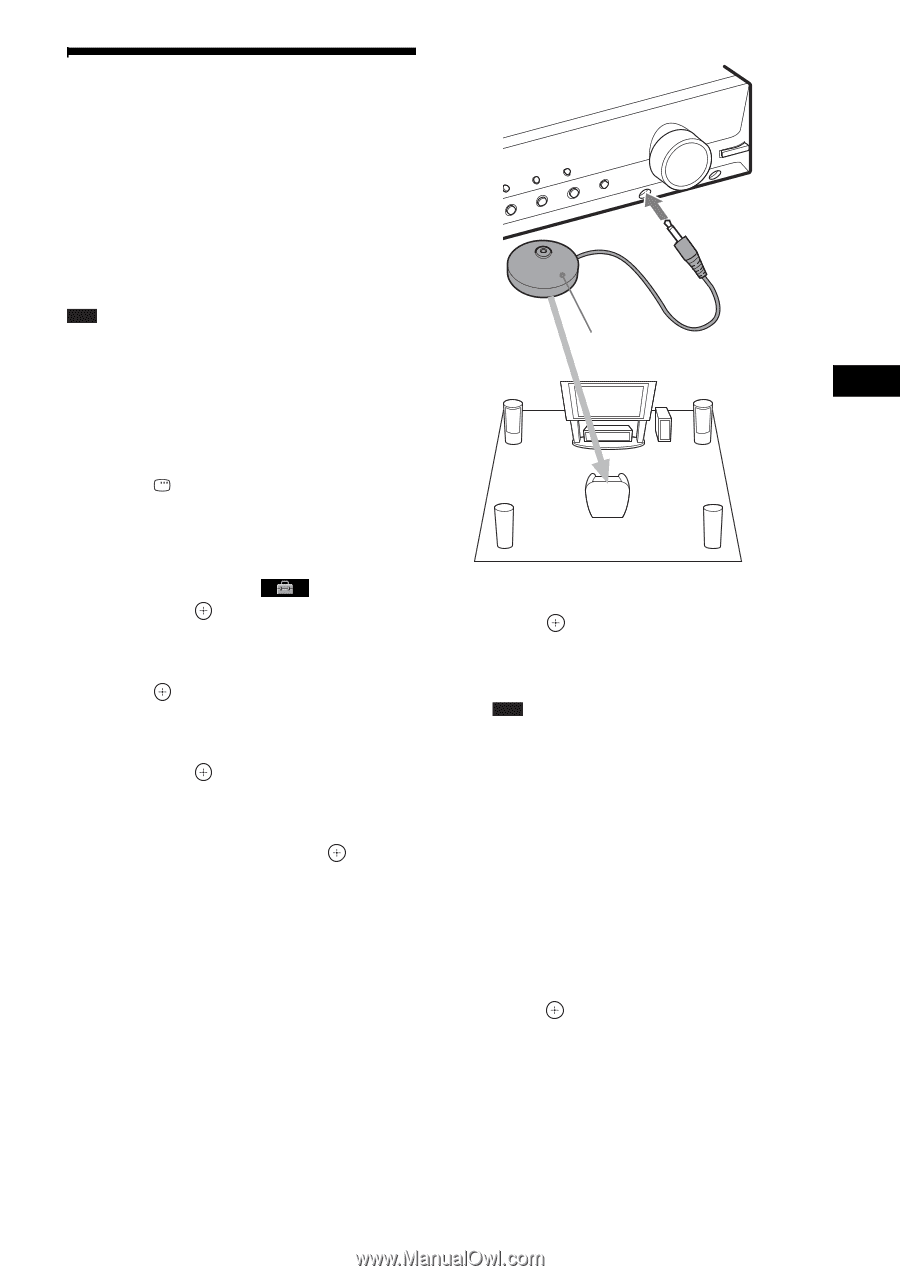
Calibrating the Appropriate Settings Automatically
 |
UPC - 027242753495
View all Sony DAV-HDX285 manuals
Add to My Manuals
Save this manual to your list of manuals |
Page 81 highlights
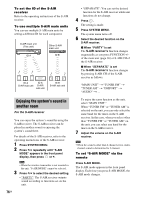
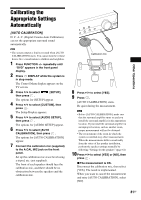
Other Operations Calibrating the Appropriate Settings Automatically [AUTO CALIBRATION] D. C. A. C. (Digital Cinema Auto Calibration) can set the appropriate surround sound automatically. Note • The system outputs a loud test sound when [AUTO CALIBRATION] starts. You cannot turn the volume down. Give consideration to children and neighbors. 1 Press FUNCTION +/- repeatedly until "DVD" appears in the front panel display. 2 Press DISPLAY while the system is in stop mode. The Control Menu display appears on the TV screen. 3 Press X/x to select [SETUP], then press . The options for [SETUP] appear. 4 Press X/x to select [CUSTOM], then press . The Setup Display appears. 5 Press X/x to select [AUDIO SETUP], then press . The options for [AUDIO SETUP] appear. 6 Press X/x to select [AUTO CALIBRATION], then press . The options for [AUTO CALIBRATION] appear. 7 Connect the calibration mic (supplied) to the A.CAL MIC jack on the front panel. Set up the calibration mic at ear level using a tripod, etc. (not supplied). The front of each speaker should face the calibration mic, and there should be no obstruction between the speakers and the calibration mic. Calibration mic 8 Press C/c to select [YES]. 9 Press . [AUTO CALIBRATION] starts. Be quiet during the measurement. Note • Before [AUTO CALIBRATION], make sure that the surround amplifier turns on and you install the surround amplifier in the appropriate location. If you install the surround amplifier in an improper location, such as another room, proper measurement will not be obtained. • The environment of the room in which the system is installed may affect measurements. When the measurements differ considerably from the status of the speaker installation, perform the speaker settings manually by following "Settings for the speakers" (page 64). 10 Press C/c to select [YES] or [NO], then press . x The measurement is OK. Disconnect the calibration mic, then select [YES]. The result is implemented. When you want to cancel the measurement and retry [AUTO CALIBRATION], select [NO]. 81GB
-
 1
1 -
2
-
3
-
4
-
5
-
6
-
7
-
8
-
9
-
10
-
11
-
12
-
13
-
14
-
15
-
16
-
17
-
18
-
19
-
20
-
21
-
22
-
23
-
24
-
25
-
26
-
27
-
28
-
29
-
30
-
31
-
32
-
33
-
34
-
35
-
36
-
37
-
38
-
39
-
40
-
41
-
42
-
43
-
44
-
45
-
46
-
47
-
48
-
49
-
50
-
51
-
52
-
53
-
54
-
55
-
56
-
57
-
58
-
59
-
60
-
61
-
62
-
63
-
64
-
65
-
66
-
67
-
68
-
69
-
70
-
71
-
72
-
73
-
74
-
75
-
 76
76 -
 77
77 -
 78
78 -
 79
79 -
 80
80 -
 81
81 -
 82
82 -
 83
83 -
 84
84 -
 85
85 -
 86
86 -
87
-
88
-
89
-
90
-
91
-
92
-
93
-
94
-
95
-
96
-
97
-
98
-
99
-
100
-
101
-
102
-
103
-
104
-
105
-
106
-
107
-
108
-
109
-
110
-
111
-
112
-
113
-
114
-
115
-
116
 |
 |