Sony FWD-32LX1R Operating Instructions - Page 29
Setting the Aspect
 |
View all Sony FWD-32LX1R manuals
Add to My Manuals
Save this manual to your list of manuals |
Page 29 highlights
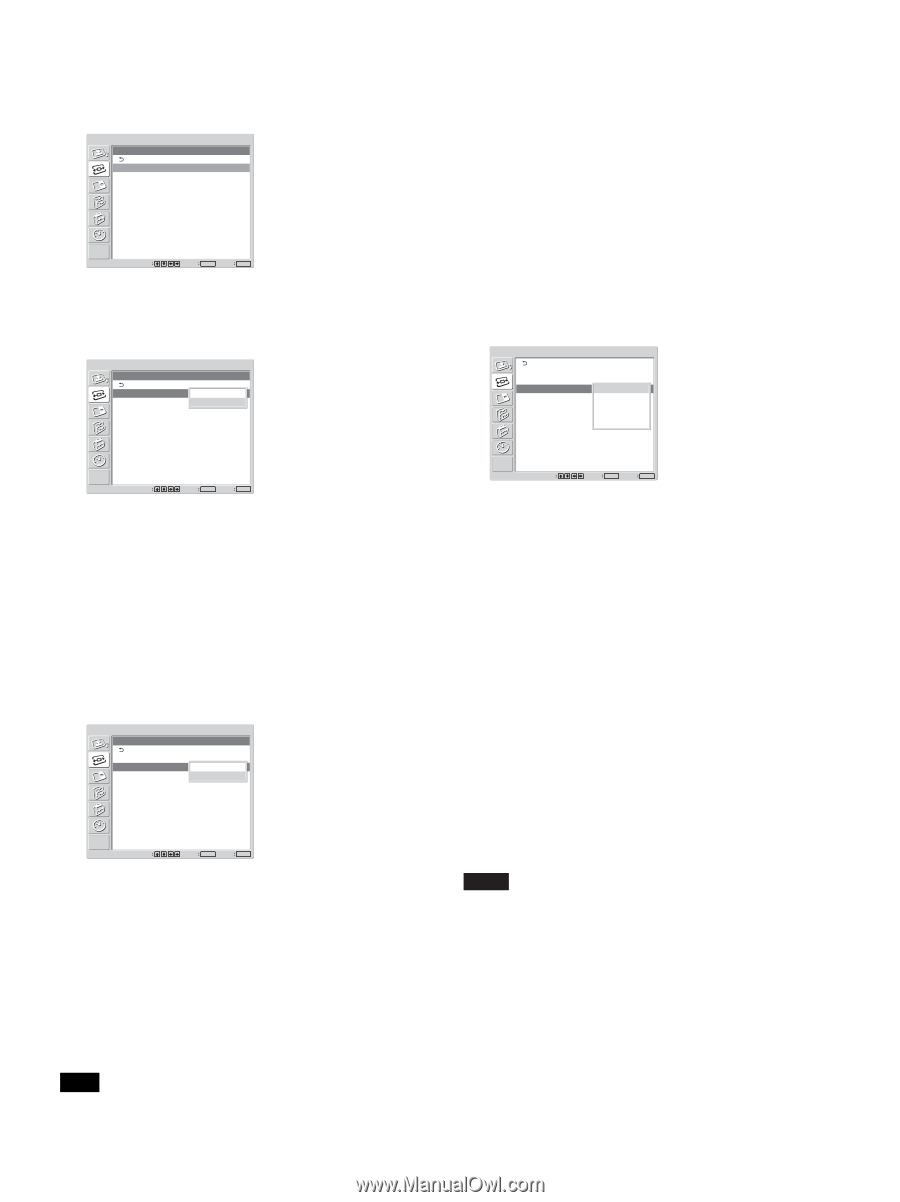
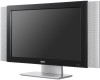
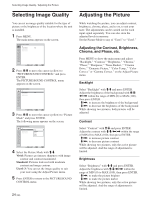
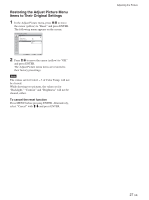
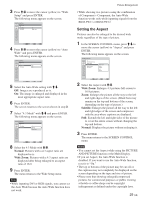
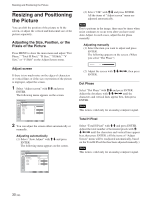
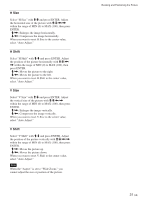
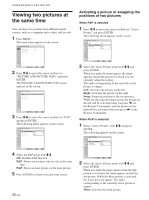
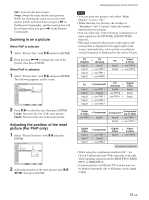
3 Press M/m to move the cursor (yellow) to "Wide Setup" and press ENTER. The following menu appears on the screen. SCREEN CONTROL Wide Setup Auto Wide: 4:3 Mode: On Wide Zoom Select Set ENTER Exit MENU 4 Press M/m to move the cursor (yellow) to "Auto Wide" and press ENTER. The following menu appears on the screen. SCREEN CONTROL Wide Setup Auto Wide: 4:3 Mode: Onff WOnide Zoom Picture Enlargement • While showing two pictures using the combination of Component + Component, the Auto Wide function works only while inputting signals from the BKM-FW11 or BKM-FW12. Setting the Aspect Pictures can also be enlarged to the desired wide mode regardless of the type of picture. 1 In the SCREEN CONTROL menu, press M/m to move the cursor (yellow) to "Aspect" and press ENTER. The following menu appears on the screen. SCREEN CONTROL Multi Display Setup Wide Setup Aspect: Adjust Screen Over Scan: Wide Zoom Zoom Subtitle Full Normal Select Set ENTER Exit MENU 5 Select the Auto Wide setting with M/m. Off: Images are reproduced as-is. On: The image is enlarged and displayed in the most appropriate aspect ratio. 6 Press ENTER. The screen returns to the screen shown in step 3. 7 Select "4:3 Mode" with M/m and press ENTER. The following menu appears on the screen. SCREEN CONTROL Wide Setup Auto Wide: 4:3 Mode: On WNoidrme aZloom Wide Zoom Select Set ENTER Exit MENU 8 Select the 4:3 Mode with M/m. Normal: Pictures with a 4:3 aspect ratio are displayed as-is. Wide Zoom: Pictures with a 4:3 aspect ratio are displayed after being enlarged to an aspect ratio of 16:9. 9 Press ENTER. The menu returns to the Wide Setup menu. Note • While inputting DVI or RGB signals, you cannot set the Auto Wide because the Auto Wide function does not work. Select Set ENTER Exit MENU 2 Select the Aspect with M/m. Wide Zoom: Enlarges 4:3 pictures full-screen to 16:9 pictures. Zoom: Enlarges the picture all the way to the left and right edges of the screen. (Black bars may remain on the top and bottom of the screen, depending on the type of picture.) Subtitle: Enlarges the picture all the way to the left and right edges of the screen and compresses only the area where captions are displayed. Full: Extends the left and right sides of the picture to cover the entire screen without changing the top and bottom. Normal: Displays the picture without enlarging it. 3 Press ENTER. The menu returns to the SCREEN CONTROL menu. Notes • You cannot set the Aspect while using the PICTURE AND PICTURE function or the Multi Display. • If you set Aspect, the Auto Wide function is disabled. If you want to use the Auto Wide function, reset it to "On." • The top or bottom of the picture may be cut off or the captions may not completely be displayed on the screen depending on the type and size of picture. • Please note that showing enlarged/compressed pictures for commercial purposes or public viewing at hotels or coffee shops can be copyright infringement as defined under the copyright laws. 29 (GB)
-
 1
1 -
2
-
3
-
4
-
5
-
6
-
7
-
8
-
9
-
10
-
11
-
12
-
13
-
14
-
15
-
16
-
17
-
18
-
19
-
20
-
21
-
22
-
23
-
 24
24 -
 25
25 -
 26
26 -
 27
27 -
 28
28 -
 29
29 -
 30
30 -
 31
31 -
 32
32 -
 33
33 -
 34
34 -
35
-
36
-
37
-
38
-
39
-
40
-
41
-
42
-
43
-
44
-
45
 |
 |