Sony FWD-32LX1R Operating Instructions - Page 42
Operating a Specific Display, With the Remote Commander
 |
View all Sony FWD-32LX1R manuals
Add to My Manuals
Save this manual to your list of manuals |
Page 42 highlights
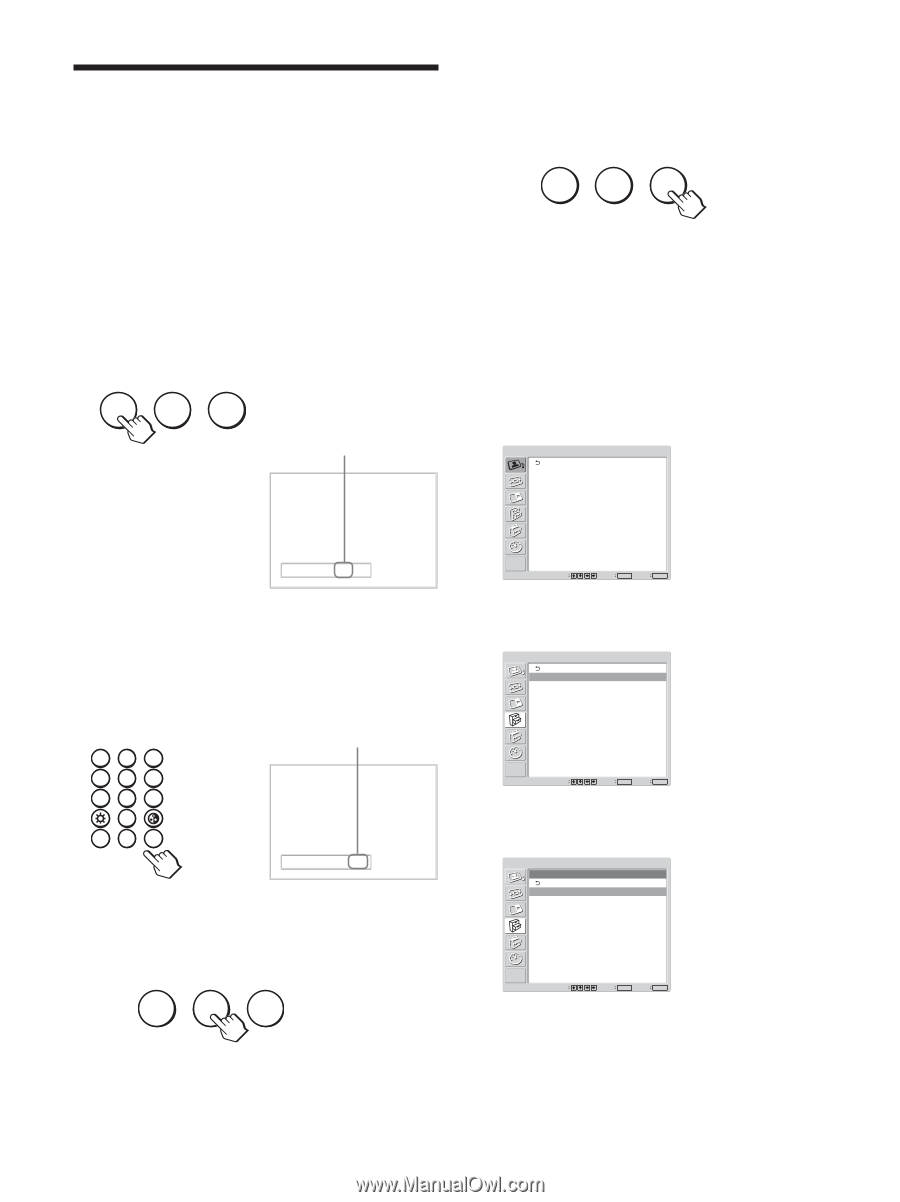
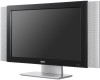
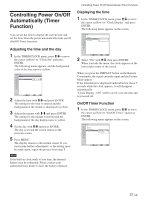
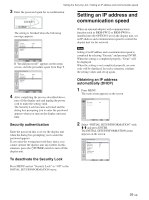
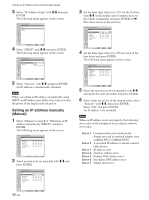
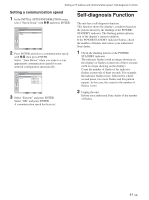
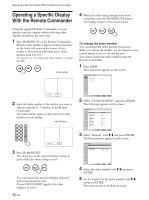
Operating a Specific Display With the Remote Commander Operating a Specific Display With the Remote Commander Using the supplied Remote Commander, you can operate a specific display without affecting other displays installed at the same time. 1 Press ID MODE ON on the Remote Commander. Monitor index numbers appear in black characters on the lower left menu on the screen. (Every display is allocated an individual preset index number from 1 to 255.) For details, see "To change the index number" on page 42 (GB). ON SET OFF Index number 4 When all of the setting changes have been completed, press the ID MODE OFF button. The display returns to the normal screen. ON SET OFF To change the index number You can change the index number if necessary. When you change the number, use the buttons on the control button section of the display unit. You cannot change the index number using the Remote Commander. 1 Press MENU. The main menu appears on the screen. PICTURE/SOUND CONTROL Picture Mode: Vivid Adjust Picture Adjust Sound Index Number 117 . . . 2 Input the index number of the display you want to operate using the 0 - 9 buttons on the Remote Commander. The input number appears right next to the index number of each display. Input Number 123 456 789 0 ON SET OFF Index Number 117 117 3 Press ID MODE SET. The characters on the selected display change to green while the others change to red. ON SET OFF You can operate the specified display indicated with green characters only. (Power ON/STANDBY apply to the other displays, as well.) 42 (GB) Select Set ENTER Exit MENU 2 Select "CUSTOM SETUP" and press ENTER. The following appears on the screen. CUSTOM SETUP Power Saving: Speaker Out: Closed Caption: Display: Color Matrix: HD Mode: RGB Mode: Sync Mode: Illumination: Remote Standard Off Off Off Y/PB/PR 1080i DTV H/Comp High Select Set ENTER Exit MENU 3 Select "Remote" with M/m and press ENTER. The Remote menu appears on the screen. CUSTOM SETUP Remote Index Number: Control Mode: 1 Display + Remote Select Set ENTER Exit MENU 4 Select the index number with M/m and press ENTER. 5 Set the number for the index number with M/m and press ENTER. The menu returns to the Remote menu.
-
 1
1 -
2
-
3
-
4
-
5
-
6
-
7
-
8
-
9
-
10
-
11
-
12
-
13
-
14
-
15
-
16
-
17
-
18
-
19
-
20
-
21
-
22
-
23
-
24
-
25
-
26
-
27
-
28
-
29
-
30
-
31
-
32
-
33
-
34
-
35
-
36
-
 37
37 -
 38
38 -
 39
39 -
 40
40 -
 41
41 -
 42
42 -
 43
43 -
 44
44 -
 45
45
 |
 |