Sony PEG-NZ90 Intellisync User Guide - Page 12
Advanced, HotSync, the cradle - review
 |
View all Sony PEG-NZ90 manuals
Add to My Manuals
Save this manual to your list of manuals |
Page 12 highlights
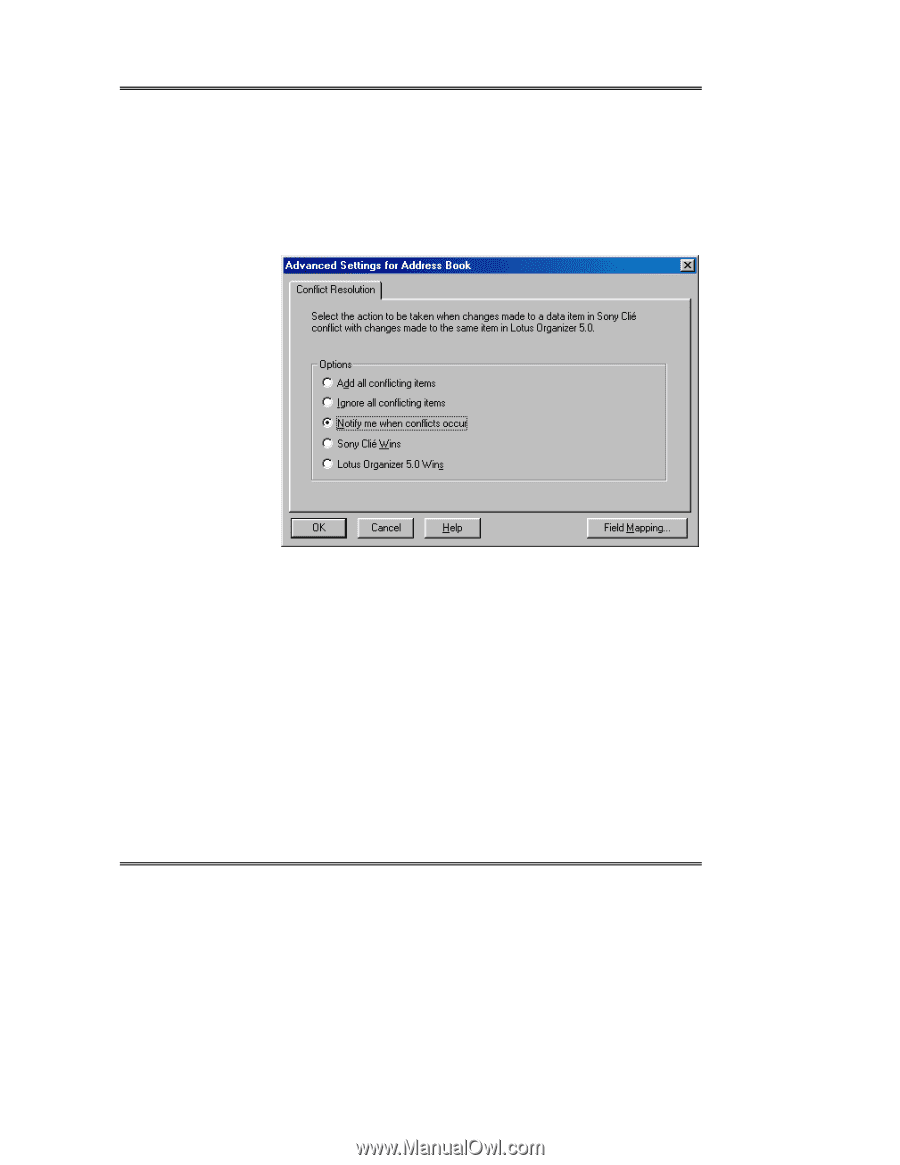
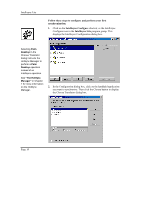
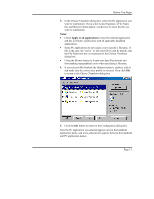
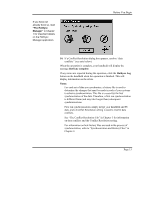
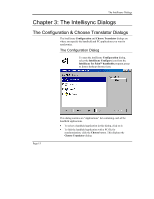
Intellisync Lite Note the check box adjacent to the handheld application name. By default, this check box is checked, indicating that the data is activated for synchronization. (If you clear this box, the application data is not synchronized.) 6. To review or alter settings affecting synchronization, select the Advanced button to access the Advanced Settings dialog. (Intellisync provides default values for all settings.) Page 12 7. When settings are configured as you want them, click OK to return to the Configuration dialog. 8. If necessary, repeat the above procedure for each of the handheld applications you want to synchronize. Then click the OK button to save specifications and exit the Configuration dialog. 9. With your handheld in the handheld cradle and the cradle connected to the appropriate COM port on your PC, press the HotSync button on the handheld cradle. The synchronization process begins, and a progress dialog appears. Note that pressing the Cancel button on the progress dialog does not stop the synchronization until the section being synchronized has been completed.
-
 1
1 -
2
-
3
-
4
-
5
-
6
-
 7
7 -
 8
8 -
 9
9 -
 10
10 -
 11
11 -
 12
12 -
 13
13 -
 14
14 -
 15
15 -
 16
16 -
 17
17 -
18
-
19
-
20
-
21
-
22
-
23
-
24
-
25
-
26
-
27
-
28
-
29
-
30
-
31
-
32
-
33
-
34
-
35
-
36
-
37
-
38
-
39
-
40
-
41
-
42
-
43
-
44
-
45
-
46
-
47
-
48
-
49
-
50
-
51
-
52
-
53
 |
 |