Vivitar DVR 830XHD Camera Manual - Page 31
Date Stamp
 |
View all Vivitar DVR 830XHD manuals
Add to My Manuals
Save this manual to your list of manuals |
Page 31 highlights
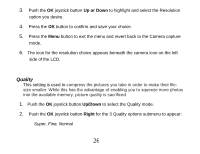
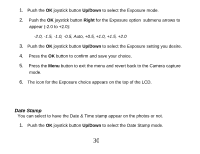
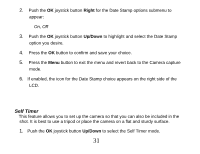
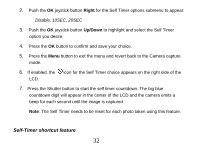
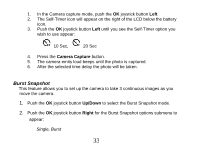
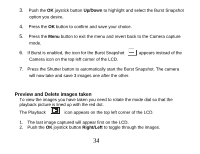
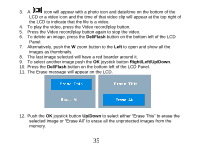
1. Push the OK joystick button Up/Down to select the Exposure mode. 2. Push the OK joystick button Right for the Exposure option submenu arrows to appear (-2.0 to +2.0): -2.0, -1.5, -1.0, -0.5, Auto, +0.5, +1.0, +1.5, +2.0 3. Push the OK joystick button Up/Down to select the Exposure setting you desire. 4. Press the OK button to confirm and save your choice. 5. Press the Menu button to exit the menu and revert back to the Camera capture mode. 6. The icon for the Exposure choice appears on the top of the LCD. Date Stamp You can select to have the Date & Time stamp appear on the photos or not. 1. Push the OK joystick button Up/Down to select the Date Stamp mode. 30
-
 1
1 -
2
-
3
-
4
-
5
-
6
-
7
-
8
-
9
-
10
-
11
-
12
-
13
-
14
-
15
-
16
-
17
-
18
-
19
-
20
-
21
-
22
-
23
-
24
-
25
-
 26
26 -
 27
27 -
 28
28 -
 29
29 -
 30
30 -
 31
31 -
 32
32 -
 33
33 -
 34
34 -
 35
35 -
 36
36 -
37
-
38
-
39
-
40
-
41
-
42
-
43
-
44
-
45
-
46
-
47
-
48
-
49
-
50
-
51
-
52
-
53
-
54
-
55
-
56
-
57
-
58
-
59
-
60
-
61
-
62
-
63
-
64
-
65
-
66
-
67
-
68
-
69
-
70
-
71
-
72
-
73
-
74
-
75
-
76
-
77
-
78
-
79
-
80
-
81
-
82
-
83
-
84
 |
 |
30
1.
Push the
OK
joystick button
Up/Down
to select the Exposure mode.
2.
Push the
OK
joystick button
Right
for the Exposure option
submenu arrows to
appear (-2.0 to +2.0):
-2.0, -1.5, -1.0, -0.5, Auto, +0.5, +1.0, +1.5, +2.0
3.
Push the
OK
joystick button
Up/Down
to select the Exposure setting you desire.
4.
Press the
OK
button to confirm and save your choice.
5.
Press the
Menu
button to exit the menu and revert back to the Camera capture
mode.
6.
The icon for the Exposure choice appears on the top of the LCD.
Date Stamp
You can select to have the Date & Time stamp appear on the photos or not.
1.
Push the
OK
joystick button
Up/Down
to select the Date Stamp mode.