Yamaha RX-V2500 Owner's Manual - Page 31
Starting the setup, Set AMP/SOURCE/TV to AMP, then press - ypao
 |
View all Yamaha RX-V2500 manuals
Add to My Manuals
Save this manual to your list of manuals |
Page 31 highlights
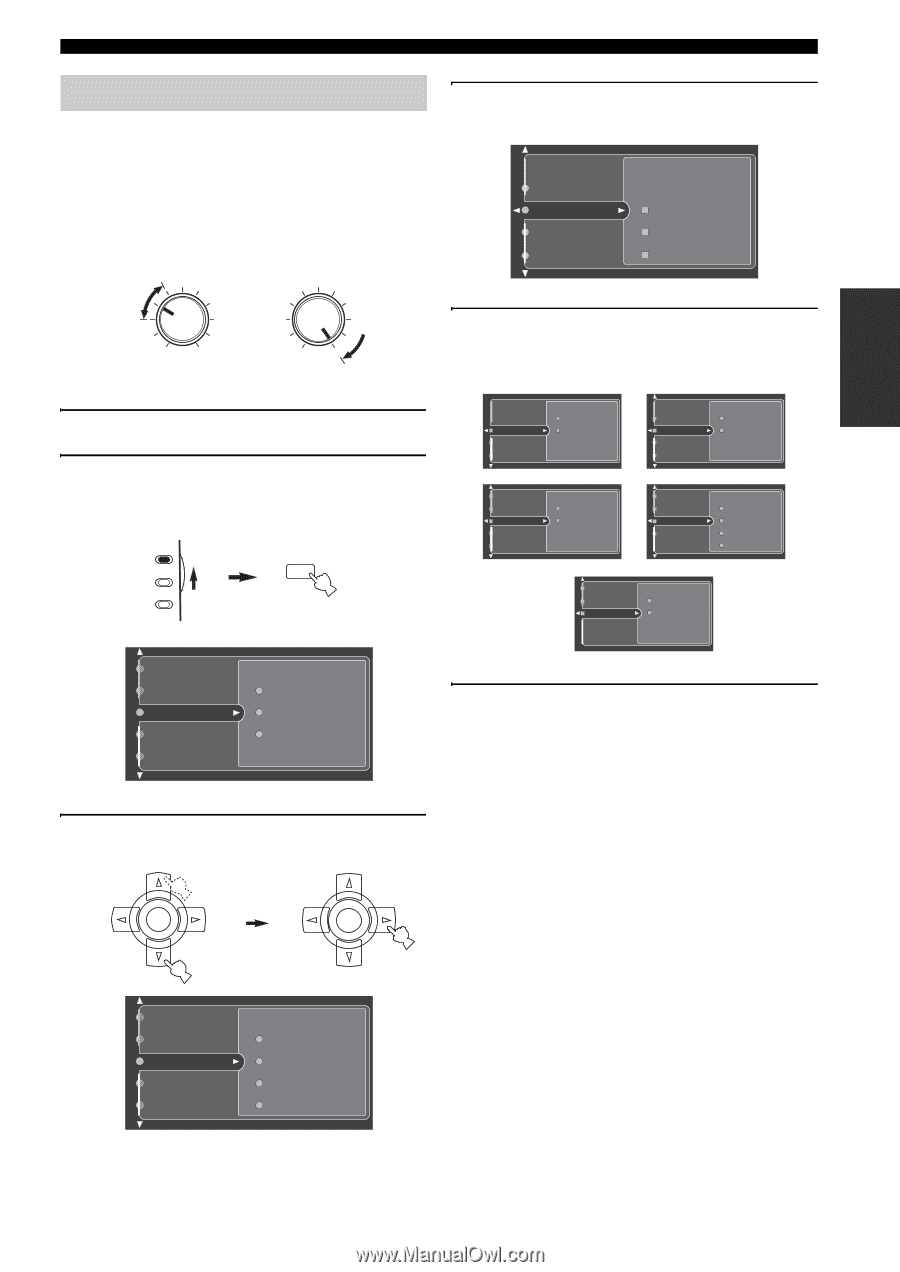
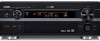
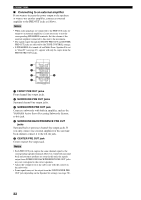
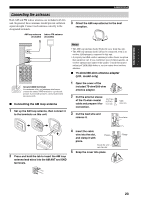
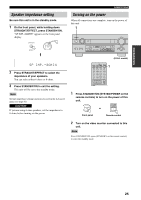
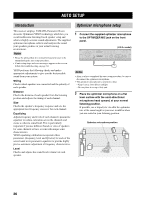
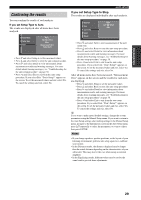
PREPARATION AUTO SETUP Starting the setup For best results, make sure the room is as quiet as possible during the auto setup procedure (YPAO). If there is too much ambient noise, the results may not be satisfactory. y If your subwoofer can adjust the output volume and the crossover frequency, set the volume to about half way (or slightly less) and set the crossover frequency to the maximum. VOLUME CROSSOVER/ HIGH CUT 4 Press k/n repeatedly to select Setup Menu, then press h. Information Setup Menu Setup Type Start Wiring Distance Size MIN MAX MIN MAX Subwoofer 5 Press k/n repeatedly to select Wiring, Distance, Size, Equalizing or Level, then press h. 1 Switch on this unit and video monitor. 2 Set AMP/SOURCE/TV to AMP, then press TOP on the remote control. The top display appears. AMP SOURCE TV TOP TITLE Wiring Distance Size Wiring Distance Size Equalizing Level Skip Check Skip Check Size Equalizing Level Wiring Distance Size Equalizing Distance Size Equalizing Level Skip Check Skip Check Skip Check: Natural Check: Flat Check: Front Stereo/Surround Input Select Manual Setup Auto Setup System Memory Sound Basic Option 3 Press k/n repeatedly to select Auto Setup, then press h. ENTER ENTER 6 For Wiring, Distance, Size or Level, select: Check Skip To automatically check and adjust the selected item. To skip the selected item and perform no adjustments. y When using THX speakers, select Skip for Size and make sure that "Small" or "Small x2" is selected in Speaker Set (page 58) and that "80Hz (THX)" is selected in Bass Cross Over (page 60). Input Select Manual Setup Auto Setup System Memory Audio Info. Information Setup Menu Setup Type Start 27
-
 1
1 -
2
-
3
-
4
-
5
-
6
-
7
-
8
-
9
-
10
-
11
-
12
-
13
-
14
-
15
-
16
-
17
-
18
-
19
-
20
-
21
-
22
-
23
-
24
-
25
-
 26
26 -
 27
27 -
 28
28 -
 29
29 -
 30
30 -
 31
31 -
 32
32 -
 33
33 -
 34
34 -
 35
35 -
 36
36 -
37
-
38
-
39
-
40
-
41
-
42
-
43
-
44
-
45
-
46
-
47
-
48
-
49
-
50
-
51
-
52
-
53
-
54
-
55
-
56
-
57
-
58
-
59
-
60
-
61
-
62
-
63
-
64
-
65
-
66
-
67
-
68
-
69
-
70
-
71
-
72
-
73
-
74
-
75
-
76
-
77
-
78
-
79
-
80
-
81
-
82
-
83
-
84
-
85
-
86
-
87
-
88
-
89
-
90
-
91
-
92
-
93
-
94
-
95
-
96
-
97
-
98
-
99
-
100
-
101
-
102
-
103
-
104
-
105
-
106
-
107
-
108
-
109
-
110
-
111
-
112
 |
 |