Acer Aspire iDEA 500 Aspire iDea 500/510 User Guide EN - Page 50
Copying the factory default settings image, Creating system backups, Creating a full backup - drivers
 |
View all Acer Aspire iDEA 500 manuals
Add to My Manuals
Save this manual to your list of manuals |
Page 50 highlights
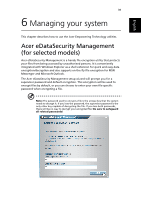
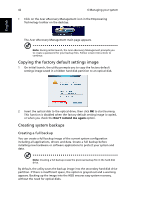
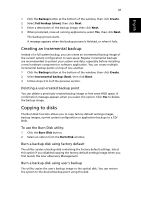
English 42 6 Managing your system • Click on the Acer eRecovery Management icon in the Empowering Technology toolbar on the desktop. The Acer eRecovery Management main page appears. Note: During initial launch, the Acer eRecovery Management prompts you to create a password for your backup files. Follow screen instructions to continue. Copying the factory default settings image 1 On initial launch, the utility prompts you to copy the factory default settings image saved in a hidden hard disk partition to an optical disk. 2 Insert the optical disk to the optical drive, then click OK to start burning. This function is disabled when the factory default setting image is copied, or when you check the Don't remind me again option. Creating system backups Creating a full backup You can create a full backup image of the current system configuration including all applications, drivers and data. Create a full backup before installing new hardware or software applications to protect your system and data. Note: Creating a full backup erases the previous backup file in the hard disk drive. By default, the utility saves the backup image into the secondary hard disk drive partition. If there is insufficient space, the option is grayed out and a warning appears. Backing up the image into the HDD ensures easy system recovery, without the need for optical disks.
-
 1
1 -
2
-
3
-
4
-
5
-
6
-
7
-
8
-
9
-
10
-
11
-
12
-
13
-
14
-
15
-
16
-
17
-
18
-
19
-
20
-
21
-
22
-
23
-
24
-
25
-
26
-
27
-
28
-
29
-
30
-
31
-
32
-
33
-
34
-
35
-
36
-
37
-
38
-
39
-
40
-
41
-
42
-
43
-
44
-
 45
45 -
 46
46 -
 47
47 -
 48
48 -
 49
49 -
 50
50 -
 51
51 -
 52
52 -
 53
53 -
 54
54 -
 55
55 -
56
-
57
-
58
-
59
-
60
-
61
-
62
-
63
-
64
-
65
-
66
-
67
-
68
 |
 |
