Acer G330 Configuration Guide - Page 81
E1000E
 |
UPC - 750519177044
View all Acer G330 manuals
Add to My Manuals
Save this manual to your list of manuals |
Page 81 highlights
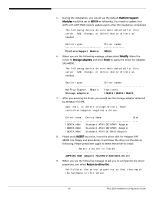
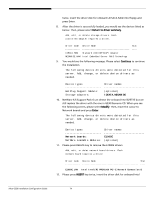
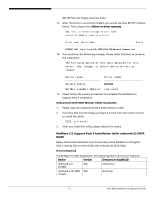
Driver name Device Name Stat E1000E.LAN Intel Intel(R) PRO/1000 PCI-E Network Connection D 14. Please press INSERT key twice, insert the driver disk for onboard Intel 82573E NIC into floppy and press Enter. 15. After the driver is successfully loaded, you would see Intel 82573E listed as below. Then, please select Return to driver summary. Add, edit, or delete storage drivers. Each controller/adapter requires a driver. Driver name Device Name Status E1000E.LAN Intel Intel(R) PRO/1000 PM Network Connection 16. You would see the following message. Please select Continue to continue the installation. The following device drivers were detected for this server. Add, change, or delete device drivers as needed. Device types Network boards: Driver names E1000E NetWare Loadable Modules: (optional) 17. Please follow the normal procedures to complete the NetWare 6.5 SP5 installation. ACPI PSM Module Update NOTE. When you install the NW6.5 with the SP6 or later overlay CD, you DO NOT need to update this ACPI PSM Module update. The SP6 or later can install the ACPI driver correctly. During installation the ACPI driver is not installed correctly. Please update the ACPI PSM Module after the OS installation completed. You can find the update on the Novell Website. 1. Please download the ACPI PSM Module update from the Novell website and extract it to a floppy disk. 2. Please load NWCONFIG from the server console. 3. Select Product Option and Install a product not listed. 4. Insert the disk with the update and press Enter. You will see the following message. 71 Altos G330 Installation Configuration Guide
-
 1
1 -
2
-
3
-
4
-
5
-
6
-
7
-
8
-
9
-
10
-
11
-
12
-
13
-
14
-
15
-
16
-
17
-
18
-
19
-
20
-
21
-
22
-
23
-
24
-
25
-
26
-
27
-
28
-
29
-
30
-
31
-
32
-
33
-
34
-
35
-
36
-
37
-
38
-
39
-
40
-
41
-
42
-
43
-
44
-
45
-
46
-
47
-
48
-
49
-
50
-
51
-
52
-
53
-
54
-
55
-
56
-
57
-
58
-
59
-
60
-
61
-
62
-
63
-
64
-
65
-
66
-
67
-
68
-
69
-
70
-
71
-
72
-
73
-
74
-
75
-
 76
76 -
 77
77 -
 78
78 -
 79
79 -
 80
80 -
 81
81 -
 82
82 -
 83
83 -
 84
84 -
 85
85 -
 86
86 -
87
-
88
-
89
-
90
-
91
-
92
-
93
-
94
-
95
 |
 |