Brother International MFC 7440N Network Users Manual - English - Page 44
Configuring the standard TCP/IP port, Printer driver not yet installed
 |
UPC - 012502620631
View all Brother International MFC 7440N manuals
Add to My Manuals
Save this manual to your list of manuals |
Page 44 highlights
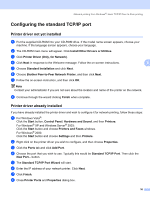
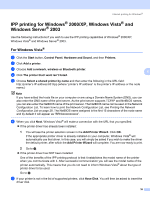
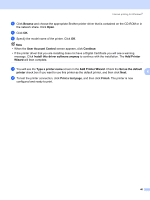
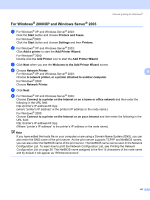
Network printing from Windows®: basic TCP/IP Peer-to-Peer printing Configuring the standard TCP/IP port 5 Printer driver not yet installed 5 a Put the supplied CD-ROM into your CD-ROM drive. If the model name screen appears, choose your machine. If the language screen appears, choose your language. b The CD-ROM main menu will appear. Click Install Other Drivers or Utilities. c Click Printer Driver (Only, for Network). d Click Next in response to the Welcome message. Follow the on-screen instructions. 5 e Choose Standard Installation and click Next. f Choose Brother Peer-to-Peer Network Printer, and then click Next. g Follow the on-screen instruction, and then click OK. Note Contact your administrator if you are not sure about the location and name of the printer on the network. h Continue through the wizard clicking Finish when complete. Printer driver already installed 5 If you have already installed the printer driver and wish to configure it for network printing, follow these steps: a For Windows Vista®: Click the Start button, Control Panel, Hardware and Sound, and then Printers. For Windows® XP and Windows Server® 2003: Click the Start button and choose Printers and Faxes windows. For Windows® 2000. Click the Start button and choose Settings and then Printers. b Right click on the printer driver you wish to configure, and then choose Properties. c Click the Ports tab and click Add Port. d Choose the port that you wish to use. Typically this would be Standard TCP/IP Port. Then click the New Port... button. e The Standard TCP/IP Port Wizard will start. f Enter the IP address of your network printer. Click Next. g Click Finish. h Close Printer Ports and Properties dialog box. 36
-
 1
1 -
2
-
3
-
4
-
5
-
6
-
7
-
8
-
9
-
10
-
11
-
12
-
13
-
14
-
15
-
16
-
17
-
18
-
19
-
20
-
21
-
22
-
23
-
24
-
25
-
26
-
27
-
28
-
29
-
30
-
31
-
32
-
33
-
34
-
35
-
36
-
37
-
38
-
 39
39 -
 40
40 -
 41
41 -
 42
42 -
 43
43 -
 44
44 -
 45
45 -
 46
46 -
 47
47 -
 48
48 -
 49
49 -
50
-
51
-
52
-
53
-
54
-
55
-
56
-
57
-
58
-
59
-
60
-
61
-
62
-
63
-
64
-
65
-
66
-
67
-
68
-
69
-
70
-
71
-
72
-
73
-
74
-
75
-
76
-
77
-
78
-
79
-
80
-
81
-
82
-
83
-
84
-
85
-
86
-
87
-
88
 |
 |
