Brother International MFC 7440N Network Users Manual - English - Page 72
Scanning and PC Fax problems, Network and Internet Connections
 |
UPC - 012502620631
View all Brother International MFC 7440N manuals
Add to My Manuals
Save this manual to your list of manuals |
Page 72 highlights
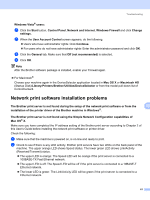
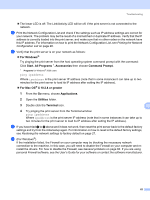
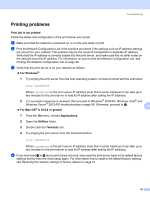
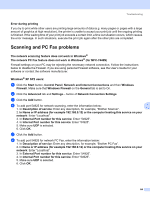
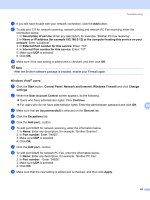
Troubleshooting Error during printing 10 If you try to print while other users are printing large amounts of data (e.g. many pages or pages with a large amount of graphics at high resolution), the printer is unable to accept your print job until the ongoing printing is finished. If the waiting time of your print job exceeds a certain limit, a time out situation occurs, which causes the error message. In such situations, execute the print job again after the other jobs are completed. Scanning and PC Fax problems 10 The network scanning feature does not work in Windows® The network PC Fax feature does not work in Windows® (for MFC-7440N) 10 Firewall settings on your PC may be rejecting the necessary network connection. Follow the instructions below to disable the Firewall. if you are using personal Firewall software, see the User's Guide for your software or contact the software manufacturer. Windows® XP SP2 users: 10 a Click the Start button, Control Panel, Network and Internet Connections and then Windows Firewall. Make sure that Windows Firewall on the General tab is set to On. b Click the Advanced tab and Settings... button of Network Connection Settings. c Click the Add button. d To add port 54925 for network scanning, enter the information below: 10 1. In Description of service: Enter any description, for example, "Brother Scanner". 2. In Name or IP address (for example 192.168.0.12) or the computer hosting this service on your network: Enter "Localhost". 3. In External Port number for this service: Enter "54925". 4. In Internal Port number for this service: Enter "54925". 5. Make sure UDP is selected. 6. Click OK. e Click the Add button. f To add port 54926 for network PC Fax, enter the information below: 1. In Description of service: Enter any description, for example, "Brother PC Fax". 2. In Name or IP address (for example 192.168.0.12) or the computer hosting this service on your network: Enter "Localhost". 3. In External Port number for this service: Enter "54926". 4. In Internal Port number for this service: Enter "54926". 5. Make sure UDP is selected. 6. Click OK. 64
-
 1
1 -
2
-
3
-
4
-
5
-
6
-
7
-
8
-
9
-
10
-
11
-
12
-
13
-
14
-
15
-
16
-
17
-
18
-
19
-
20
-
21
-
22
-
23
-
24
-
25
-
26
-
27
-
28
-
29
-
30
-
31
-
32
-
33
-
34
-
35
-
36
-
37
-
38
-
39
-
40
-
41
-
42
-
43
-
44
-
45
-
46
-
47
-
48
-
49
-
50
-
51
-
52
-
53
-
54
-
55
-
56
-
57
-
58
-
59
-
60
-
61
-
62
-
63
-
64
-
65
-
66
-
 67
67 -
 68
68 -
 69
69 -
 70
70 -
 71
71 -
 72
72 -
 73
73 -
 74
74 -
 75
75 -
 76
76 -
 77
77 -
78
-
79
-
80
-
81
-
82
-
83
-
84
-
85
-
86
-
87
-
88
 |
 |