Brother International NX-450Q Users Manual - English - Page 129
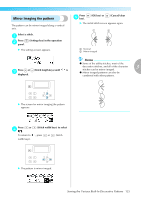
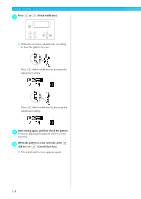
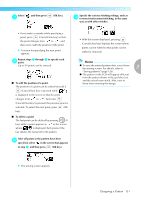
Press, Stitch width keys., Start sewing again, and then check the pattern., When the pattern is sewn
 |
View all Brother International NX-450Q manuals
Add to My Manuals
Save this manual to your list of manuals |
Page 129 highlights
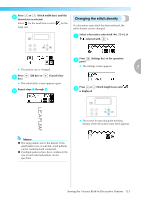
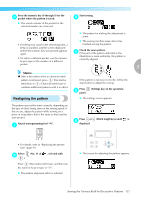
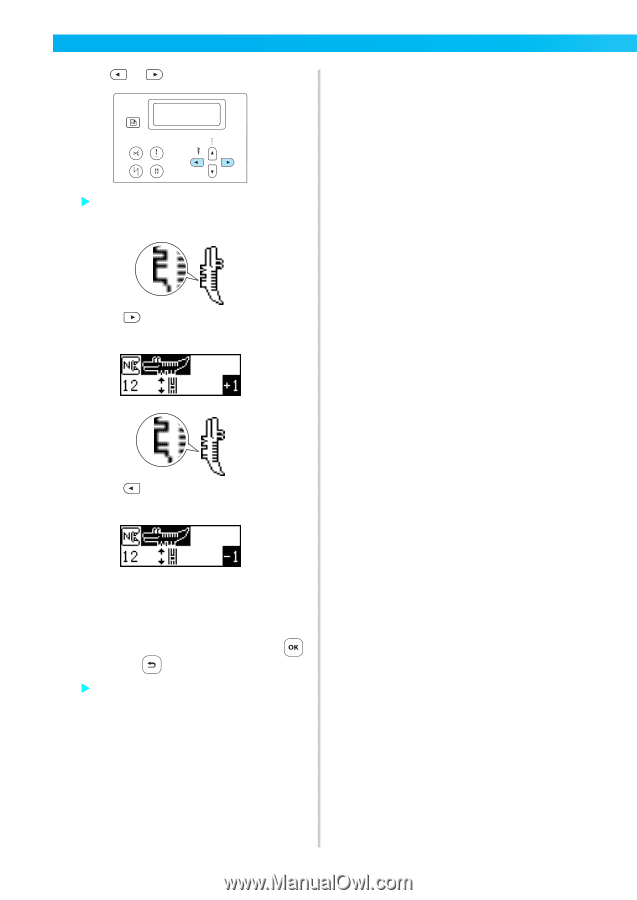
UTILITY STITCHES Press or (Stitch width keys). g X Make the necessary adjustments according to how the pattern is sewn. Press (Stitch width key) to increase the adjustment setting. Press (Stitch width key) to decrease the adjustment setting. Start sewing again, and then check the pattern. h Continue adjusting the pattern until it is sewn correctly. When the pattern is sewn correctly, press i (OK key) or (Cancel/clear key). X The initial stitch screen appears again. 128
-
 1
1 -
2
-
3
-
4
-
5
-
6
-
7
-
8
-
9
-
10
-
11
-
12
-
13
-
14
-
15
-
16
-
17
-
18
-
19
-
20
-
21
-
22
-
23
-
24
-
25
-
26
-
27
-
28
-
29
-
30
-
31
-
32
-
33
-
34
-
35
-
36
-
37
-
38
-
39
-
40
-
41
-
42
-
43
-
44
-
45
-
46
-
47
-
48
-
49
-
50
-
51
-
52
-
53
-
54
-
55
-
56
-
57
-
58
-
59
-
60
-
61
-
62
-
63
-
64
-
65
-
66
-
67
-
68
-
69
-
70
-
71
-
72
-
73
-
74
-
75
-
76
-
77
-
78
-
79
-
80
-
81
-
82
-
83
-
84
-
85
-
86
-
87
-
88
-
89
-
90
-
91
-
92
-
93
-
94
-
95
-
96
-
97
-
98
-
99
-
100
-
101
-
102
-
103
-
104
-
105
-
106
-
107
-
108
-
109
-
110
-
111
-
112
-
113
-
114
-
115
-
116
-
117
-
118
-
119
-
120
-
121
-
122
-
123
-
 124
124 -
 125
125 -
 126
126 -
 127
127 -
 128
128 -
 129
129 -
 130
130 -
 131
131 -
 132
132 -
 133
133 -
 134
134 -
135
-
136
-
137
-
138
-
139
-
140
-
141
-
142
-
143
-
144
-
145
-
146
-
147
-
148
-
149
-
150
-
151
-
152
-
153
-
154
-
155
 |
 |
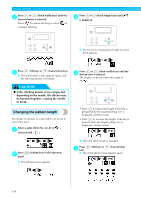
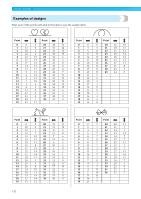
UTILITY STITCHES
— — — — — — — — — — — — — — — — — — — — — — — — — — — — — — — — — — — — — — — — — — —
128
g
Press
or
(Stitch width keys).
Make the necessary adjustments according
to how the pattern is sewn.
Press
(Stitch width key) to increase the
adjustment setting.
Press
(Stitch width key) to decrease the
adjustment setting.
h
Start sewing again, and then check the pattern.
Continue adjusting the pattern until it is sewn
correctly.
i
When the pattern is sewn correctly, press
(OK key) or
(Cancel/clear key).
The initial stitch screen appears again.