Casio QV-R41 Owners Manual - Page 144
Finish] to restart your computer., Connect the optional AC adaptor to the [DC
 |
View all Casio QV-R41 manuals
Add to My Manuals
Save this manual to your list of manuals |
Page 144 highlights
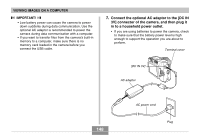
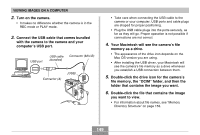
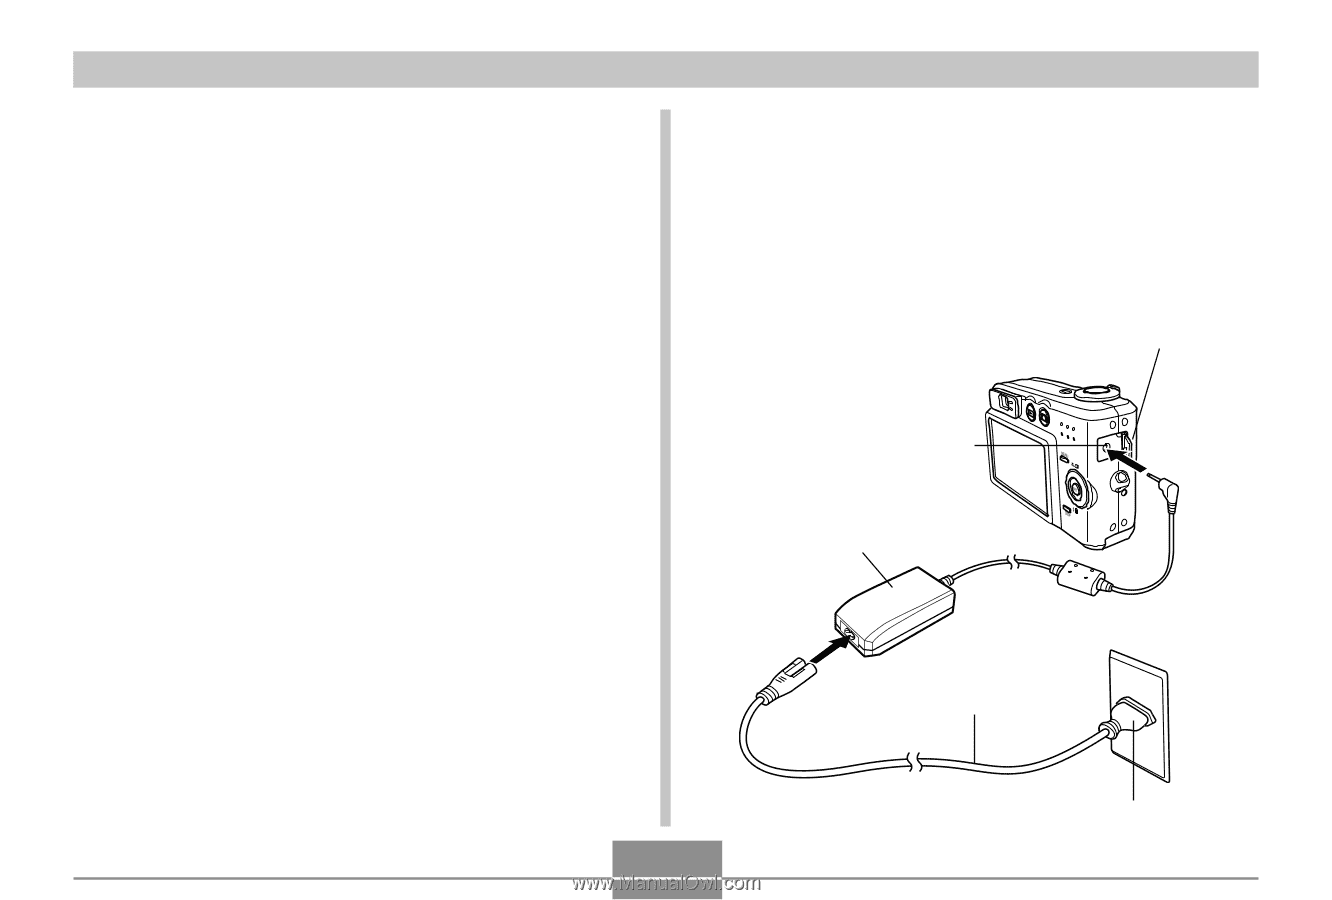
VIEWING IMAGES ON A COMPUTER 4. Click [USB driver] and then [Install]. • This starts installation. • The following steps show installation under the English version of Windows. 5. On the screen that appears after installation is complete, select the "Yes, I want to restart my computer now." check box and then click [Finish] to restart your computer. 6. Connect the optional AC adaptor to the [DC IN 3V] connector of the camera, and then plug it in to a household power outlet. • If you are using batteries to power the camera, check to make sure that the battery power level is high enough to support the operation you are about to perform. Terminal cover [DC IN 3V] AC adaptor 144 AC power cord Plug
-
 1
1 -
2
-
3
-
4
-
5
-
6
-
7
-
8
-
9
-
10
-
11
-
12
-
13
-
14
-
15
-
16
-
17
-
18
-
19
-
20
-
21
-
22
-
23
-
24
-
25
-
26
-
27
-
28
-
29
-
30
-
31
-
32
-
33
-
34
-
35
-
36
-
37
-
38
-
39
-
40
-
41
-
42
-
43
-
44
-
45
-
46
-
47
-
48
-
49
-
50
-
51
-
52
-
53
-
54
-
55
-
56
-
57
-
58
-
59
-
60
-
61
-
62
-
63
-
64
-
65
-
66
-
67
-
68
-
69
-
70
-
71
-
72
-
73
-
74
-
75
-
76
-
77
-
78
-
79
-
80
-
81
-
82
-
83
-
84
-
85
-
86
-
87
-
88
-
89
-
90
-
91
-
92
-
93
-
94
-
95
-
96
-
97
-
98
-
99
-
100
-
101
-
102
-
103
-
104
-
105
-
106
-
107
-
108
-
109
-
110
-
111
-
112
-
113
-
114
-
115
-
116
-
117
-
118
-
119
-
120
-
121
-
122
-
123
-
124
-
125
-
126
-
127
-
128
-
129
-
130
-
131
-
132
-
133
-
134
-
135
-
136
-
137
-
138
-
 139
139 -
 140
140 -
 141
141 -
 142
142 -
 143
143 -
 144
144 -
 145
145 -
 146
146 -
 147
147 -
 148
148 -
 149
149 -
150
-
151
-
152
-
153
-
154
-
155
-
156
-
157
-
158
-
159
-
160
-
161
-
162
-
163
-
164
-
165
-
166
-
167
-
168
-
169
-
170
-
171
-
172
-
173
-
174
-
175
-
176
-
177
-
178
-
179
-
180
-
181
-
182
-
183
-
184
 |
 |
VIEWING IMAGES ON A COMPUTER
144
4.
Click [USB driver] and then [Install].
•
This starts installation.
•
The following steps show installation under the
English version of Windows.
5.
On the screen that appears after installation
is complete, select the “Yes, I want to restart
my computer now.” check box and then click
[Finish] to restart your computer.
6.
Connect the optional AC adaptor to the [DC IN
3V] connector of the camera, and then plug it
in to a household power outlet.
•
If you are using batteries to power the camera, check
to make sure that the battery power level is high
enough to support the operation you are about to
perform.
Plug
Terminal cover
[DC IN 3V]
AC power cord
AC adaptor