Dell B1163 Dell Users Guide - Page 123
Wireless Network Setting Complete, Confirm Printer Connection, Print a test Finish
 |
View all Dell B1163 manuals
Add to My Manuals
Save this manual to your list of manuals |
Page 123 highlights
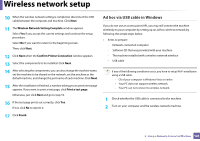
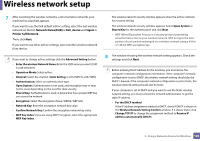
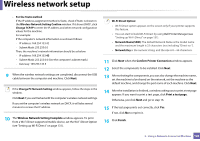
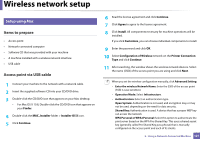
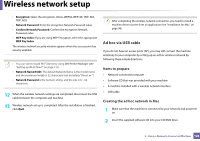
Wireless network setup 10 When the wireless network setting is completed, disconnect the USB cable between the computer and machine. Click Next. 11 The Wireless Network Setting Complete window appears. Select Yes if you accept the current settings and continue the setup procedure. Select No if you want to return to the beginning screen. Then, click Next. 12 Click Next when the Confirm Printer Connection window appears. 13 Select the components to be installed. Click Next. 14 After selecting the components, you can also change the machine name, set the machine to be shared on the network, set the machine as the default machine, and change the port name of each machine. Click Next. 15 After the installation is finished, a window asking you to print a test page appears. If you want to print a test page, click Print a test page. Otherwise, just click Next and go to step 16. 16 If the test page prints out correctly, click Yes. If not, click No to reprint it. Ad hoc via USB cable in Windows If you do not use an access point (AP), you may still connect the machine wirelessly to your computer by setting up an ad-hoc wireless network by following the simple steps below. • Items to prepare - Network-connected computer - Software CD that was provided with your machine - The machine installed with a wireless network interface - USB cable If any of the following conditions occur, you have to setup Wi-Fi installation using a USB cable. - OS of your computer is Windows Vista or earlier. - Your PC does not support wireless network. - Your PC can not connect to wireless network. 1 Check whether the USB cable is connected to the machine. 2 Turn on your computer and the wireless network machine. 17 Click Finish. 2. Using a Network-Connected Machine 123
-
 1
1 -
2
-
3
-
4
-
5
-
6
-
7
-
8
-
9
-
10
-
11
-
12
-
13
-
14
-
15
-
16
-
17
-
18
-
19
-
20
-
21
-
22
-
23
-
24
-
25
-
26
-
27
-
28
-
29
-
30
-
31
-
32
-
33
-
34
-
35
-
36
-
37
-
38
-
39
-
40
-
41
-
42
-
43
-
44
-
45
-
46
-
47
-
48
-
49
-
50
-
51
-
52
-
53
-
54
-
55
-
56
-
57
-
58
-
59
-
60
-
61
-
62
-
63
-
64
-
65
-
66
-
67
-
68
-
69
-
70
-
71
-
72
-
73
-
74
-
75
-
76
-
77
-
78
-
79
-
80
-
81
-
82
-
83
-
84
-
85
-
86
-
87
-
88
-
89
-
90
-
91
-
92
-
93
-
94
-
95
-
96
-
97
-
98
-
99
-
100
-
101
-
102
-
103
-
104
-
105
-
106
-
107
-
108
-
109
-
110
-
111
-
112
-
113
-
114
-
115
-
116
-
117
-
 118
118 -
 119
119 -
 120
120 -
 121
121 -
 122
122 -
 123
123 -
 124
124 -
 125
125 -
 126
126 -
 127
127 -
 128
128 -
129
-
130
-
131
-
132
-
133
-
134
-
135
-
136
-
137
-
138
-
139
-
140
-
141
-
142
-
143
-
144
-
145
-
146
-
147
-
148
-
149
-
150
-
151
-
152
-
153
-
154
-
155
-
156
-
157
-
158
-
159
-
160
-
161
-
162
-
163
-
164
-
165
-
166
-
167
-
168
-
169
-
170
-
171
-
172
-
173
-
174
-
175
-
176
-
177
-
178
-
179
-
180
-
181
-
182
-
183
-
184
-
185
-
186
-
187
-
188
-
189
-
190
-
191
-
192
-
193
-
194
-
195
-
196
-
197
-
198
-
199
-
200
-
201
-
202
-
203
-
204
-
205
-
206
-
207
 |
 |
