Dell W5300n Dell™ Workgroup Laser Printer W5300 User's Guide - Page 36
Update Now
 |
View all Dell W5300n manuals
Add to My Manuals
Save this manual to your list of manuals |
Page 36 highlights
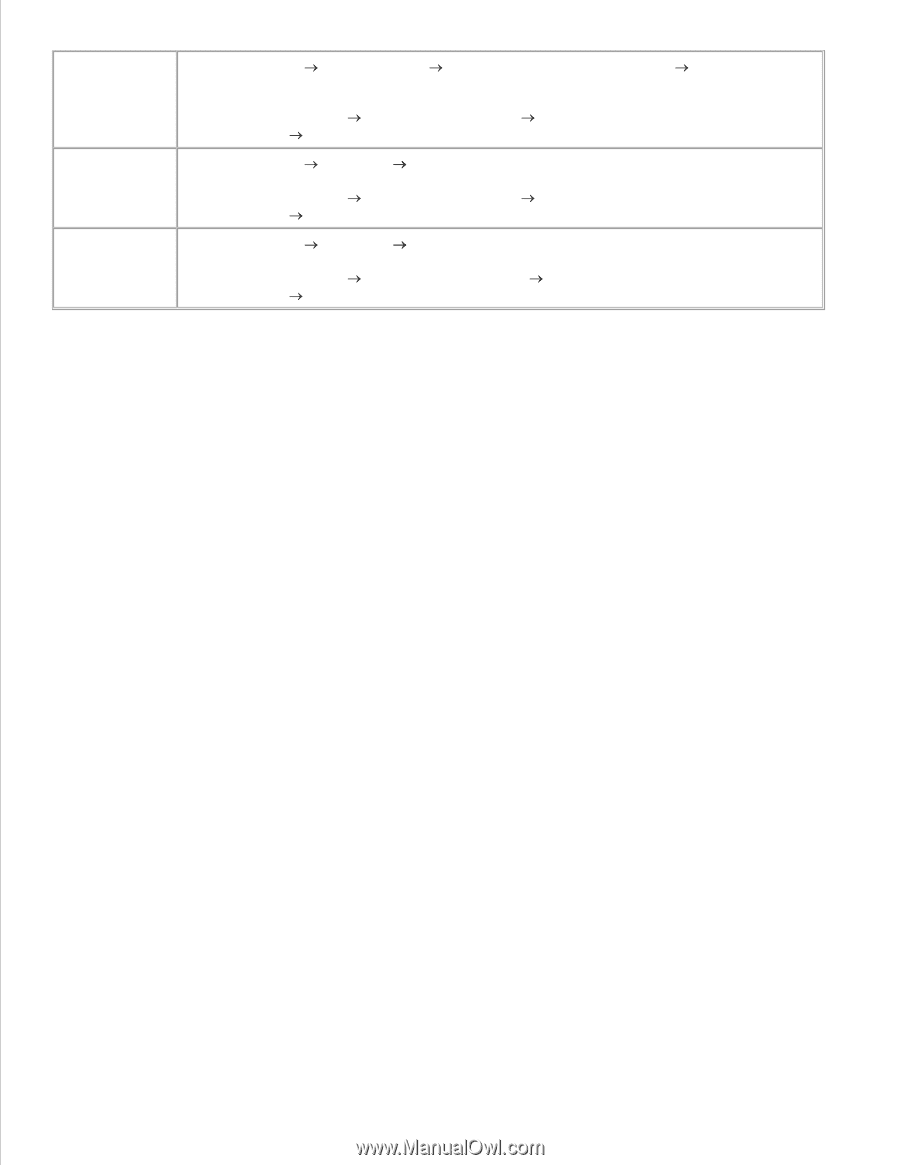
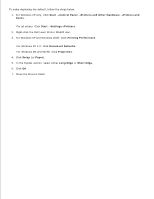
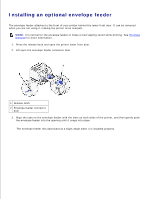
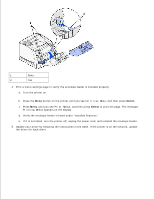
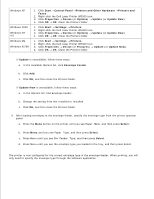
Windows XP Windows 2000 Windows NT 4.0 Windows Me Windows 95/98 1. Click Start Control Panel Printers and Other Hardware Printers and Faxes. 2. Right-click the Dell Laser Printer W5300 icon. 3. Click Properties Device (or Options) Update (or Update Now). 4. Click OK OK. Close the Printers folder. 1. Click Start Settings Printers. 2. Right-click the Dell Laser Printer W5300 icon. 3. Click Properties Device (or Options) Update (or Update Now). 4. Click OK OK. Close the Printers folder. 1. Click Start Settings Printers. 2. Right-click the Dell Laser Printer W5300 icon. 3. Click Properties Device (or Features) Update (or Update Now). 4. Click OK OK. Close the Printers folder. If Update is unavailable, follow these steps: a. In the Available Options list, click Envelope Feeder. b. Click Add. c. Click OK, and then close the Printers folder. If Update Now is unavailable, follow these steps: a. In the Options list, find Envelope Feeder. b. Change the setting from Not Installed to Installed. c. Click OK, and then close the Printers folder. 6. After loading envelopes in the envelope feeder, specify the envelope type from the printer operator panel. a. Press the Menu button on the printer until you see Paper Menu, and then press Select. b. Press Menu until you see Paper Type, and then press Select. c. Press Menu until you see Env Feeder Type, and then press Select. d. Press Menu until you see the envelope type you loaded in the tray, and then press Select. The printer is now configured for the correct envelope type in the envelope feeder. When printing, you will only need to specify the envelope type through the software application.
-
 1
1 -
2
-
3
-
4
-
5
-
6
-
7
-
8
-
9
-
10
-
11
-
12
-
13
-
14
-
15
-
16
-
17
-
18
-
19
-
20
-
21
-
22
-
23
-
24
-
25
-
26
-
27
-
28
-
29
-
30
-
 31
31 -
 32
32 -
 33
33 -
 34
34 -
 35
35 -
 36
36 -
 37
37 -
 38
38 -
 39
39 -
 40
40 -
 41
41 -
42
-
43
-
44
-
45
-
46
-
47
-
48
-
49
-
50
-
51
-
52
-
53
-
54
-
55
-
56
-
57
-
58
-
59
-
60
-
61
-
62
-
63
-
64
-
65
-
66
-
67
-
68
-
69
-
70
-
71
-
72
-
73
-
74
-
75
-
76
-
77
-
78
-
79
-
80
-
81
-
82
-
83
-
84
-
85
-
86
-
87
-
88
-
89
-
90
-
91
-
92
-
93
-
94
-
95
-
96
-
97
-
98
-
99
-
100
-
101
-
102
-
103
-
104
-
105
-
106
-
107
-
108
-
109
-
110
-
111
-
112
-
113
-
114
-
115
-
116
-
117
-
118
-
119
-
120
-
121
-
122
-
123
-
124
-
125
-
126
-
127
-
128
-
129
-
130
-
131
-
132
-
133
-
134
-
135
-
136
-
137
-
138
-
139
-
140
-
141
-
142
-
143
-
144
-
145
-
146
-
147
-
148
-
149
-
150
-
151
-
152
-
153
-
154
-
155
-
156
-
157
-
158
-
159
-
160
-
161
-
162
-
163
-
164
-
165
-
166
-
167
-
168
-
169
-
170
-
171
-
172
-
173
-
174
-
175
-
176
-
177
-
178
-
179
-
180
-
181
-
182
-
183
-
184
-
185
-
186
-
187
-
188
-
189
-
190
-
191
-
192
-
193
-
194
-
195
-
196
-
197
-
198
-
199
-
200
-
201
-
202
-
203
-
204
-
205
-
206
-
207
-
208
-
209
-
210
-
211
-
212
-
213
-
214
-
215
-
216
-
217
-
218
-
219
-
220
-
221
-
222
-
223
-
224
-
225
-
226
-
227
-
228
-
229
-
230
-
231
-
232
 |
 |