Epson MX-80II User Manual - Page 13
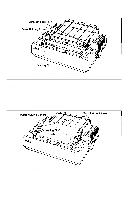
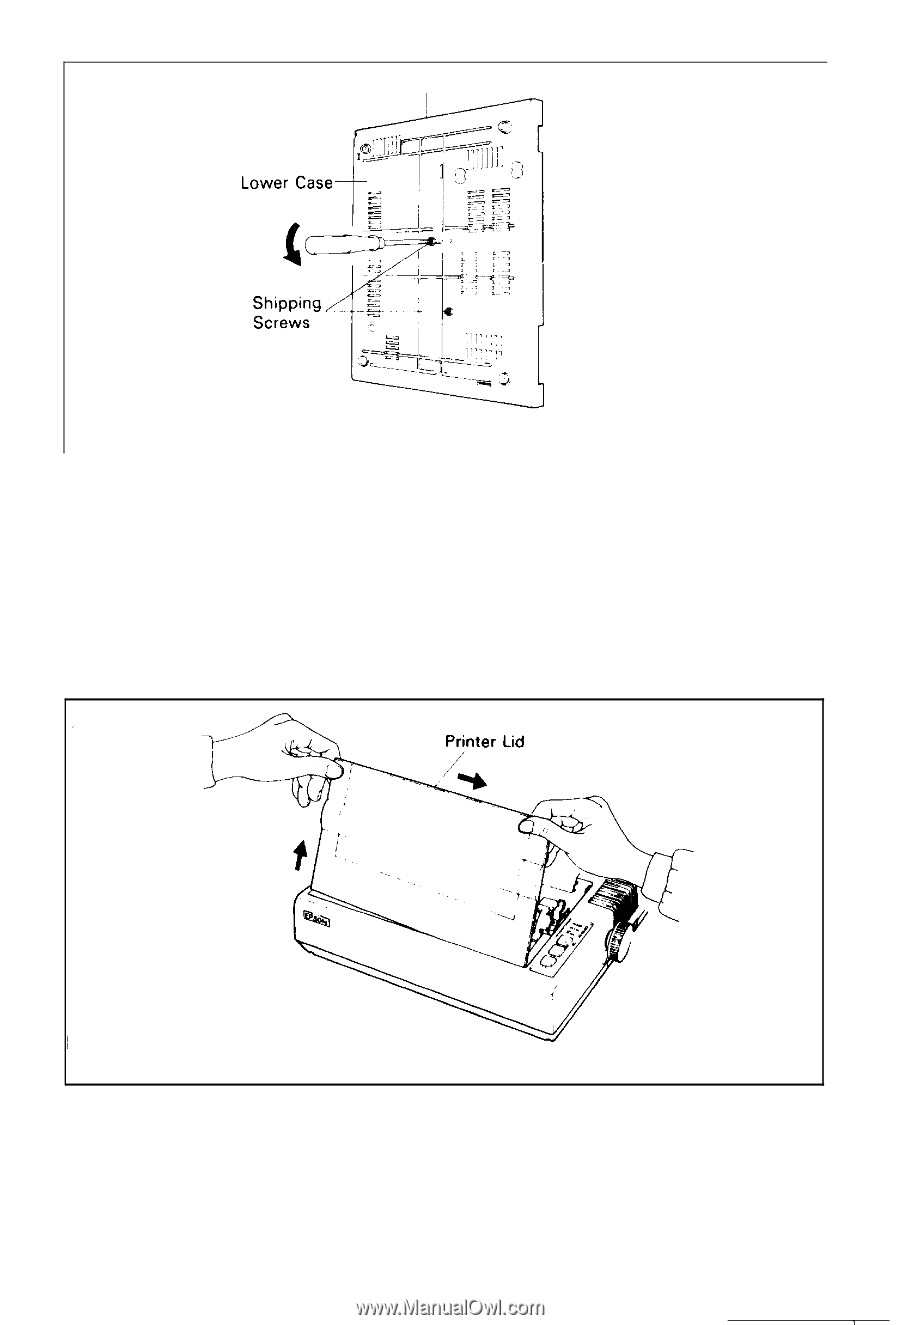
Fig. 6 Removal of Printer Lid, Fig. 5 Removal of Shipping Screws
 |
View all Epson MX-80II manuals
Add to My Manuals
Save this manual to your list of manuals |
Page 13 highlights
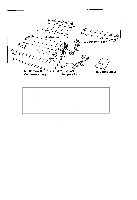
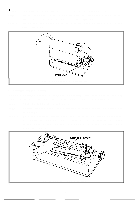
Right Side of the Printer Fig. 5 Removal of Shipping Screws NOTE: Save the two shipping screws for possible future use. < SUPPLEMENT > l If the printer lid is an obstacle when removing the shipping screws, be sure to take off the printer lid by observing the following steps. Rough or careless handling of the printer lid may result in damage to, or even breakage of, its hinges. STEP 1. Stand the printer lid upright. STEP 2. Push the printer lid toward the right and pull up its left side. (See Fig. 6.) Fig. 6 Removal of Printer Lid -7-
-
 1
1 -
2
-
3
-
4
-
5
-
6
-
7
-
 8
8 -
 9
9 -
 10
10 -
 11
11 -
 12
12 -
 13
13 -
 14
14 -
 15
15 -
 16
16 -
 17
17 -
 18
18 -
19
-
20
-
21
-
22
-
23
-
24
-
25
-
26
-
27
-
28
-
29
-
30
-
31
-
32
-
33
-
34
-
35
-
36
-
37
-
38
-
39
-
40
-
41
-
42
-
43
-
44
-
45
-
46
-
47
-
48
-
49
-
50
-
51
-
52
-
53
-
54
-
55
-
56
-
57
-
58
-
59
-
60
-
61
-
62
-
63
-
64
-
65
-
66
-
67
-
68
-
69
-
70
-
71
-
72
-
73
-
74
-
75
-
76
-
77
-
78
-
79
-
80
-
81
-
82
-
83
-
84
-
85
-
86
-
87
-
88
-
89
-
90
-
91
-
92
-
93
-
94
-
95
-
96
-
97
-
98
-
99
-
100
-
101
-
102
-
103
 |
 |
Right Side of the
Printer
Fig. 5 Removal of Shipping Screws
NOTE: Save the two shipping screws for possible future use.
< SUPPLEMENT >
l
If the printer lid is an obstacle when removing the shipping screws, be sure to
take off the printer lid by observing the following steps. Rough or careless handling
of the printer lid may result in damage to, or even breakage of, its hinges.
STEP 1.
Stand the printer lid upright.
STEP 2.
Push the printer lid toward the right and pull up its left side. (See Fig. 6.)
Fig. 6 Removal of Printer Lid
-7-