Epson MX-80II User Manual - Page 39
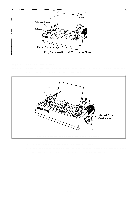
Fig. 44 Setting of Cut Paper Sheet, Fig. 45 Printer with Cut Paper Sheet Set Completely, STEP 8.
 |
View all Epson MX-80II manuals
Add to My Manuals
Save this manual to your list of manuals |
Page 39 highlights
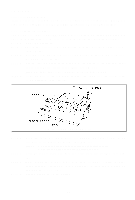
Fig. 44 Setting of Cut Paper Sheet STEP 8. NOTES: 1. The Paper End Detector function may be disabled under software control (ESC 8; refer to page 66) provided printing is left off within 7.5 mm from the paper bottom edge. 2. If the paper is set on the line marked l/4 as shown in Fig. 44, then the printing starts from a position 28.6 mm below the top edge of the paper. If the paper is set on the line marked l/8, then the printing starts from a position 30.2 mm below the top edge of the paper. Push the scale back into position and put the printer lid on the Printer. (See Fig. 45.) Fig. 45 Printer with Cut Paper Sheet Set Completely -33-
-
 1
1 -
2
-
3
-
4
-
5
-
6
-
7
-
8
-
9
-
10
-
11
-
12
-
13
-
14
-
15
-
16
-
17
-
18
-
19
-
20
-
21
-
22
-
23
-
24
-
25
-
26
-
27
-
28
-
29
-
30
-
31
-
32
-
33
-
 34
34 -
 35
35 -
 36
36 -
 37
37 -
 38
38 -
 39
39 -
 40
40 -
 41
41 -
 42
42 -
 43
43 -
 44
44 -
45
-
46
-
47
-
48
-
49
-
50
-
51
-
52
-
53
-
54
-
55
-
56
-
57
-
58
-
59
-
60
-
61
-
62
-
63
-
64
-
65
-
66
-
67
-
68
-
69
-
70
-
71
-
72
-
73
-
74
-
75
-
76
-
77
-
78
-
79
-
80
-
81
-
82
-
83
-
84
-
85
-
86
-
87
-
88
-
89
-
90
-
91
-
92
-
93
-
94
-
95
-
96
-
97
-
98
-
99
-
100
-
101
-
102
-
103
 |
 |
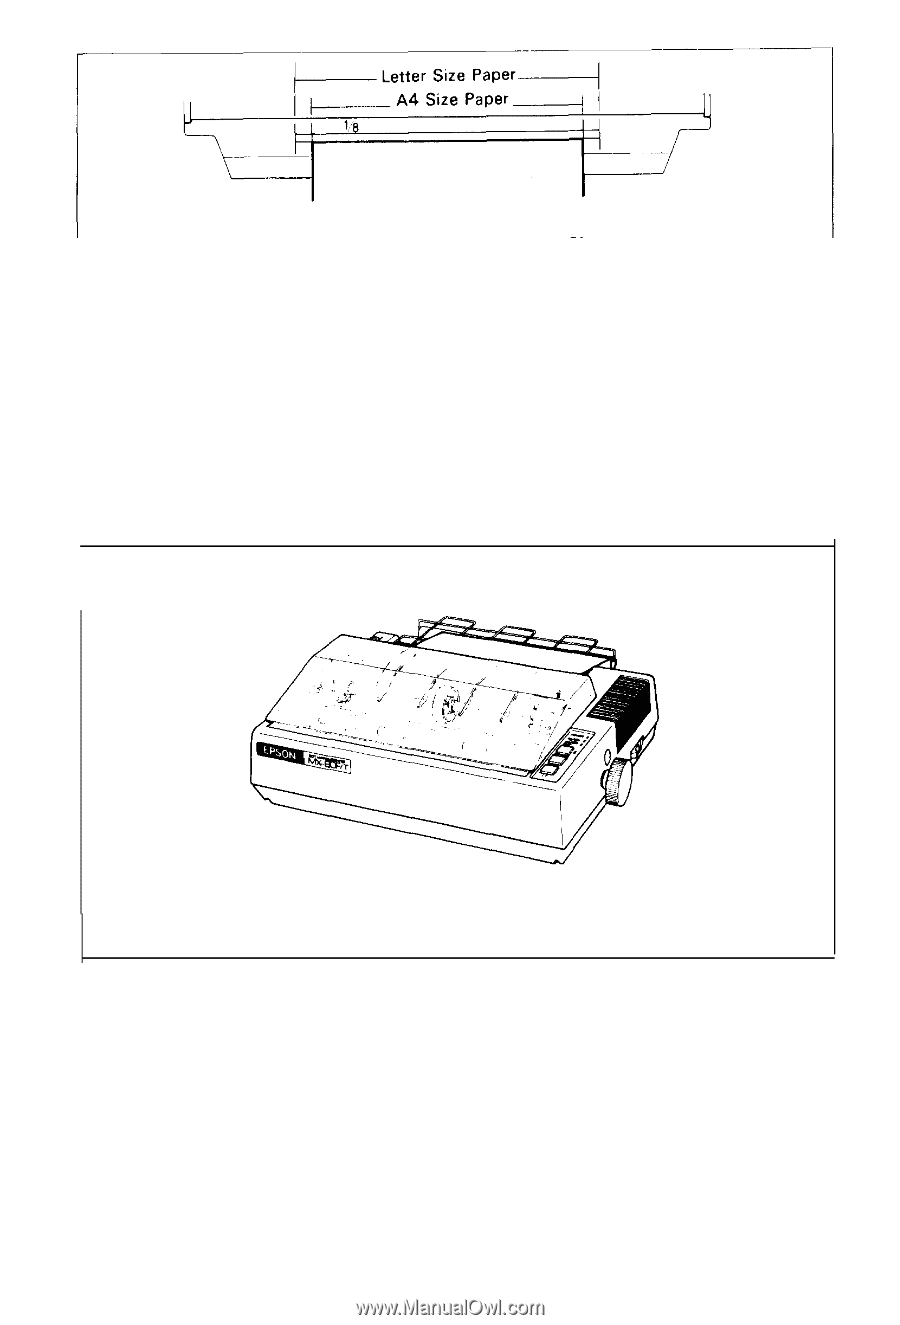
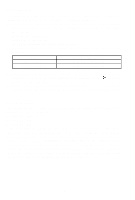
Fig. 44 Setting of Cut Paper Sheet
NOTES: 1. The Paper End Detector function may be disabled under software
control (ESC 8; refer to page 66) provided printing is left off within
7.5 mm from the paper bottom edge.
2. If the paper is set on the line marked l/4 as shown in Fig. 44, then
the printing starts from a position 28.6 mm below the top edge of the
paper. If the paper is set on the line marked l/8, then the printing
starts from a position 30.2 mm below the top edge of the paper.
STEP 8.
Push the scale back into position and put the printer lid on the Printer.
(See Fig. 45.)
Fig. 45 Printer with Cut Paper Sheet Set Completely
-33-