Epson MX-80II User Manual - Page 31
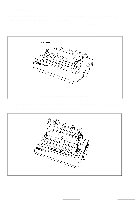
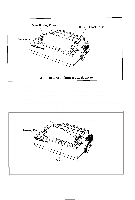
Paper Loading, Fanfold paper, See Fig. 30.
 |
View all Epson MX-80II manuals
Add to My Manuals
Save this manual to your list of manuals |
Page 31 highlights
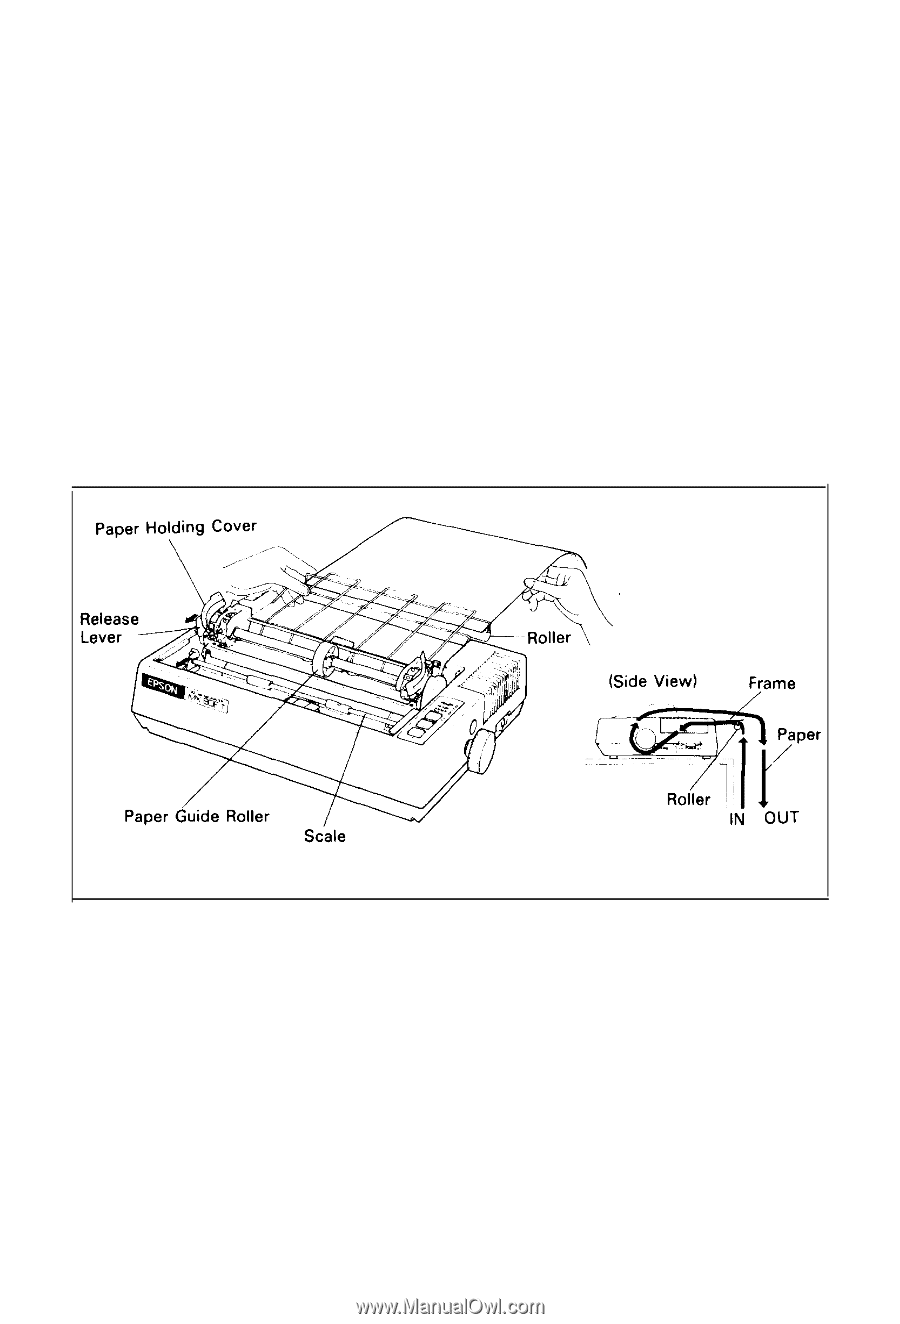
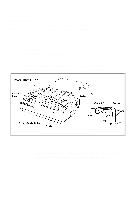
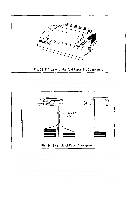
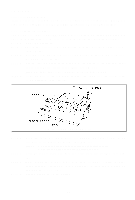
7. Paper Loading 7.1. Fanfold paper 7.1.1. Loading of fanfold paper The MX-80 F/T Type I I Printer accommodates fanfold paper from 4" to 10" in width. To load the fanfold paper, observe the following procedure. STEP 1. Raise the printer lid. STEP 2. Unlock the release lever by pulling it in the direction of the arrow. (See Fig. 30.) STEP 3. Pull the scale toward the front of the Printer to detach the scale from the platen. STEP 4. Confirm that the paper guide roller is at the center of the sprocket shaft. If not, set it at the center of the shaft. NOTE: The paper guide roller contributes to smooth paper feeding. STEP 5. Raise the two paper holding covers, and be sure to insert the fanfold paper between the frame and plastic roller of the separator. (See Fig. 30.) Fig. 30 Insertion of Fanfold Paper STEP 6. STEP 7. Push the paper into the insertion slot between the paper guides at the rear part of the printer mechanism. NOTE: Be sure to pass the paper beneath the upper paper guide. Adjust the position of the head adjusting lever in the forward (+) direction when inserting thicker paper. (See Section 8, Gap Adjustment.) After the leading edge of the paper has emerged from the Printer, pull it out gently to some length. -25-
-
 1
1 -
2
-
3
-
4
-
5
-
6
-
7
-
8
-
9
-
10
-
11
-
12
-
13
-
14
-
15
-
16
-
17
-
18
-
19
-
20
-
21
-
22
-
23
-
24
-
25
-
 26
26 -
 27
27 -
 28
28 -
 29
29 -
 30
30 -
 31
31 -
 32
32 -
 33
33 -
 34
34 -
 35
35 -
 36
36 -
37
-
38
-
39
-
40
-
41
-
42
-
43
-
44
-
45
-
46
-
47
-
48
-
49
-
50
-
51
-
52
-
53
-
54
-
55
-
56
-
57
-
58
-
59
-
60
-
61
-
62
-
63
-
64
-
65
-
66
-
67
-
68
-
69
-
70
-
71
-
72
-
73
-
74
-
75
-
76
-
77
-
78
-
79
-
80
-
81
-
82
-
83
-
84
-
85
-
86
-
87
-
88
-
89
-
90
-
91
-
92
-
93
-
94
-
95
-
96
-
97
-
98
-
99
-
100
-
101
-
102
-
103
 |
 |