HP Dx9000 Service Reference Guide: HP dx9000 TouchSmart Business PC - Page 33
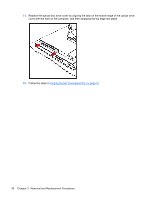
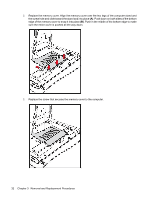
disc drive toward the outer edge of the computer.
 |
UPC - 884420541578
View all HP Dx9000 manuals
Add to My Manuals
Save this manual to your list of manuals |
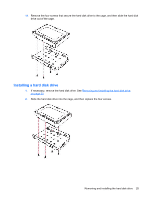
Page 33 highlights
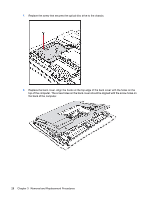
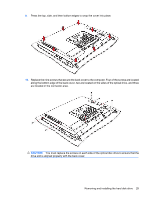
5. Replace the screw that secures the hard disk drive cage to the chassis. 6. Align the hooks on the optical disc drive with the holes on the computer, and then slide the optical disc drive toward the outer edge of the computer. Removing and installing the hard disk drive 27
-
 1
1 -
2
-
3
-
4
-
5
-
6
-
7
-
8
-
9
-
10
-
11
-
12
-
13
-
14
-
15
-
16
-
17
-
18
-
19
-
20
-
21
-
22
-
23
-
24
-
25
-
26
-
27
-
 28
28 -
 29
29 -
 30
30 -
 31
31 -
 32
32 -
 33
33 -
 34
34 -
 35
35 -
 36
36 -
 37
37 -
 38
38 -
39
-
40
-
41
-
42
-
43
-
44
-
45
-
46
-
47
-
48
-
49
-
50
-
51
-
52
 |
 |
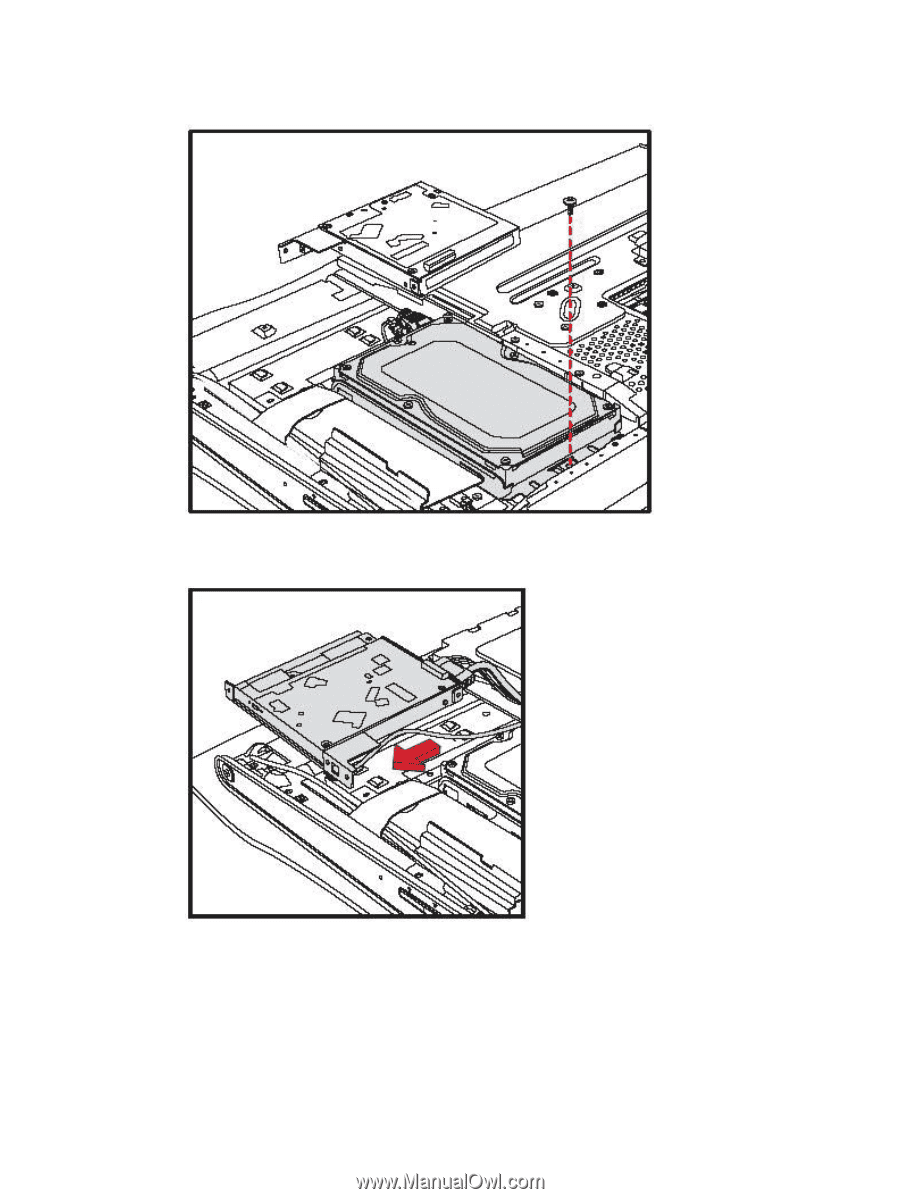
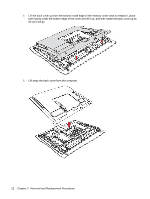
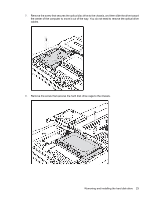
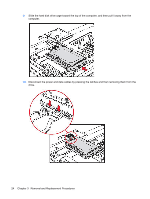
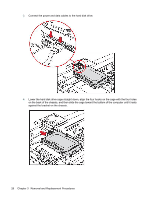
5.
Replace the screw that secures the hard disk drive cage to the chassis.
6.
Align the hooks on the optical disc drive with the holes on the computer, and then slide the optical
disc drive toward the outer edge of the computer.
Removing and installing the hard disk drive
27