HP Scitex FB500 HP Scitex FB500 and FB700 Printer Series - User Guide - Page 74
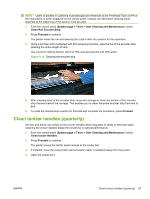
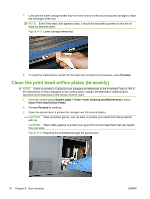
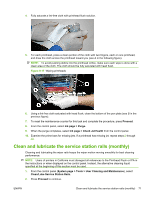
Clean and lubricate rail strips (bi-weekly), Proceed
 |
View all HP Scitex FB500 manuals
Add to My Manuals
Save this manual to your list of manuals |
Page 74 highlights
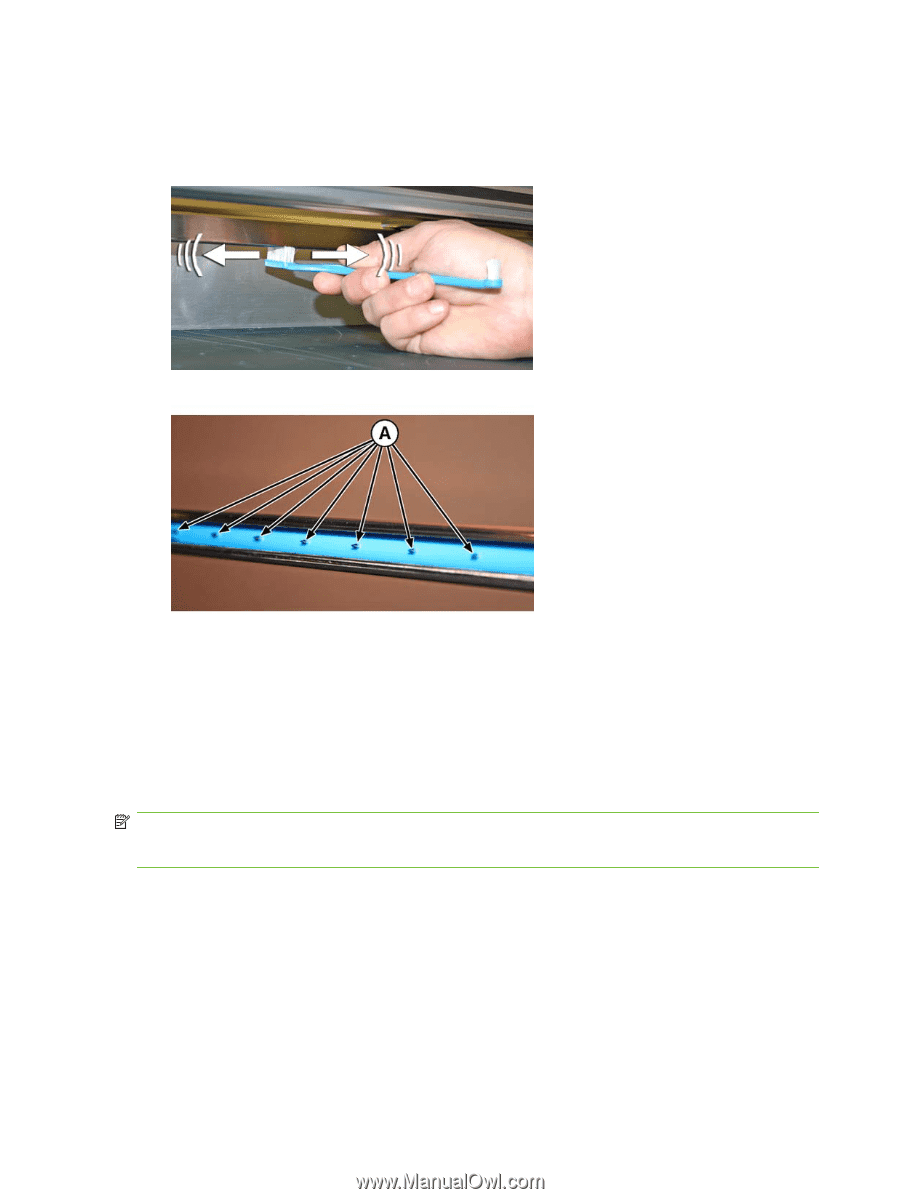
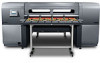
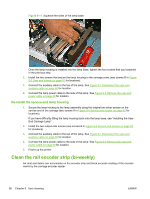
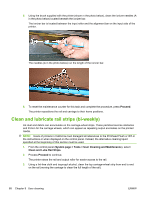
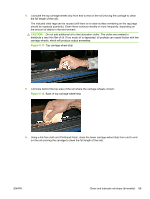
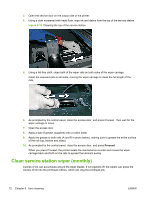
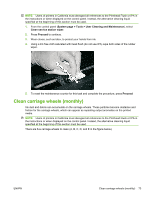
5. Using the brush supplied with the printer (shown n the photo below), clean the ionizer needles (A in the photo below) located beneath the ionizer bar. The ionizer bar is located between the input roller and the alignment bar on the input side of the printer. The needles (A in the photo below) run the length of the ionizer bar. 6. To reset the maintenance counter for this task and complete the procedure, press Proceed. The printer repositions the rail and carriage to their home positions. Clean and lubricate rail strips (bi-weekly) Ink dust and debris can accumulate on the carriage-wheel strips. These particles become obstacles and friction for the carriage wheels, which can appear as repeating output anomalies on the printed media. NOTE: Users of printers in California must disregard all references to the Printhead Flush or IPA in the instructions or when displayed on the control panel. Instead, the alternative cleaning liquid specified at the beginning of this section must be used. 1. From the control panel (System page > Tools > User Cleaning and Maintenance), select Clean and Lube Rail Strips. 2. Process Proceed to continue. The printer raises the rail and output roller for easier access to the rail. 3. Using a lint-free cloth and isopropyl alcohol, clean the top carriage-wheel strip from end to end on the rail (moving the carriage to clean the full length of the rail). 68 Chapter 9 User cleaning ENWW
-
 1
1 -
2
-
3
-
4
-
5
-
6
-
7
-
8
-
9
-
10
-
11
-
12
-
13
-
14
-
15
-
16
-
17
-
18
-
19
-
20
-
21
-
22
-
23
-
24
-
25
-
26
-
27
-
28
-
29
-
30
-
31
-
32
-
33
-
34
-
35
-
36
-
37
-
38
-
39
-
40
-
41
-
42
-
43
-
44
-
45
-
46
-
47
-
48
-
49
-
50
-
51
-
52
-
53
-
54
-
55
-
56
-
57
-
58
-
59
-
60
-
61
-
62
-
63
-
64
-
65
-
66
-
67
-
68
-
 69
69 -
 70
70 -
 71
71 -
 72
72 -
 73
73 -
 74
74 -
 75
75 -
 76
76 -
 77
77 -
 78
78 -
 79
79 -
80
-
81
-
82
-
83
-
84
-
85
-
86
-
87
-
88
-
89
-
90
-
91
-
92
-
93
-
94
-
95
-
96
-
97
-
98
-
99
-
100
-
101
-
102
 |
 |