HP xp8000 HP L1581A advanced connectivity module - (English) User Guide - Page 13
To set up the projector for wired network access, Setup > Network, Help >, About the network
 |
View all HP xp8000 manuals
Add to My Manuals
Save this manual to your list of manuals |
Page 13 highlights
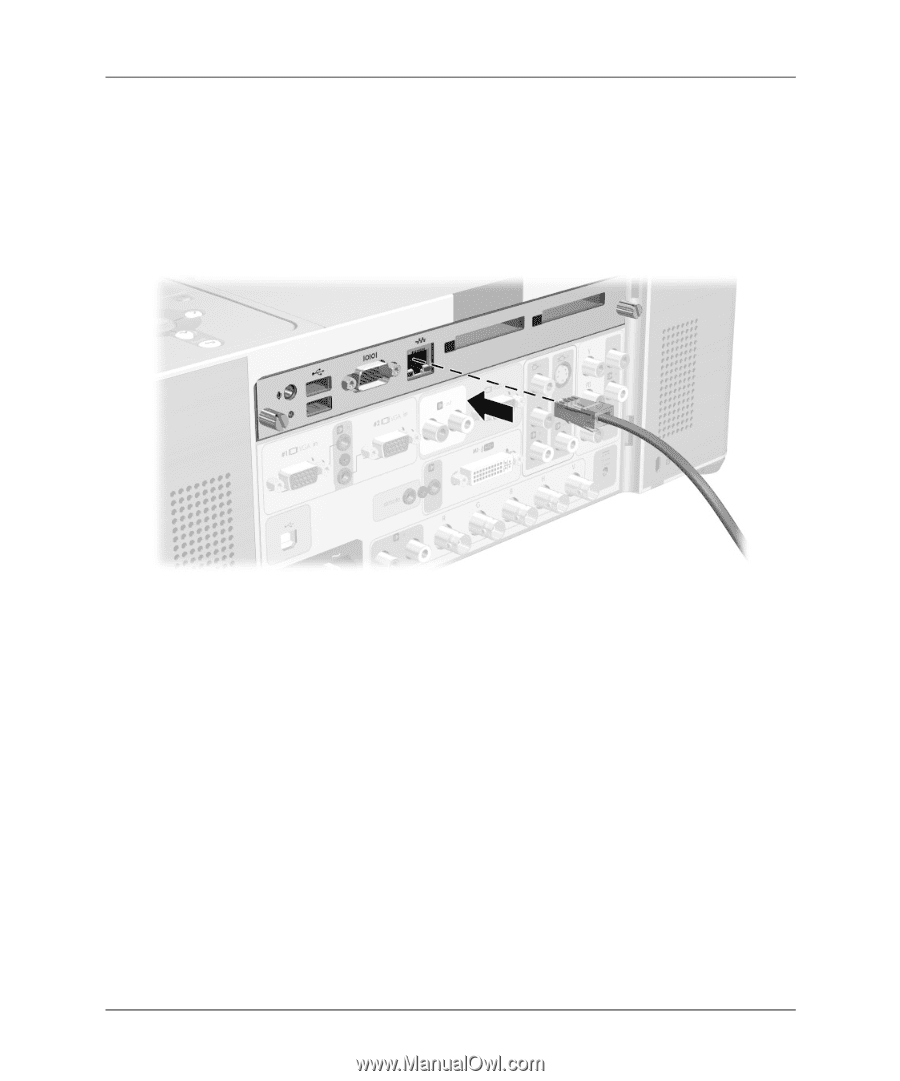
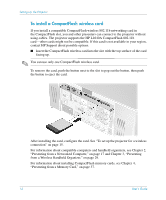
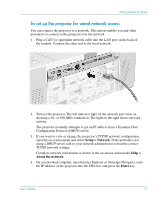
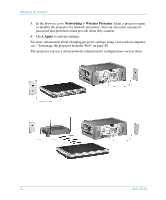
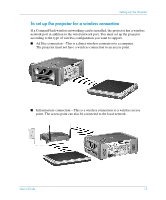
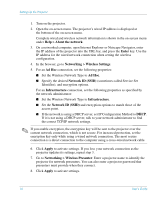
Setting Up the Projector To set up the projector for wired network access You can connect the projector to a network. This action enables you and other presenters to connect to the projector over the network. 1. Plug a CAT5 or equivalent network cable into the LAN port on the back of the module. Connect the other end to the local network. 2. Turn on the projector. The left indicator light on the network port turns on showing a 10- or 100-Mb/s connection. The light on the right shows network activity. The projector normally attempts to get an IP address from a Dynamic Host Configuration Protocol (DHCP) server. 3. If you want to view or change the projector's TCP/IP network configuration, open the on-screen menu and select Setup > Network. If the network is not using a DHCP server, talk to your network administrator to find the correct TCP/IP network settings. Complete network information is shown in the on-screen menu under Help > About the network. 4. On a networked computer, open Internet Explorer or Netscape Navigator, enter the IP address of the projector into the URL bar, and press the Enter key. User's Guide 13
-
 1
1 -
2
-
3
-
4
-
5
-
6
-
7
-
 8
8 -
 9
9 -
 10
10 -
 11
11 -
 12
12 -
 13
13 -
 14
14 -
 15
15 -
 16
16 -
 17
17 -
 18
18 -
19
-
20
-
21
-
22
-
23
-
24
-
25
-
26
-
27
-
28
-
29
-
30
-
31
-
32
-
33
-
34
-
35
-
36
-
37
-
38
-
39
-
40
-
41
-
42
-
43
-
44
-
45
-
46
-
47
-
48
-
49
-
50
-
51
-
52
-
53
-
54
-
55
-
56
-
57
-
58
-
59
-
60
-
61
-
62
-
63
-
64
-
65
-
66
-
67
-
68
-
69
-
70
-
71
-
72
 |
 |