Huawei Ascend Y600 User Guide - Page 46
Customizing Your Account Synchronization
 |
View all Huawei Ascend Y600 manuals
Add to My Manuals
Save this manual to your list of manuals |
Page 46 highlights
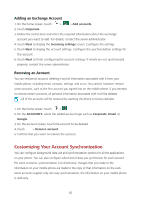
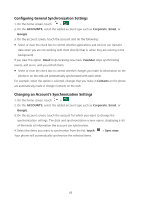
Adding an Exchange Account 1. On the home screen, touch > > Add accounts. 2. Touch Corporate. 3. Follow the instructions and enter the required information about the exchange account you want to add. For details, contact the server administrator. 4. Touch Next to display the Incoming settings screen. Configure the settings. 5. Touch Next to display the account settings. Configure the synchronization settings for this account. 6. Touch Next to finish configuring the account settings. If emails are not synchronized properly, contact the server administrator. Removing an Account You can remove an account, deleting it and all information associated with it from your mobile phone, including email, contacts, settings, and so on. You cannot, however, remove some accounts, such as the first account you signed into on the mobile phone. If you attempt to remove certain accounts, all personal information associated with it will be deleted. All of the accounts will be removed by resetting the phone to factory defaults. 1. On the home screen, touch >. 2. On the ACCOUNTS, select the added account type such as Corporate, Email, or Google. 3. On the account screen, touch the account to be deleted. 4. Touch > Remove account. 5. Confirm that you want to remove the account. Customizing Your Account Synchronization You can configure background data use and synchronization options for all the applications on your phone. You can also configure what kind of data you synchronize for each account. For some accounts, synchronization is bi-directional; changes that you make to the information on your mobile phone are made to the copy of that information on the web. Some accounts support only one-way synchronization; the information on your mobile phone is read-only. 42
-
 1
1 -
2
-
3
-
4
-
5
-
6
-
7
-
8
-
9
-
10
-
11
-
12
-
13
-
14
-
15
-
16
-
17
-
18
-
19
-
20
-
21
-
22
-
23
-
24
-
25
-
26
-
27
-
28
-
29
-
30
-
31
-
32
-
33
-
34
-
35
-
36
-
37
-
38
-
39
-
40
-
 41
41 -
 42
42 -
 43
43 -
 44
44 -
 45
45 -
 46
46 -
 47
47 -
 48
48 -
 49
49 -
 50
50 -
 51
51 -
52
-
53
-
54
-
55
-
56
-
57
-
58
-
59
 |
 |