Linksys WPS54G User Guide - Page 13
Placement Options, the PrintServer Using the Setup Wizard.
 |
UPC - 745883561049
View all Linksys WPS54G manuals
Add to My Manuals
Save this manual to your list of manuals |
Page 13 highlights
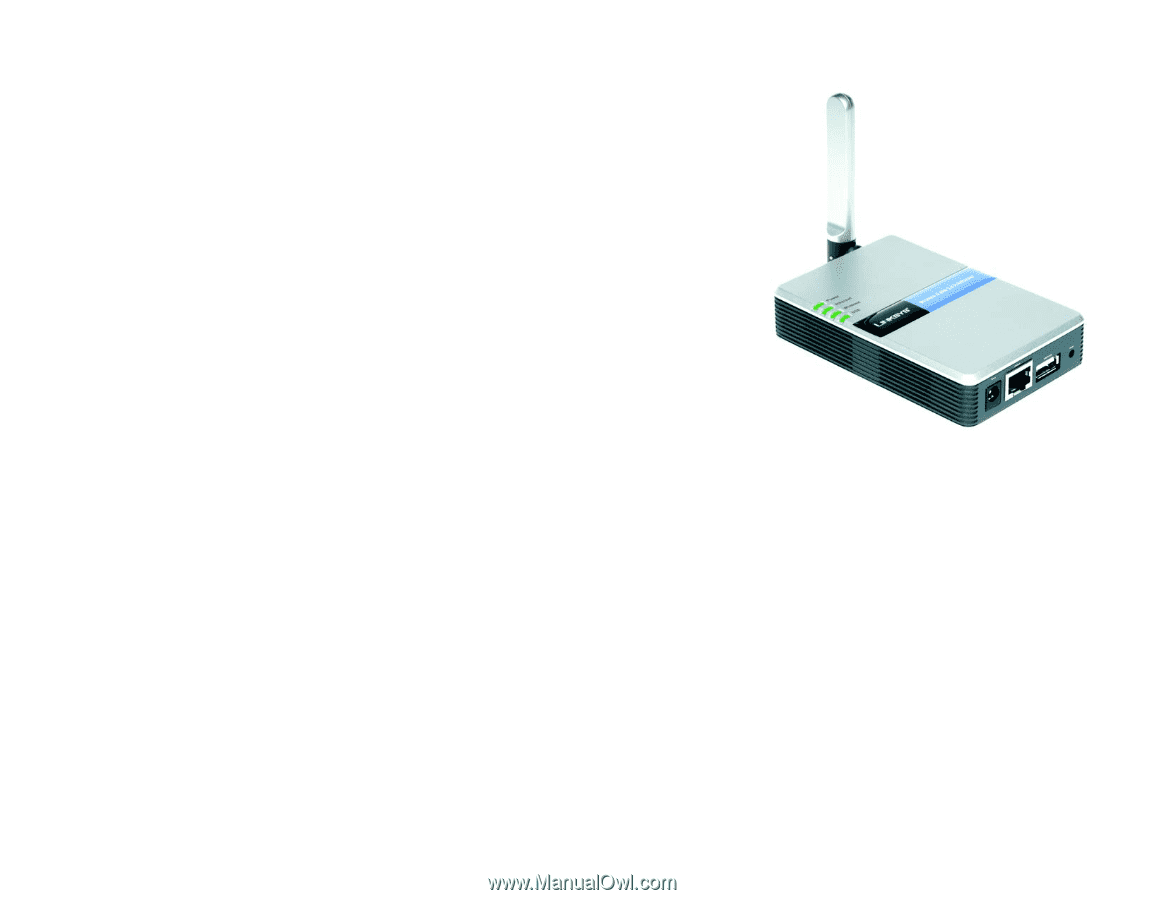
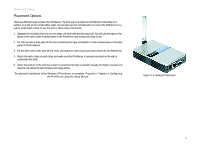
Wireless-G PrintServer Placement Options There are different ways to place the PrintServer. The first way is to place the PrintServer horizontally on a surface, so it sits on four small rubber pads. You can also use the included velcro to mount the PrintServer on a wall or underneath a shelf. To use the velcro, follow these instructions: 1. Separate the included velcro into its two sides, the hook side and the loop side. You will use the tape on the backs of the velcro sides to attach them to the PrintServer and surface you want to use. 2. For the first velcro side, peel off the cover protecting the tape, and attach it to the recessed area on the back panel of the PrintServer. 3. For the other velcro side, peel off the cover, and attach it to the location you have chosen for the PrintServer. 4. Attach the velcro sides to each other, and make sure the PrintServer is securely mounted on the wall or underneath the shelf. 5. Adjust the position of the antenna so that it is positioned as high as possible. Usually, the higher you place the antenna, the better the performance and range will be. The physical installation of the Wireless-G PrintServer is complete. Proceed to "Chapter 4: Configuring the PrintServer Using the Setup Wizard." Figure 3-4: Desktop Placement Chapter 3: Connecting the PrintServer 7 Placement Options
-
 1
1 -
2
-
3
-
4
-
5
-
6
-
7
-
 8
8 -
 9
9 -
 10
10 -
 11
11 -
 12
12 -
 13
13 -
 14
14 -
 15
15 -
 16
16 -
 17
17 -
 18
18 -
19
-
20
-
21
-
22
-
23
-
24
-
25
-
26
-
27
-
28
-
29
-
30
-
31
-
32
-
33
-
34
-
35
-
36
-
37
-
38
-
39
-
40
-
41
-
42
-
43
-
44
-
45
-
46
-
47
-
48
-
49
-
50
-
51
-
52
-
53
-
54
-
55
-
56
-
57
-
58
-
59
-
60
-
61
-
62
-
63
-
64
-
65
-
66
-
67
-
68
-
69
-
70
-
71
-
72
-
73
-
74
 |
 |