Onkyo TX-DS676 Owner Manual - Page 16
Using the on-screen display - remote control for
 |
View all Onkyo TX-DS676 manuals
Add to My Manuals
Save this manual to your list of manuals |
Page 16 highlights
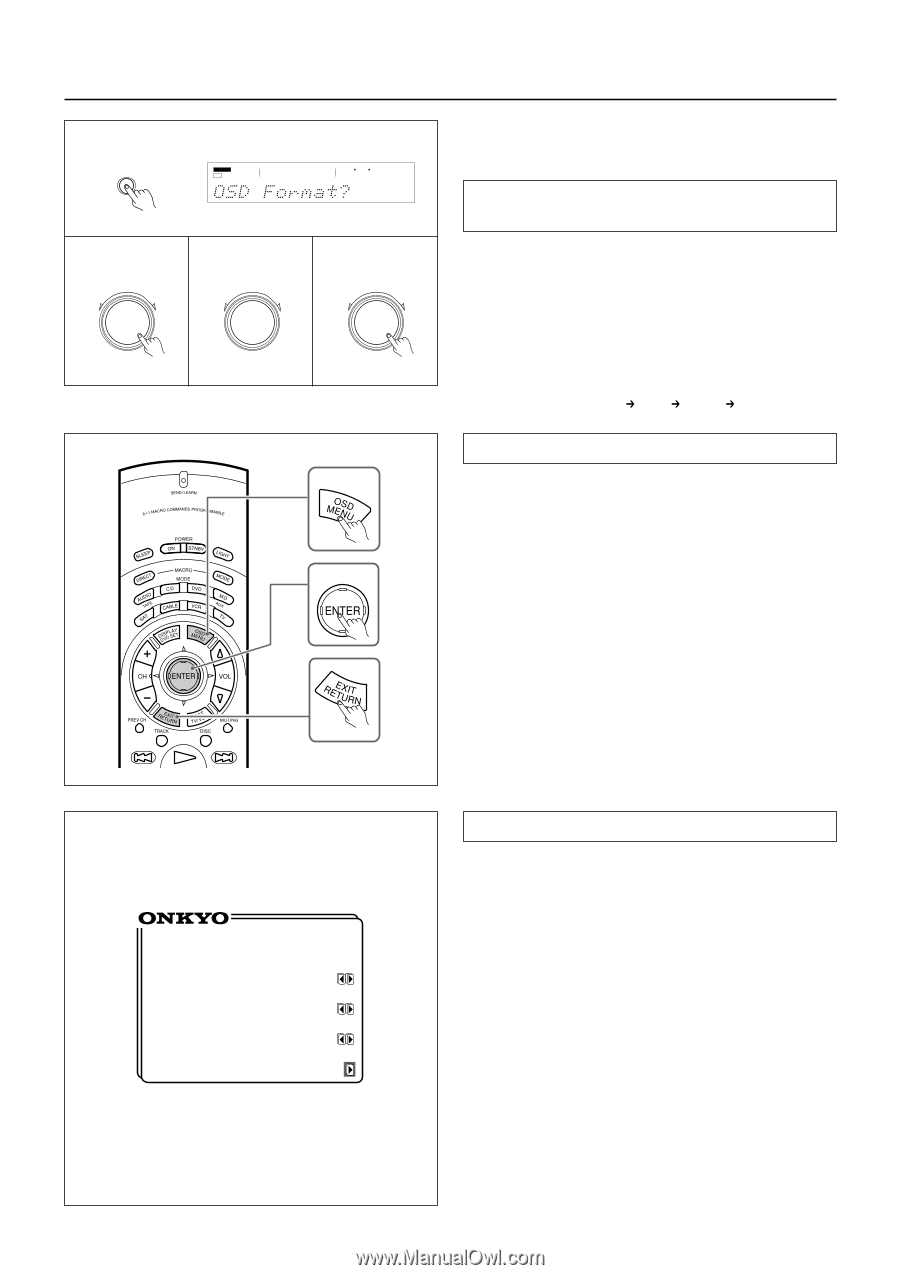
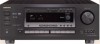
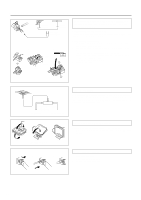
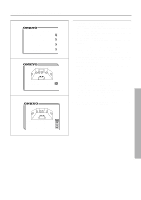
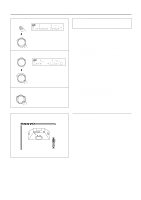
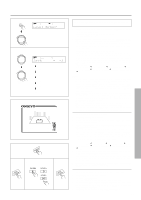
Using the on-screen display 1 SP/SYS SETUP SPEAKERS A TUNED AUTO 2 PRESET/MODE ADJ 3 PRESET/MODE ADJ 4 PRESET/MODE ADJ PUSH TO ENTER PUSH TO ENTER PUSH TO ENTER 1 2~4 3 ** Screen Setup ** Background Color = Green 1 Superimpose Mode = Normal Immediate Display = ON Character Position 16 Using the OSD (on-screen display) function lets you display each screen on your TV so that you can perform various settings using only the remote controller. Setting the NTSC/PAL format (European/worldwide model only) The OSD format defaults to "Auto," which means the OSD format is set automatically. You can change this factory-set default as follows: 1. Press the SP/SYS SETUP button repeatedly until "OSD Format?" appears. 2. Press the SMART SCAN CONTROLLER. The unit enters the NTSC/PAL setting mode. 3. Rotate the SMART SCAN CONTROLLER to select the OSD format. The display changes as below. Select the OSD format used in your TV. Auto (Automatic setting) PAL NTSC (Auto) 4. Press the SMART SCAN CONTROLLER. How to use the on-screen display 1. Press the OSD MENU button. The on-screen display appears. 2. Press the upper or lower edge of the ENTER/Cursor button to select the item. The items you can select on each screen are shown on the next page. 3. Press the right edge of the ENTER/Cursor button to display the setting screen. On each screen, you can press the upper or lower edge of the ENTER/Cursor button to select an item and then press the right or left edge of the button to change the setting. If the item has an additional screen, you can press the right edge of the button to change to that screen. 4. Press the center of the ENTER/Cursor button. Use either of the following methods to turn off the on-screen display. • Press the center of the ENTER/Cursor button. By pressing this button, you can follow in reverse the sequence in which you have displayed each setting screen. Finally, the onscreen display disappears. • Press the EXIT button. The on-screen display disappears immediately. Screen Setup Use the on-screen display to set the background color, the superimpose mode, etc. 1. Press the OSD MENU button. 2. Select "Screen Setup" and press the right edge of the EN- TER/Cursor button. 3. Press the upper or lower edge of the ENTER/Cursor button to select each item and then press the right or left edge of the button to set a parameter. Background Color : Select the desired color from BLUE-1, BLUE-2, GREEN-1, GREEN-2, MAGENTA, RED-1, and RED-2. Superimpose Mode : Select one of the following: OFF : The on-screen display appears on the selected background color. Normal : The on-screen display is superimposed on images when video signals are input and shown on the selected background color when no video signal is input. Black : The on-screen display appears on black screen. Immediate Display : Select either "ON" or "OFF." When set to "ON," the screen will show for 3 seconds the result (or process) of the operation every time you operate the unit. For example, the volume level indicator appears on the screen when you increase the sound volume. Character Position : Using the ENTER/Cursor button, move the onscreen display to the lower left, upper left, upper right, or lower right of the TV screen. 4. Press the center of the ENTER/Cursor button, or press the EXIT button.
-
 1
1 -
2
-
3
-
4
-
5
-
6
-
7
-
8
-
9
-
10
-
 11
11 -
 12
12 -
 13
13 -
 14
14 -
 15
15 -
 16
16 -
 17
17 -
 18
18 -
 19
19 -
 20
20 -
 21
21 -
22
-
23
-
24
-
25
-
26
-
27
-
28
-
29
-
30
-
31
-
32
-
33
-
34
-
35
-
36
-
37
-
38
-
39
-
40
-
41
-
42
-
43
-
44
-
45
-
46
-
47
-
48
-
49
-
50
-
51
-
52
-
53
-
54
-
55
-
56
-
57
-
58
-
59
-
60
-
61
-
62
-
63
-
64
 |
 |