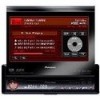
Pioneer P5900DVD Owner's Manual - Page 46
Selecting the background display, Setting the AV input, Setting the clock
 |
UPC - 012562848563
View all Pioneer P5900DVD manuals
Add to My Manuals
Save this manual to your list of manuals |
Page 46 highlights
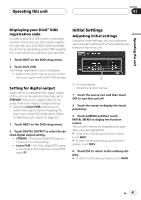
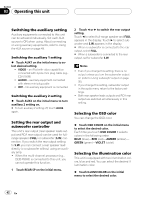
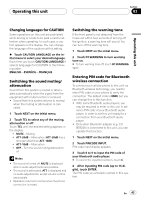
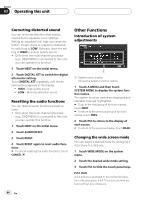
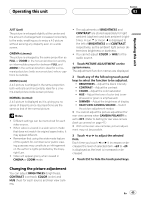
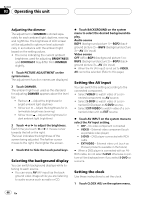
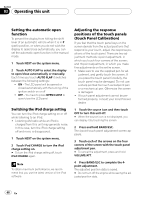
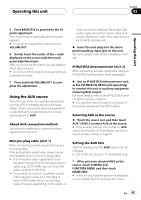
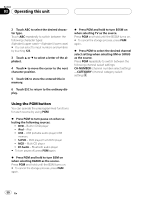
Section 03 Operating this unit Adjusting the dimmer The adjustment of DIMMER is stored separately for each ambient light; daytime, evening and nighttime. The brightness of LCD screen will be adjusted to optimum level automatically in accordance with the ambient light based on the setting values. ! The icons indicating the current ambient brightness used for adjusting BRIGHTNESS and CONTRAST may differ from DIMMER slightly. 1 Touch PICTURE ADJUSTMENT on the system menu. The adjustment function names are displayed. 2 Touch DIMMER. The ambient light level used as the standard for adjusting DIMMER appears above the level bar. ! Red sun - Adjust the brightness for bright ambient light (daytime) ! Yellow sun - Adjust the brightness for intermediate brightness (evening) ! Yellow moon - Adjust the brightness for dark ambient light (nighttime) 3 Touch c or d to adjust the brightness. Each time you touch c or d it moves cursor towards the left or the right. The level indicates the brightness of the screen being adjusted. The farther cursor moves to the right, the brighter the screen. 4 Touch ESC to hide the touch panel keys. Selecting the background display You can switch background displays while listening to each source. ! You can enjoy AV (AV input) as the back- ground video image while you are listening to audio source such as radio or CD. % Touch BACKGROUND on the system menu to select the desired background display. Audio source BGP1 (background picture 1)-BGP2 (background picture 2)-BGP3 (background picture 3)-AV (AV input) Video source OFF (off)-BGP1 (background picture 1)- BGP2 (background picture 2)-BGP3 (background picture 3)-AV (AV input) # When the AV (AV input) is not set to VIDEO, AV cannot be selected. (Refer to this page.) Setting the AV input You can switch the setting according to the connected component. ! Select VIDEO to watch video of a con- nected component as AV source. ! Select S-DVD to watch video of a con- nected DVD player as S-DVD source. ! Select EXT-VIDEO to watch video of a con- nected video unit as EXT source. % Touch AV INPUT on the system menu to select the AV input setting. ! OFF - No video component connected ! VIDEO - External video component (such as portable video player) ! S-DVD - DVD player connected with RCA cable ! EXT-VIDEO - External video unit (such as Pioneer products available in the future) # When a DVD player is connected with an AVBUS cable, do not select S-DVD otherwise no picture will be displayed even if you select S-DVD as a source. Setting the clock Use these instructions to set the clock. 1 Touch CLOCK ADJ on the system menu. 46 En
-
 1
1 -
2
-
3
-
4
-
5
-
6
-
7
-
8
-
9
-
10
-
11
-
12
-
13
-
14
-
15
-
16
-
17
-
18
-
19
-
20
-
21
-
22
-
23
-
24
-
25
-
26
-
27
-
28
-
29
-
30
-
31
-
32
-
33
-
34
-
35
-
36
-
37
-
38
-
39
-
40
-
 41
41 -
 42
42 -
 43
43 -
 44
44 -
 45
45 -
 46
46 -
 47
47 -
 48
48 -
 49
49 -
 50
50 -
 51
51 -
52
-
53
-
54
-
55
-
56
-
57
-
58
-
59
-
60
-
61
-
62
-
63
-
64
-
65
-
66
-
67
-
68
-
69
-
70
-
71
-
72
-
73
-
74
-
75
-
76
-
77
-
78
-
79
-
80
-
81
-
82
-
83
-
84
-
85
-
86
-
87
-
88
-
89
-
90
-
91
-
92
-
93
-
94
-
95
-
96
-
97
-
98
-
99
-
100
-
101
-
102
-
103
-
104
-
105
-
106
 |
 |