Sharp MX-6500N Adjustment Guide - Page 10
Density Adjustment
 |
View all Sharp MX-6500N manuals
Add to My Manuals
Save this manual to your list of manuals |
Page 10 highlights
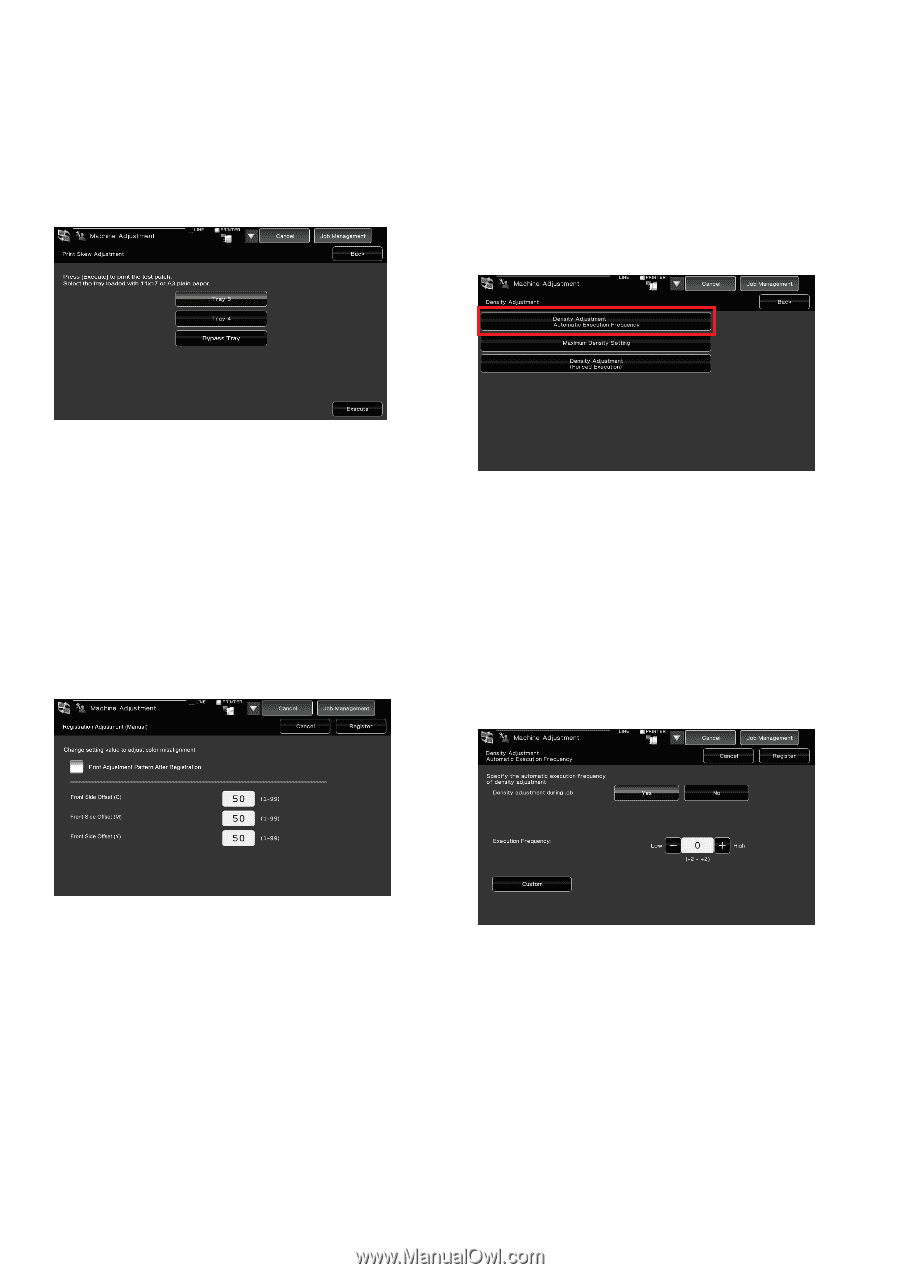
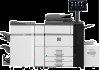
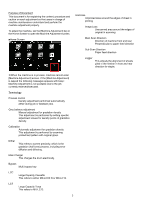
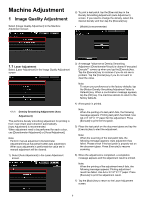
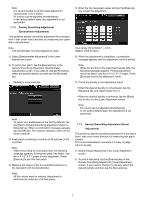
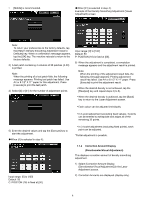
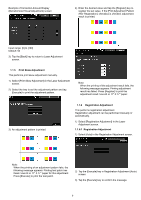
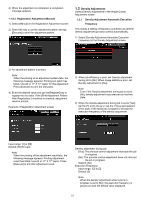
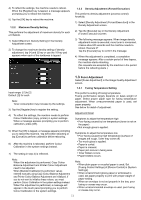
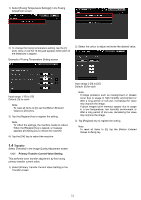
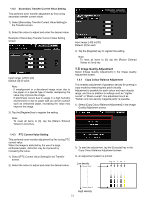
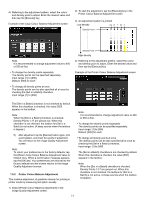
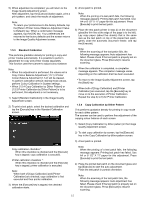
4) When the adjustment is completed, a completion message appears. 1.1.6.2 Registration Adjustment (Manual) 1) Select [Manual] in the Registration Adjustment screen. 2) Select the tray to set the adjustment pattern and tap [Execute] to print the adjustment pattern. 1.2 Density Adjustment Select [Density Adjustment] in the Image Quality Adjustment screen. 1.2.1 Density Adjustment Automatic Execution Frequency This makes a setting of frequency (condition) to perform density adjustment (process control) automatically. 1) Select [Density Adjustment Automatic Execution Frequency] in the Density Adjustment screen. 3) An adjustment pattern is printed. Note: When the printing of an adjustment pattern fails, the following message appears: Printing test patch has failed. Use A3 or 11" X 17" paper for this adjustment. Press [Execute] to print the test patch. 4) Enter the desired value and tap the [Register] key to register the set value. If the [Print Adjustment Pattern After Registration.] checkbox is checked, adjustment result is printed. Example of Registration Adjustment screen 2) When job efficiency is prior, set Density adjustment during job to [No]. When image stability is prior, set Density adjustment to [Yes]. Note: Even if the Density adjustment during job is set to [No], density adjustment may execute by machine state. 3) When the density adjustment during job is set to [Yes], tap the [+] and [-] keys or use the 10-key pad appears when each of the textboxes is tapped to change the execution frequency of the density adjustment. Input range: [1] to [99] Default: [50] for each Note: When the printing of the adjustment result fails, the following message appears: Printing adjustment result has failed. Use A3 or 11" X 17" paper. Press [Execute] to print the adjustment result. Density adjustment during job: [Yes]: The process control adjustment interrupts the job in progress. [No]: The process control adjustment does not interrupt the job in progress. Default: [No] Execution Frequency: Input range: [-2] to [2] Default: [0] Note: When the density adjustment while a job is in progress is set to [No], the execution frequency is greyed out with the default value displayed. 10
-
 1
1 -
2
-
3
-
4
-
 5
5 -
 6
6 -
 7
7 -
 8
8 -
 9
9 -
 10
10 -
 11
11 -
 12
12 -
 13
13 -
 14
14 -
 15
15 -
16
-
17
-
18
-
19
-
20
-
21
-
22
-
23
-
24
-
25
-
26
-
27
-
28
-
29
-
30
 |
 |