Sharp MX-6500N Adjustment Guide - Page 19
Image Position/Ratio/Area, Adjustment
 |
View all Sharp MX-6500N manuals
Add to My Manuals
Save this manual to your list of manuals |
Page 19 highlights
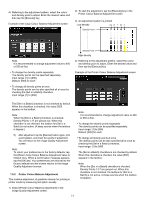
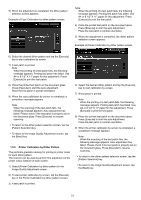
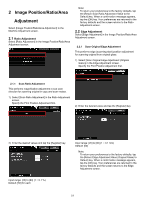
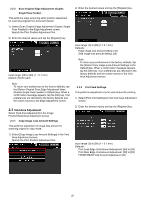
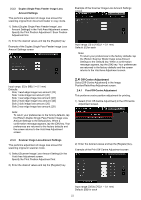
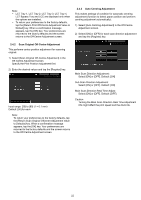
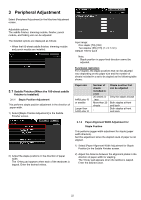
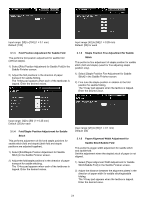
2 Image Position/Ratio/Area Adjustment Select [Image Position/Ratio/Area Adjustment] in the Machine Adjustment screen. 2.1 Ratio Adjustment Select [Ratio Adjustment] in the Image Position/Ratio/Area Adjustment screen. Note: To return your preferences to the factory defaults, tap the [Return Scan Ratio Adjustment Value to the Default] key. When a confirmation message appears, tap the [OK] key. Your preferences are returned to the factory defaults and the screen returns to the Ratio Adjustment screen. 2.2 Edge Adjustment Select [Edge Adjustment] in the Image Position/Ratio/Area Adjustment screen. 2.2.1 Scan Original Edge Adjustment This performs edge (scanning start) position adjustment for scanning original from original glass. 1) Select [Scan Original Edge Adjustment (Original Glass)] in the Edge Adjustment screen. Specify the Print Position Adjustment first. 2.1.1 Scan Ratio Adjustment This performs magnification adjustment in sub scan direction for scanning original in copy and scan modes. 1) Select [Scan Ratio Adjustment] in the Ratio Adjustment screen. Specify the Print Position Adjustment first. 2) Enter the desired value and tap the [Register] key. 2) Enter the desired values and tap the [Register] key. Input range: [20] to [80] (1 = 0.1 mm) Default: [50] Note: To return your preferences to the factory defaults, tap the [Return Edge Adjustment Value (Original Glass) to Default] key. When a confirmation message appears, tap the [OK] key. Your preferences are returned to the factory defaults and the screen returns to the Edge Adjustment screen. Input range: [20] to [80] (1 = 0.1 %) Default: [50] for each 19
-
 1
1 -
2
-
3
-
4
-
5
-
6
-
7
-
8
-
9
-
10
-
11
-
12
-
13
-
 14
14 -
 15
15 -
 16
16 -
 17
17 -
 18
18 -
 19
19 -
 20
20 -
 21
21 -
 22
22 -
 23
23 -
 24
24 -
25
-
26
-
27
-
28
-
29
-
30
 |
 |
