Sharp MX-6500N Adjustment Guide - Page 12
Transfer
 |
View all Sharp MX-6500N manuals
Add to My Manuals
Save this manual to your list of manuals |
Page 12 highlights
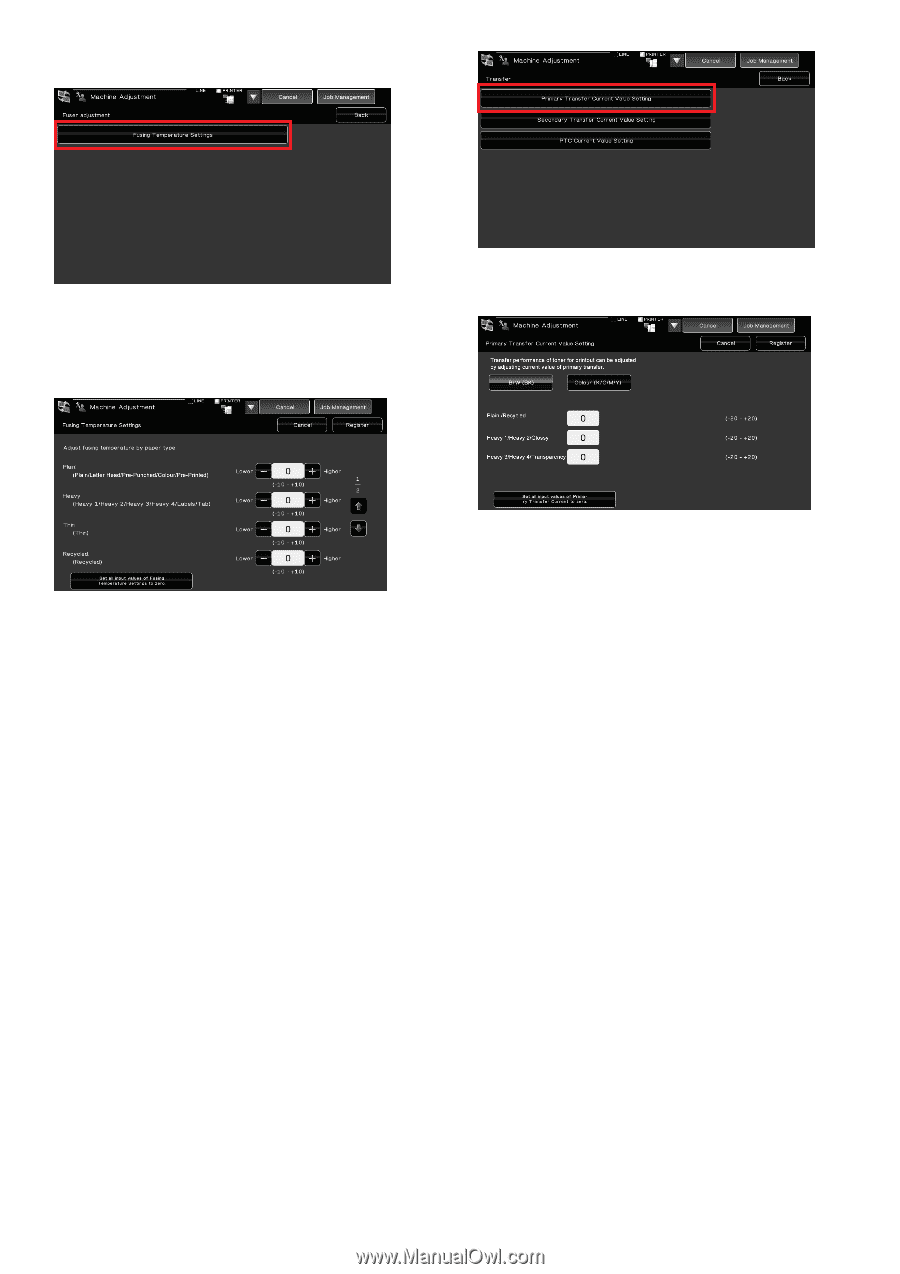
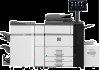
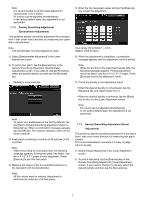
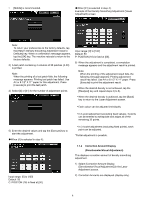
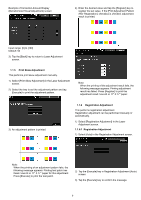
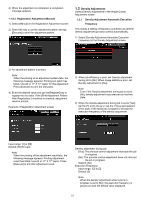
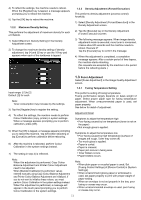
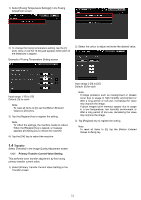
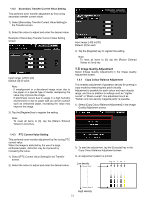
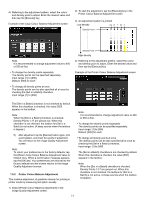
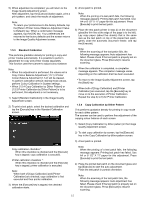
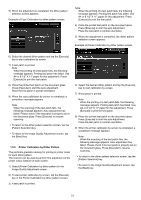
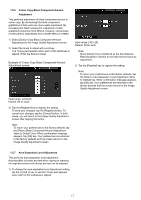
1) Select [Fusing Temperature Settings] in the Fusing Adjustment screen. 2) To change the fusing temperature setting, tap the [+] and [-] key or use the 10-key pad appears when each of the textboxes is tapped. Example of Fusing Temperature Setting screen 2) Select the colour to adjust and enter the desired value. Input range: [-10] to [10] Default: [0] for each Note: To reset all items to [0], tap the [Return Entered Values to Zero] key. 3) Tap the [Register] key to register the setting. Note: To reflect the settings, the machine needs to reboot. When the [Register] key is tapped, a message appears prompting you to reboot the machine. 4) Tap the [OK] key to reboot the machine. Input range: [-20] to [20] Default: [0] for each Note: If image problems such as misalignment or streaks occur due to usage in high humidity environment or after a long period of non-use, increasing the value may improve the image. If ghost images (print memory) appear due to usage in a low temperature, low humidity environment or after a long period of non-use, decreasing the value may improve the image. 3) Tap [Register] key to register the setting. Note: To reset all items to [0], tap the [Return Entered Values to Zero] key. 1.4 Transfer Select [Transfer] in the Image Quality Adjustment screen. 1.4.1 Primary Transfer Current Value Setting This performs toner transfer adjustment by fine tuning primary transfer current value. 1) Select [Primary Transfer Current Value Setting] in the Transfer screen. 12
-
 1
1 -
2
-
3
-
4
-
5
-
6
-
 7
7 -
 8
8 -
 9
9 -
 10
10 -
 11
11 -
 12
12 -
 13
13 -
 14
14 -
 15
15 -
 16
16 -
 17
17 -
18
-
19
-
20
-
21
-
22
-
23
-
24
-
25
-
26
-
27
-
28
-
29
-
30
 |
 |