TP-Link TD-W8968 TD-W8968 V1 User Guide - Page 84
Diagnostic, TD-W8968, Service Provider, Domain Name, Username & Password, Enable DDNS - login
 |
View all TP-Link TD-W8968 manuals
Add to My Manuals
Save this manual to your list of manuals |
Page 84 highlights
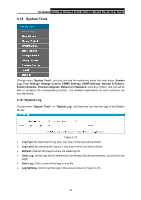
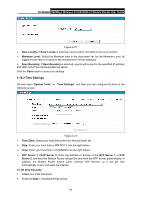
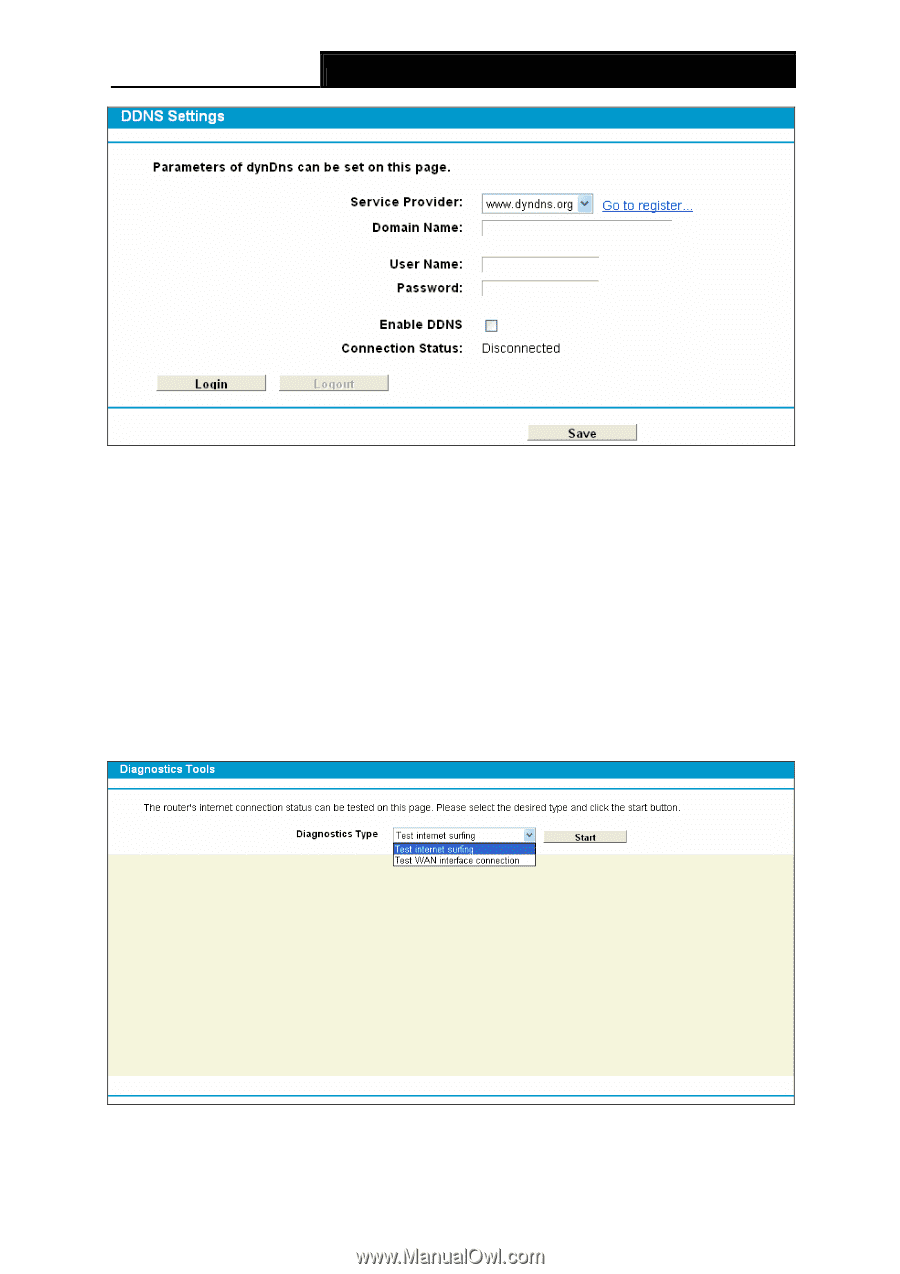
TD-W8968 300Mbps Wireless N USB ADSL2+ Modem Router User Guide Figure 4-70 ¾ Service Provider: This field displays the service provider of DDNS. ¾ Domain Name: Enter the Domain name you received from dynamic DNS service provider. ¾ Username & Password: Type the "User Name" and "Password" for your DDNS account. ¾ Enable DDNS: Activate the DDNS function or not. ¾ Login/ Logout: Login to or logout of the DDNS service. 4.15 Diagnostic Choose "Diagnostic", you can view the test results for the connectivity of the physical layer and protocol layer for both LAN and WAN sides in the screen. Select the desired type and click the start button. Figure 4-71 75
-
 1
1 -
2
-
3
-
4
-
5
-
6
-
7
-
8
-
9
-
10
-
11
-
12
-
13
-
14
-
15
-
16
-
17
-
18
-
19
-
20
-
21
-
22
-
23
-
24
-
25
-
26
-
27
-
28
-
29
-
30
-
31
-
32
-
33
-
34
-
35
-
36
-
37
-
38
-
39
-
40
-
41
-
42
-
43
-
44
-
45
-
46
-
47
-
48
-
49
-
50
-
51
-
52
-
53
-
54
-
55
-
56
-
57
-
58
-
59
-
60
-
61
-
62
-
63
-
64
-
65
-
66
-
67
-
68
-
69
-
70
-
71
-
72
-
73
-
74
-
75
-
76
-
77
-
78
-
 79
79 -
 80
80 -
 81
81 -
 82
82 -
 83
83 -
 84
84 -
 85
85 -
 86
86 -
 87
87 -
 88
88 -
 89
89 -
90
-
91
-
92
-
93
-
94
-
95
-
96
-
97
-
98
-
99
-
100
-
101
-
102
-
103
 |
 |
TD-W8968
300Mbps Wireless N USB ADSL2+ Modem Router User Guide
75
Figure 4-70
¾
Service Provider:
This field displays the service provider of DDNS.
¾
Domain Name:
Enter the Domain name you received from dynamic DNS service provider.
¾
Username & Password:
Type the “User Name” and “Password” for your DDNS account.
¾
Enable DDNS:
Activate the DDNS function or not.
¾
Login/ Logout:
Login to or logout of the DDNS service.
4.15 Diagnostic
Choose “
Diagnostic
”, you can view the test results for the connectivity of the physical layer and
protocol layer for both LAN and WAN sides in the screen. Select the desired type and click the start
button.
Figure 4-71