Toshiba TLP-MT7 Owner's Manual - English - Page 18
Installation and, connection
 |
UPC - 022265950821
View all Toshiba TLP-MT7 manuals
Add to My Manuals
Save this manual to your list of manuals |
Page 18 highlights
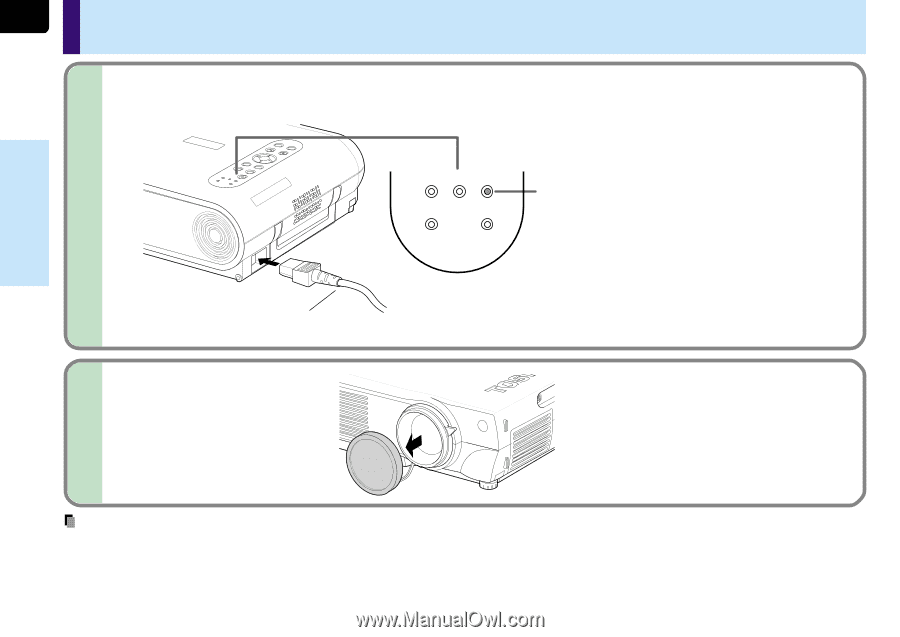
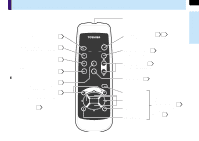
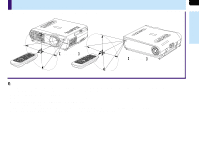
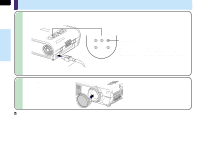
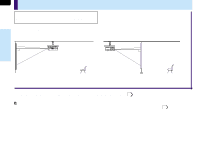
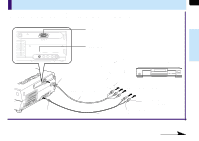
Installation and connection 18 Floor-mounted projector placement (continued) 3 Connect the power cord. • Insert one end in the AC IN socket on the projector. • Insert the other end in a wall outlet. ENTER MENU INPUT TEMP BUSY LAMP FAN ON/STANDBY ON EXIT KEYASUTOTONE VOL/ADJ. SAEUTTO TEMP LAMP ON BUSY FAN Power cord (Supplied) Light (Orange) The three indicators, TEMP, LAMP, and ON, light in green for several seconds and then the ON indicator lights in orange and the projector turns to the standby mode. Do not perform any operations while the three indicators are lit green. 4 Take off the lens cover. USB CONTROL Notes • When the projector is moved from a cold location to a warm location, or when the ambient temperature in the projection room has risen suddenly, moisture may condense on the lens or the internal optical section to blur the projected pictures. In such a case, leave the projector for an adequate time (1 to 2 hours, depending on the room's condition) before using it, so it adjusts to the ambient temperature. • If the screen is exposed to direct sunlight or other strong light, the projected picture becomes too faint to see. Shut out the light with curtains or other means. • If the screen and the projector are not installed properly, the projected picture may be distorted.
-
 1
1 -
2
-
3
-
4
-
5
-
6
-
7
-
8
-
9
-
10
-
11
-
12
-
 13
13 -
 14
14 -
 15
15 -
 16
16 -
 17
17 -
 18
18 -
 19
19 -
 20
20 -
 21
21 -
 22
22 -
 23
23 -
24
-
25
-
26
-
27
-
28
-
29
-
30
-
31
-
32
-
33
-
34
-
35
-
36
-
37
-
38
-
39
-
40
-
41
-
42
-
43
-
44
-
45
-
46
-
47
-
48
-
49
-
50
-
51
-
52
-
53
-
54
-
55
-
56
-
57
-
58
-
59
-
60
-
61
-
62
-
63
-
64
-
65
-
66
-
67
-
68
-
69
-
70
-
71
-
72
-
73
-
74
-
75
-
76
-
77
-
78
-
79
-
80
 |
 |