Asus P5AD2-E Premium User Guide - Page 86
PIO Mode [Auto], SMART Monitoring [Auto], 32Bit Data Transfer [Disabled], Con SATA As [ - sata driver
 |
View all Asus P5AD2-E Premium manuals
Add to My Manuals
Save this manual to your list of manuals |
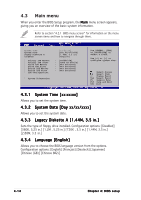
Page 86 highlights
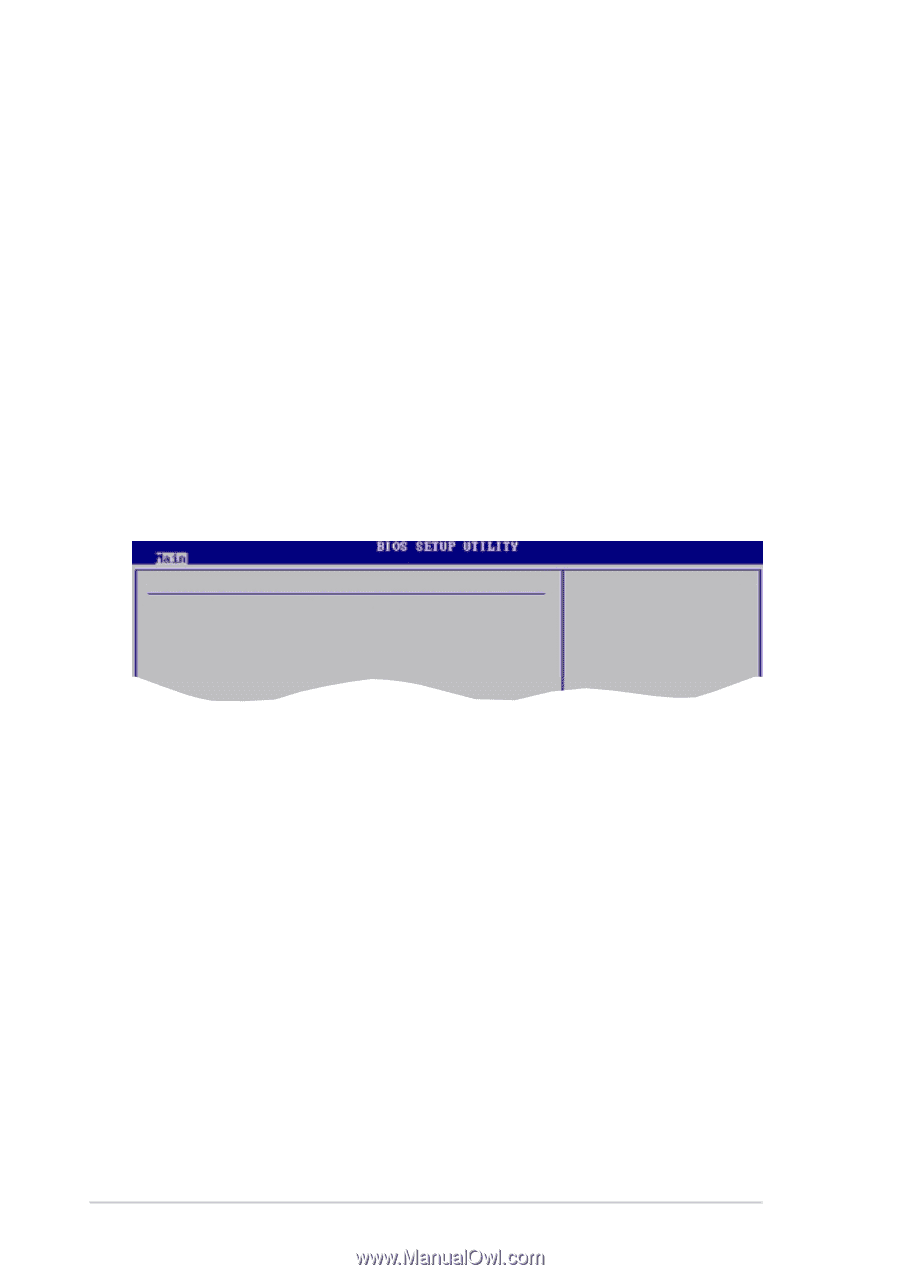
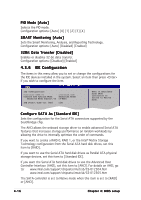
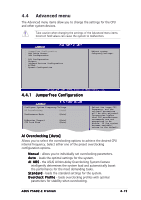
PIO Mode [Auto] Selects the PIO mode. Configuration options: [Auto] [0] [1] [2] [3] [4] SMART Monitoring [Auto] Sets the Smart Monitoring, Analysis, and Reporting Technology. Configuration options: [Auto] [Disabled] [Enabled] 32Bit Data Transfer [Disabled] Enables or disables 32-bit data transfer. Configuration options: [Disabled] [Enabled] 4.3.6 IDE Configuration The items in this menu allow you to set or change the configurations for the IDE devices installed in the system. Select an item then press if you wish to configure the item. IDE Configuration Configure SATA As Onboard IDE Operate Mode Enhanced Mode Support On [Standard IDE] [Enhanced Mode] [S-ATA] IDE Detect Time Out (Sec) [35] When in AHCI/RAID mode SATA controller is forced to Native mode. Configure SATA As [Standard IDE] Sets the configuration for the Serial ATA connectors supported by the Southbridge chip. The AHCI allows the onboard storage driver to enable advanced Serial ATA features that increases storage performance on random workloads by allowing the drive to internally optimize the order of commands. If you want to create a RAID 0, RAID 1, or the Intel® Matrix Storage Technology configuration from the Serial ATA hard disk drives, set this item to [RAID]. If you want to use the Serial ATA hard disk drives as Parallel ATA physical storage devices, set this item to [Standard IDE]. If you want the Serial ATA hard disk drives to use the Advanced Host Controller Interface (AHCI), set this item to [AHCI]. For details on AHCI, go to: www.intel.com/support/chipsets/imst/sb/CS-012304.htm www.intel.com/support/chipsets/imst/sb/CS-012305.htm The SATA controller is set to Native mode when this item is set to [RAID] or [AHCI]. 4-16 Chapter 4: BIOS setup
-
 1
1 -
2
-
3
-
4
-
5
-
6
-
7
-
8
-
9
-
10
-
11
-
12
-
13
-
14
-
15
-
16
-
17
-
18
-
19
-
20
-
21
-
22
-
23
-
24
-
25
-
26
-
27
-
28
-
29
-
30
-
31
-
32
-
33
-
34
-
35
-
36
-
37
-
38
-
39
-
40
-
41
-
42
-
43
-
44
-
45
-
46
-
47
-
48
-
49
-
50
-
51
-
52
-
53
-
54
-
55
-
56
-
57
-
58
-
59
-
60
-
61
-
62
-
63
-
64
-
65
-
66
-
67
-
68
-
69
-
70
-
71
-
72
-
73
-
74
-
75
-
76
-
77
-
78
-
79
-
80
-
 81
81 -
 82
82 -
 83
83 -
 84
84 -
 85
85 -
 86
86 -
 87
87 -
 88
88 -
 89
89 -
 90
90 -
 91
91 -
92
-
93
-
94
-
95
-
96
-
97
-
98
-
99
-
100
-
101
-
102
-
103
-
104
-
105
-
106
-
107
-
108
-
109
-
110
-
111
-
112
-
113
-
114
-
115
-
116
-
117
-
118
-
119
-
120
-
121
-
122
-
123
-
124
-
125
-
126
-
127
-
128
-
129
-
130
-
131
-
132
-
133
-
134
-
135
-
136
-
137
-
138
-
139
-
140
-
141
-
142
-
143
-
144
-
145
-
146
-
147
-
148
-
149
-
150
-
151
-
152
-
153
-
154
-
155
-
156
-
157
-
158
-
159
-
160
-
161
-
162
-
163
-
164
-
165
-
166
 |
 |