Brother International Innov-ís 80 Users Manual - English - Page 117
Realigning the pattern
 |
View all Brother International Innov-ís 80 manuals
Add to My Manuals
Save this manual to your list of manuals |
Page 117 highlights
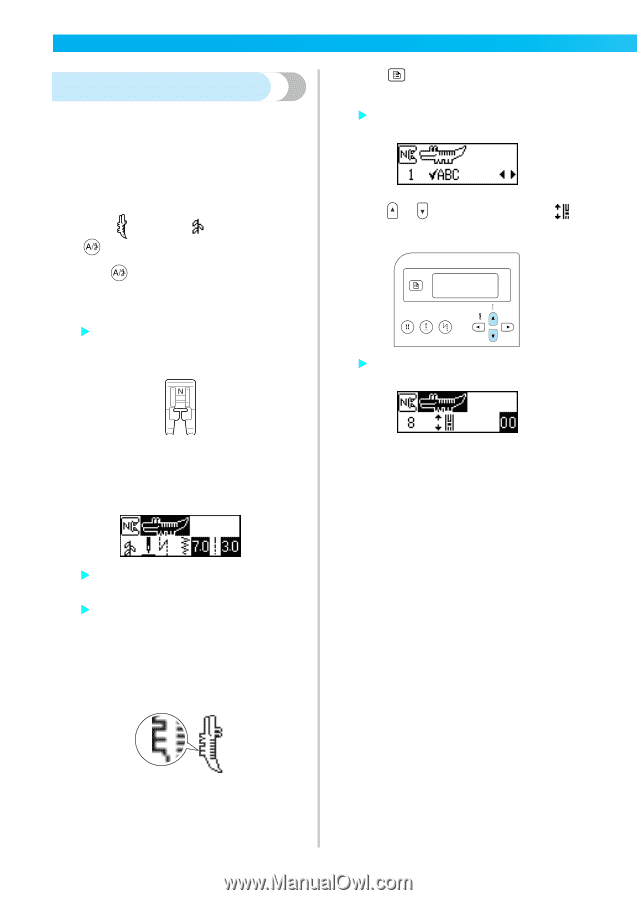
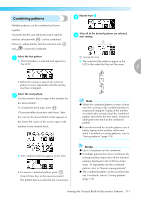
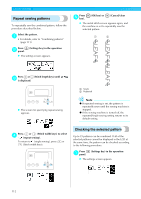
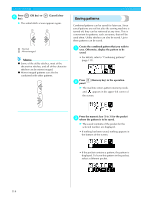
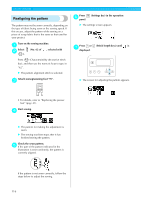
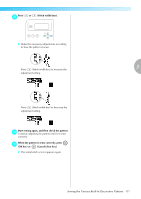
UTILITY STITCHES Realigning the pattern The pattern may not be sewn correctly, depending on the type of fabric being sewn or the sewing speed. If this occurs, adjust the pattern while sewing on a piece of scrap fabric that is the same as that used for your project. Turn on the sewing machine. a Select b ). (No. 62 of , selected with Press (Character/utility decorative stitch key), and then use the numeric keys to type in "62". X The pattern alignment stitch is selected. Attach monogramming foot "N". c Press f panel. (Settings key) in the operation X The settings screen appears. Press or (Stitch length keys) until is g displayed. X The screen for adjusting the pattern appears. • For details, refer to "Replacing the presser foot" (page 41). Start sewing. d X The pattern for making the adjustment is sewn. X The sewing machine stops after it has finished sewing the pattern. Check the sewn pattern. e If the part of the pattern indicated in the illustration is sewn uniformly, the pattern is correctly aligned. If the pattern is not sewn correctly, follow the steps below to adjust the sewing. 116
-
 1
1 -
2
-
3
-
4
-
5
-
6
-
7
-
8
-
9
-
10
-
11
-
12
-
13
-
14
-
15
-
16
-
17
-
18
-
19
-
20
-
21
-
22
-
23
-
24
-
25
-
26
-
27
-
28
-
29
-
30
-
31
-
32
-
33
-
34
-
35
-
36
-
37
-
38
-
39
-
40
-
41
-
42
-
43
-
44
-
45
-
46
-
47
-
48
-
49
-
50
-
51
-
52
-
53
-
54
-
55
-
56
-
57
-
58
-
59
-
60
-
61
-
62
-
63
-
64
-
65
-
66
-
67
-
68
-
69
-
70
-
71
-
72
-
73
-
74
-
75
-
76
-
77
-
78
-
79
-
80
-
81
-
82
-
83
-
84
-
85
-
86
-
87
-
88
-
89
-
90
-
91
-
92
-
93
-
94
-
95
-
96
-
97
-
98
-
99
-
100
-
101
-
102
-
103
-
104
-
105
-
106
-
107
-
108
-
109
-
110
-
111
-
 112
112 -
 113
113 -
 114
114 -
 115
115 -
 116
116 -
 117
117 -
 118
118 -
 119
119 -
 120
120 -
 121
121 -
 122
122 -
123
-
124
-
125
-
126
-
127
-
128
-
129
-
130
-
131
-
132
-
133
-
134
-
135
-
136
-
137
-
138
-
139
-
140
 |
 |