Canon XL2 XL2 Instruction Manual - Page 53
Adjusting the Audio Recording Level
 |
View all Canon XL2 manuals
Add to My Manuals
Save this manual to your list of manuals |
Page 53 highlights
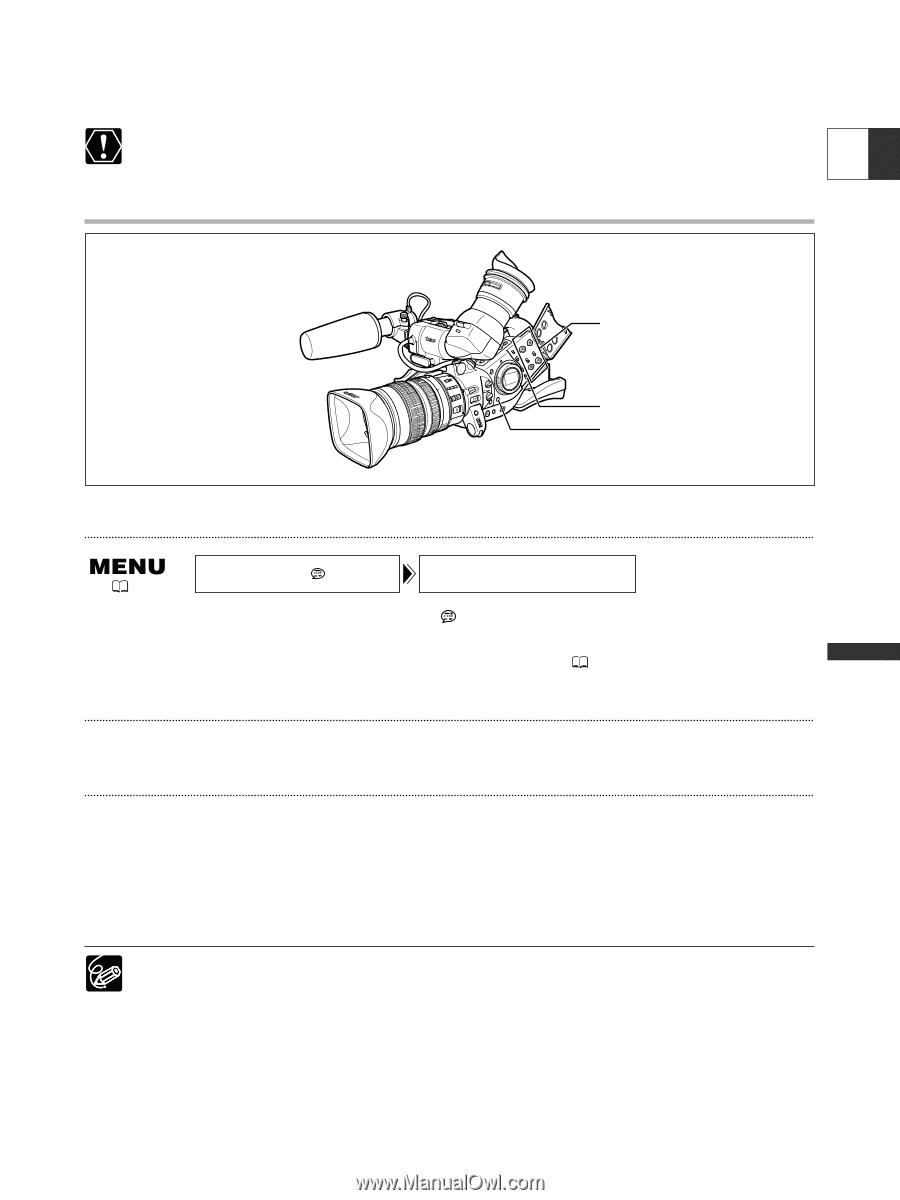
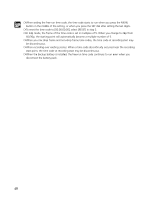
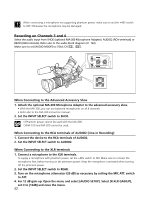
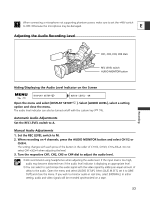
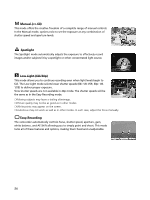
When connecting a microphone not supporting phantom power, make sure to set the +48V switch to OFF. Otherwise the microphone may be damaged. E Adjusting the Audio Recording Level Recording CH1, CH2, CH3, CH4 dials REC LEVEL switch AUDIO MONITOR button Hiding/Displaying the Audio Level Indicator on the Screen ( 26) DISPLAY SETUP/ AUDIO LEVEL••ON Open the menu and select [DISPLAY SETUP/ ]. Select [AUDIO LEVEL], select a setting option and close the menu. The audio level indicator can also be turned on/off with the custom key ( 74). Automatic Audio Adjustments Set the REC LEVEL switch to A. Manual Audio Adjustments 1. Set the REC LEVEL switch to M. 2. When recording on 4 channels, press the AUDIO MONITOR button and select CH1/2 or CH3/4. The setting changes with each press of the button in the order of CH1/2, CH3/4, CH1+3/2+4. Do not select CH1+3/2+4 when adjusting the level. 3. Turn the respective CH1, CH2, CH3 or CH4 dial to adjust the audio level. ❍ We recommend using headphones when adjusting the audio level. If the input level is too high, audio may become distorted even if the audio level indicator is displaying an appropriate level. ❍ You can select to synchronize the audio signal with the video signal by adding an equal amount of delay to the audio. Open the menu and select [AUDIO SETUP]. Select [AUD.M.SET], set it to [LINE OUT] and close the menu. If you wish to monitor audio in real time, select [NORMAL]. In either setting, audio and video signals will be recorded synchronized on a tape. 53
-
 1
1 -
2
-
3
-
4
-
5
-
6
-
7
-
8
-
9
-
10
-
11
-
12
-
13
-
14
-
15
-
16
-
17
-
18
-
19
-
20
-
21
-
22
-
23
-
24
-
25
-
26
-
27
-
28
-
29
-
30
-
31
-
32
-
33
-
34
-
35
-
36
-
37
-
38
-
39
-
40
-
41
-
42
-
43
-
44
-
45
-
46
-
47
-
 48
48 -
 49
49 -
 50
50 -
 51
51 -
 52
52 -
 53
53 -
 54
54 -
 55
55 -
 56
56 -
 57
57 -
 58
58 -
59
-
60
-
61
-
62
-
63
-
64
-
65
-
66
-
67
-
68
-
69
-
70
-
71
-
72
-
73
-
74
-
75
-
76
-
77
-
78
-
79
-
80
-
81
-
82
-
83
-
84
-
85
-
86
-
87
-
88
-
89
-
90
-
91
-
92
-
93
-
94
-
95
-
96
-
97
-
98
-
99
-
100
-
101
-
102
-
103
-
104
-
105
-
106
-
107
-
108
-
109
-
110
-
111
-
112
-
113
-
114
-
115
-
116
-
117
-
118
-
119
-
120
-
121
-
122
-
123
-
124
-
125
-
126
 |
 |