Dell Precision M65 User's Guide - Page 16
Removing a Card or Blank - drivers
 |
View all Dell Precision M65 manuals
Add to My Manuals
Save this manual to your list of manuals |
Page 16 highlights
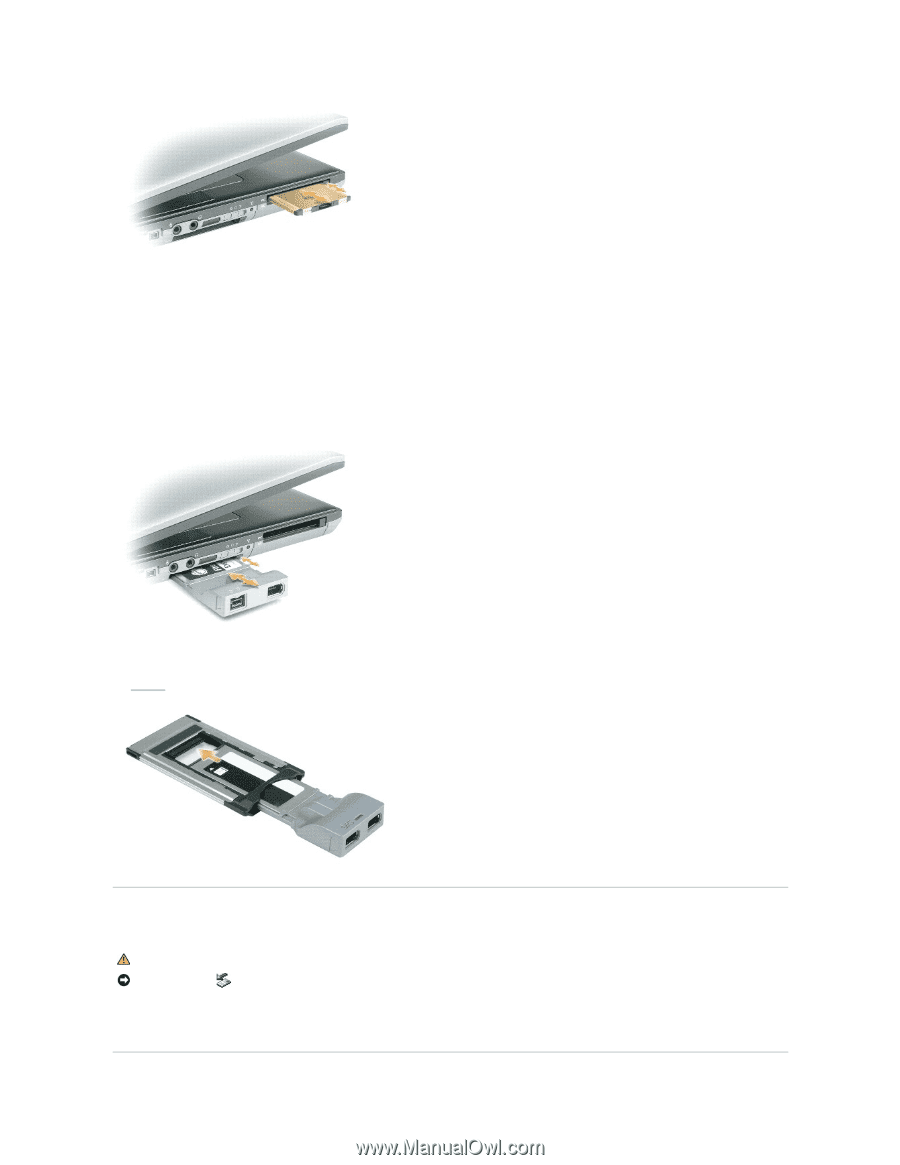
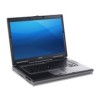
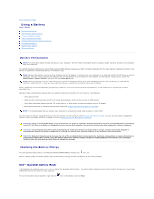
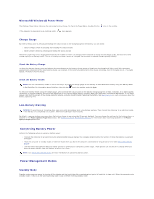
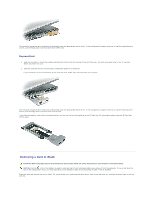
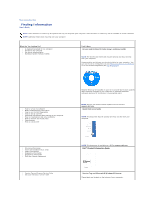
The computer recognizes most cards and automatically loads the appropriate device driver. If the configuration program tells you to load the manufacturer's drivers, use the floppy disk or CD that came with the PC Card. ExpressCard 1. Hold the card with its orientation symbol pointing into the slot and the top side of the card facing up. The latch may need to be in the "in" position before you insert the card. 2. Slide the card into the slot until the card is completely seated in its connector. If you encounter too much resistance, do not force the card. Check the card orientation and try again. The computer recognizes most cards and automatically loads the appropriate device driver. If the configuration program tells you to load the manufacturer's drivers, use the floppy disk or CD that came with the card. If you have an adapter, such as the one shown below, you can use 34-mm ExpressCards in the PC Card slot. For information about using the PC Card slot, see PC Card. Removing a Card or Blank CAUTION: Before you begin any of the procedures in this section, follow the safety instructions in your Product Information Guide. NOTICE: Click the icon in the taskbar) to select a card and stop it from functioning before you remove it from the computer. If you do not stop the card in the configuration utility, you could lose data. Do not attempt to eject a card by pulling its cable, if one is attached. Press the latch and remove the card or blank. For some latches, you must press the latch twice: once to pop the latch out, and then a second time to pop the card out.
-
 1
1 -
2
-
3
-
4
-
5
-
6
-
7
-
8
-
9
-
10
-
 11
11 -
 12
12 -
 13
13 -
 14
14 -
 15
15 -
 16
16 -
 17
17 -
 18
18 -
 19
19 -
 20
20 -
 21
21 -
22
-
23
-
24
-
25
-
26
-
27
-
28
-
29
-
30
-
31
-
32
-
33
-
34
-
35
-
36
-
37
-
38
-
39
-
40
-
41
-
42
-
43
-
44
-
45
-
46
-
47
-
48
-
49
-
50
-
51
-
52
-
53
-
54
-
55
-
56
-
57
-
58
-
59
-
60
-
61
-
62
-
63
-
64
-
65
-
66
-
67
-
68
-
69
-
70
-
71
-
72
-
73
-
74
-
75
-
76
-
77
-
78
-
79
-
80
-
81
-
82
-
83
-
84
-
85
-
86
-
87
-
88
-
89
-
90
-
91
-
92
-
93
-
94
-
95
-
96
-
97
-
98
-
99
-
100
 |
 |