JVC SR-V10U SR-V10U Instruction manual (1MB, PDF) - Page 35
Checking program settings, Canceling or changing program, settings
 |
View all JVC SR-V10U manuals
Add to My Manuals
Save this manual to your list of manuals |
Page 35 highlights
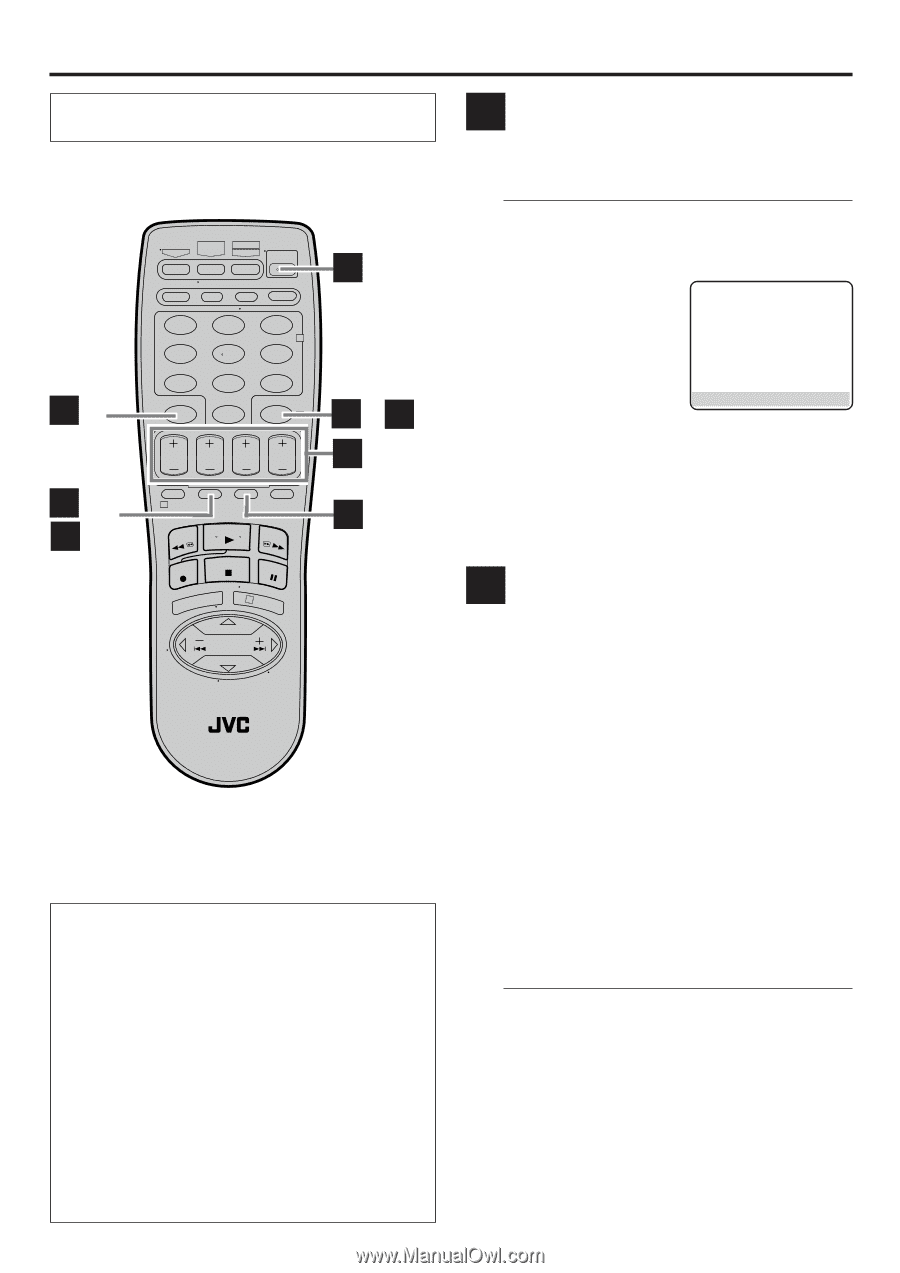
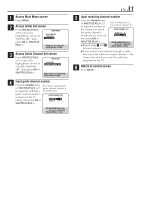
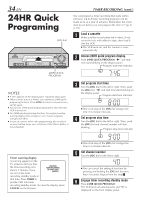
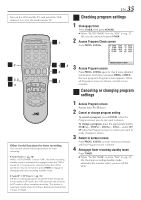
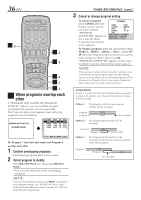
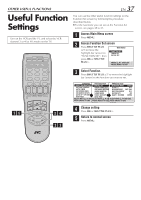
Turn on the VCR and the TV, and select the VCR channel 3 or 4 (or AV mode) on the TV. B -2 A -2, 3 B -3 A -1 1 2 3 2 4 5 6 7 8 9 0 A B 4 -1 -4 B -2 1 B -2 3 EN 35 A Checking program settings 1 Disengage timer Press TIMER, then press POWER. ● When "AUTO TIMER" is set to "ON" (੬ pg. 37, 38), you do not have to press TIMER. 2 Access Program Check screen Press PROG. CHECK. PR START STOP CH DATE 1 8:00P 10:00 12 12/24 2 10:00A 10:45 40 12/25 3 11:30P 1:00 125 12/25 4 5 6 7 8 PRESS (CHECK) TO NEXT 3 Access Program screen Press PROG. CHECK again to check more detailed information. Each time you press PROG. CHECK, the next program's Program screen appears. When all Program screens are shown, normal screen resumes. B Canceling or changing program settings Other Useful functions for timer recording You can also use the following functions for timer recording. ● Auto Timer (੬ pg. 38) When "AUTO TIMER" is set to "ON", the timer recording standby mode is automatically engaged when the VCR is turned off. It is temporarily canceled when the VCR is turned on. You do not have to press TIMER to engage or disengage the timer recording standby mode. ● Auto SP = EP Timer (੬ pg. 39) If there is not enough tape to record the entire broadcast for recording in SP mode, the VCR automatically switches to EP mode to allow complete recording. This feature is especially handy when recording a broadcast of more than 2 hours in length. 1 Access Program screen Repeat steps 1 to 3 above. 2 Cancel or change program setting To cancel a program, press CANCEL when the Program screen you do not want is shown. To change a program, press the appropriate button: START+/-, STOP+/-, DATE+/-, CH+/-, and/or SP/ EP when the Program screen on which you want to make changes is shown. 3 Return to normal screen Press PROG. CHECK as many times as necessary until no Program screen is shown. 4 Reengage timer recording standby mode Press TIMER. ● When "AUTO TIMER" is set to "ON" (੬ pg. 37, 38), the timer recording standby mode automatically resumes when you turn off the VCR.
-
 1
1 -
2
-
3
-
4
-
5
-
6
-
7
-
8
-
9
-
10
-
11
-
12
-
13
-
14
-
15
-
16
-
17
-
18
-
19
-
20
-
21
-
22
-
23
-
24
-
25
-
26
-
27
-
28
-
29
-
 30
30 -
 31
31 -
 32
32 -
 33
33 -
 34
34 -
 35
35 -
 36
36 -
 37
37 -
 38
38 -
 39
39 -
 40
40 -
41
-
42
-
43
-
44
-
45
-
46
-
47
-
48
-
49
-
50
-
51
-
52
-
53
-
54
-
55
-
56
-
57
-
58
-
59
-
60
-
61
-
62
-
63
-
64
 |
 |