Konica Minolta bizhub C550 bizhub C203/C253/C353/C451/C550/C650 Advanced Funct - Page 41
Scanning documents
 |
View all Konica Minolta bizhub C550 manuals
Add to My Manuals
Save this manual to your list of manuals |
Page 41 highlights
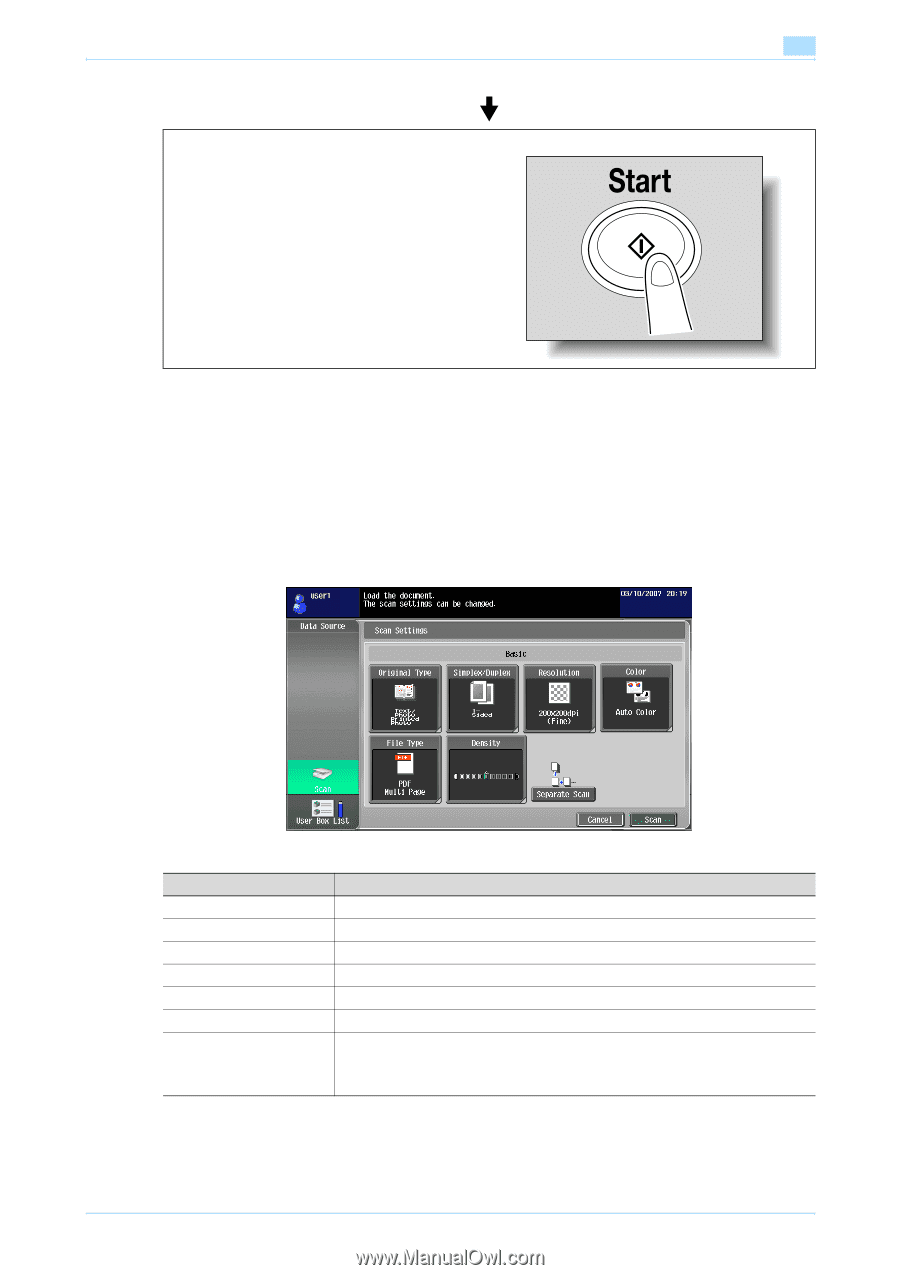
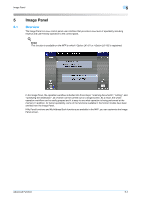
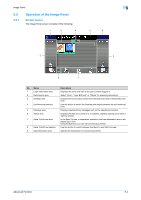
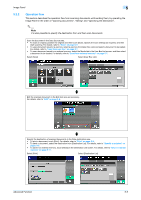
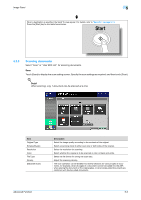
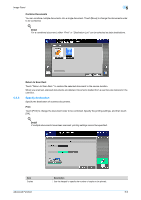
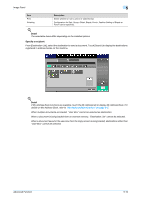
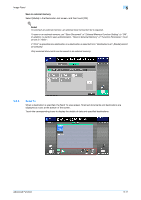
Image Panel 5 When a destination is specified, the Send To area appear. For details, refer to "Send To" on page 5-11. Press the [Start] key to start data transmission. 5.3.3 Scanning documents Select "Scan" or "User BOX List" for scanning documents. Scan Touch [Scan] to display the scan setting screen. Specify the scan settings as required, and then touch [Scan]. ! Detail When scanning, only 1 document can be scanned at a time. Item Original Type Simplex/Duplex Resolution Color File Type Density [Separate Scan] Description Select the image quality according to the contents of the original. Select a scanning mode to either scan one or both sides of the original. Select the resolution for scanning. Select whether the original is to be scanned in color or black and white. Select the file format for saving the scan data. Adjust the scanning density. The scan operation can be divided into several sessions for various types of documents, for example, when all pages of a document cannot be loaded into the ADF, when placing the document on the original glass, or when single-sided documents are combined with double-sided documents. Advanced Function 5-6
-
 1
1 -
2
-
3
-
4
-
5
-
6
-
7
-
8
-
9
-
10
-
11
-
12
-
13
-
14
-
15
-
16
-
17
-
18
-
19
-
20
-
21
-
22
-
23
-
24
-
25
-
26
-
27
-
28
-
29
-
30
-
31
-
32
-
33
-
34
-
35
-
 36
36 -
 37
37 -
 38
38 -
 39
39 -
 40
40 -
 41
41 -
 42
42 -
 43
43 -
 44
44 -
 45
45 -
 46
46 -
47
-
48
-
49
-
50
-
51
-
52
-
53
-
54
-
55
-
56
-
57
-
58
-
59
-
60
-
61
-
62
-
63
-
64
-
65
-
66
-
67
-
68
-
69
-
70
-
71
-
72
-
73
-
74
-
75
-
76
-
77
-
78
-
79
-
80
-
81
-
82
 |
 |