Lexmark X864 PKI-Enabled Device Installation and Configuration Guide - Page 9
Date and time, Panel login timeout - time settings
 |
View all Lexmark X864 manuals
Add to My Manuals
Save this manual to your list of manuals |
Page 9 highlights
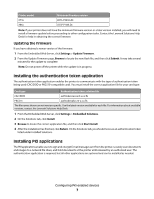
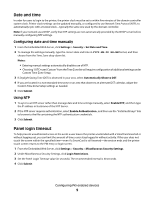
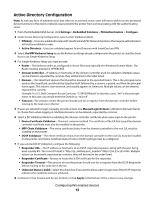
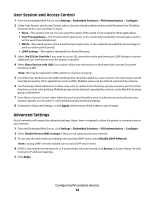
Date and time In order for users to login to the printer, the printer clock must be set to within five minutes of the domain controller system clock. Printer clock settings can be updated manually, or configured to use Network Time Protocol (NTP), to automatically sync with a trusted clock-typically the same one used by the domain controller. Note: If your network uses DHCP, verify that NTP settings are not automatically provided by the DHCP server before manually configuring NTP settings. Configuring date and time manually 1 From the Embedded Web Server, click Settings > Security > Set Date and Time. 2 To manage the settings manually, type the correct date and time in YYYY-MM-DD HH:MM format, and then choose from the Time Zone drop-down list. Notes: • Entering manual settings automatically disables use of NTP. • Choosing "(UTC+user) Custom" from the Time Zone list will require configuration of additional settings under Custom Time Zone Setup. 3 If Daylight Saving Time (DST) is observed in your area, select Automatically Observe DST. 4 If you are located in a non-standard time zone or an area that observes an alternate DST calendar, adjust the Custom Time Zone Setup settings as needed. 5 Click Submit. Using NTP 1 To sync to an NTP server rather than manage date and time settings manually, select Enable NTP, and then type the IP address or hostname of the NTP Server. 2 If the NTP server requires authentication, select Enable Authentication , and then use the "Install auth keys" link to browse to the file containing the NTP authentication credentials. 3 Click Submit. Panel login timeout To help prevent unauthorized access in the event a user leaves the printer unattended with a SmartCard inserted or without logging out, you can limit the amount of time a user stays logged in without activity. If the user does not touch the screen within the specified time-even if a SmartCard is still inserted-the session ends and the printer touch screen returns to the PIN entry or login screen. 1 From the Embedded Web Server, click Settings > Security > Miscellaneous Security Settings. 2 Under Miscellaneous Security Settings, click Login Restrictions. 3 Set the Panel Login Timeout value (in seconds). The recommended interval is 30 seconds. 4 Click Submit. Configuring PKI-enabled devices 9
-
 1
1 -
2
-
3
-
 4
4 -
 5
5 -
 6
6 -
 7
7 -
 8
8 -
 9
9 -
 10
10 -
 11
11 -
 12
12 -
 13
13 -
 14
14 -
15
-
16
-
17
-
18
-
19
-
20
-
21
-
22
-
23
-
24
-
25
-
26
-
27
-
28
-
29
-
30
-
31
-
32
-
33
-
34
-
35
-
36
-
37
-
38
 |
 |