Netgear R6300 R6300 User Manual (PDF) - Page 9
Hardware Features, Front and Side Panel - setup
 |
View all Netgear R6300 manuals
Add to My Manuals
Save this manual to your list of manuals |
Page 9 highlights
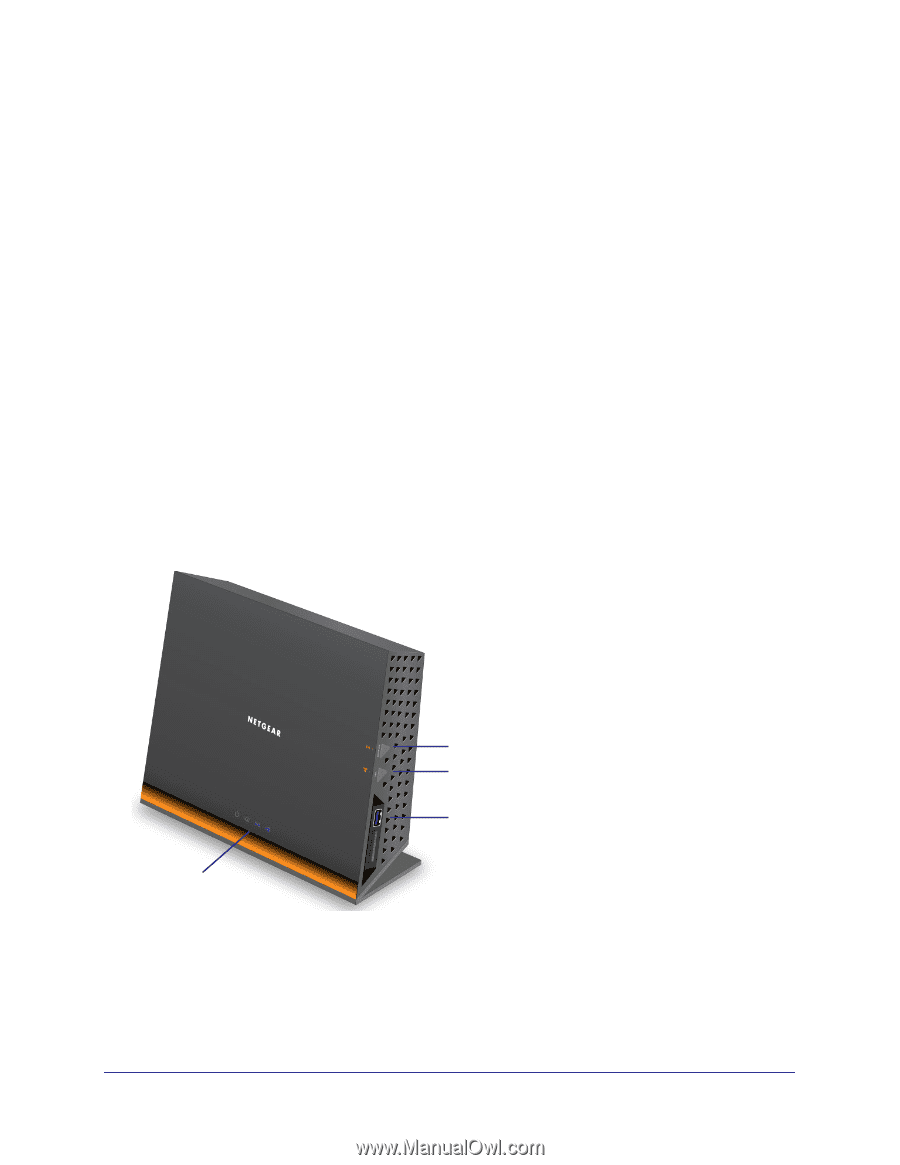
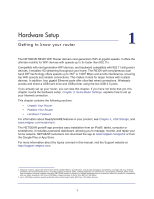
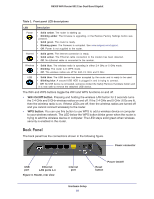
R6300 WiFi Router 802.11ac Dual Band Gigabit • In an elevated location such as a high shelf, keeping the number of walls and ceilings between the router and your other devices to a minimum. • Away from electrical devices that are potential sources of interference. Equipment that might cause interference includes ceiling fans, home security systems, microwaves, PCs, the base of a cordless phone, or 2.4 GHz cordless phone. • Away from any large metal surfaces, such as a solid metal door or aluminum studs. Large expanses of other materials such as glass, insulated walls, fish tanks, mirrors, brick, and concrete can also affect your wireless signal. When you use multiple access points, it is better if adjacent access points use different radio frequency channels to reduce interference. The recommended channel spacing between adjacent access points is 5 channels (for example, use Channels 1 and 6, or 6 and 11). Hardware Features Before you cable your router, take a moment to become familiar with the front, side, and back panels and the label. Pay particular attention to the LEDs on the front panel. Front and Side Panel The router front panel has the status LEDs and icons shown in the following figure. LEDs Figure 2. Router, front and side view WiFi On/Off button WPS button USB port Hardware Setup 9
-
 1
1 -
2
-
3
-
 4
4 -
 5
5 -
 6
6 -
 7
7 -
 8
8 -
 9
9 -
 10
10 -
 11
11 -
 12
12 -
 13
13 -
 14
14 -
15
-
16
-
17
-
18
-
19
-
20
-
21
-
22
-
23
-
24
-
25
-
26
-
27
-
28
-
29
-
30
-
31
-
32
-
33
-
34
-
35
-
36
-
37
-
38
-
39
-
40
-
41
-
42
-
43
-
44
-
45
-
46
-
47
-
48
-
49
-
50
-
51
-
52
-
53
-
54
-
55
-
56
-
57
-
58
-
59
-
60
-
61
-
62
-
63
-
64
-
65
-
66
-
67
-
68
-
69
-
70
-
71
-
72
-
73
-
74
-
75
-
76
-
77
-
78
-
79
-
80
-
81
-
82
-
83
-
84
-
85
-
86
-
87
-
88
-
89
-
90
-
91
-
92
-
93
-
94
-
95
-
96
-
97
-
98
-
99
-
100
-
101
-
102
-
103
-
104
-
105
-
106
-
107
-
108
-
109
-
110
-
111
-
112
-
113
-
114
-
115
-
116
-
117
-
118
-
119
-
120
-
121
-
122
-
123
-
124
-
125
-
126
-
127
-
128
 |
 |